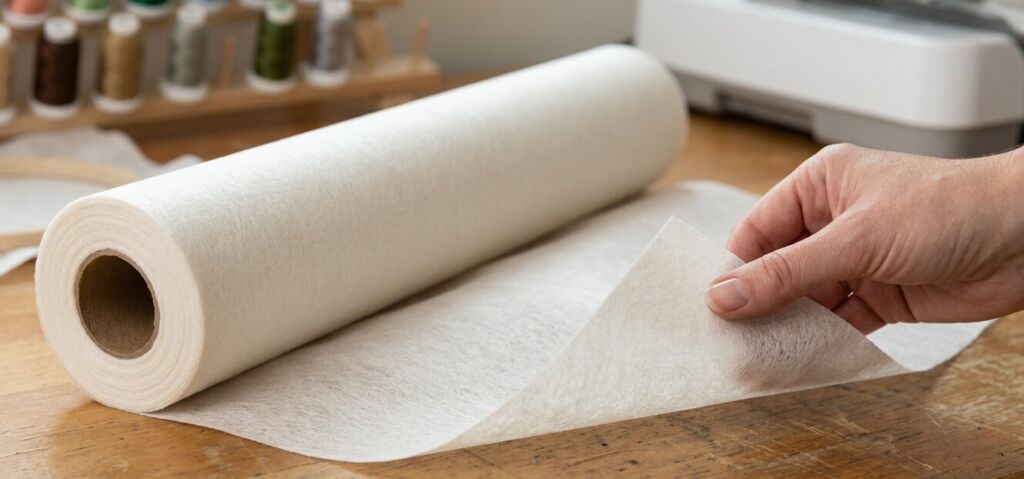
Cut-Away Stabilizer
The strongest base for stretchy or unstable fabrics. Offers permanent support that prevents distortion during wear and washing.
As an Amazon Associate and affiliate partner, we may earn a small commission from qualifying purchases at no extra cost to you.
Understanding the Cut-Away Embroidery Stabilizer
When it comes to professional machine embroidery, a cut away embroidery stabilizer is your best defense against shifting, stretching, and distortion. Unlike other backings that are ripped off entirely, a cut away embroidery backing is considered a “permanent” stabilizer. It remains attached to the back of the fabric for the life of the garment, providing ongoing support to the stitches through heavy wear and countless wash cycles.
The Best Garments for a Cut Away Fabric Stabilizer
A general rule of thumb in the embroidery world is: “If you wear it, don’t tear it.” A reliable cut away fabric stabilizer is absolutely mandatory for stretchy, flexible, or loosely woven garments. This includes knits, classic polo shirts, sweatshirts, t-shirts, and activewear. Because these fabrics naturally stretch as the body moves, a permanent backing is required to hold the dense thread count securely in place. If you are embroidering on highly textured or fluffy knits, it is highly recommended to pair your permanent backing with a stabilizer topping to prevent the stitches from sinking into the fabric.
Cut Away vs Tear Away Stabilizer: What’s the Difference?
One of the most common debates among decorators is the cut away vs tear away stabilizer choice, and it comes down to permanence and fabric stability. A tear-away backing is meant for stable, rigid, woven fabrics (like denim or crisp cotton) where the stabilizer can be completely removed after stitching. However, when analyzing a tear away vs cutaway stabilizer for stretchy apparel, the cut-away is mandatory. You cannot substitute a tear-away on a knit polo shirt; doing so will cause the stitches to pucker and bunch after the very first wash.
Understanding Stabilizer Weights & Variations
Choosing the correct thickness for your cut away stabilizer embroidery projects ensures your backing properly supports the stitch count without making the garment feel overly stiff.
- Lightweight: Ideal for fabrics with minimal stretch and smaller designs with low stitch densities.
- Medium-weight: The versatile, everyday workhorse. Perfect for standard polo shirts, medium stitch densities, and most basic apparel.
- Heavy Cutaway Embroidery Stabilizer: Reserved for highly dense, stitch-heavy designs, full jacket backs, or fabrics that need maximum, rigid support to prevent heavy puckering.
- Adhesive/Sticky: For garments that are notoriously difficult to hoop (like bags or odd-shaped stretchy fabrics), an adhesive sticky-back cut-away allows you to secure the fabric perfectly in place without traditional hooping friction.
How to Properly Trim Your Stabilizer
Once your embroidery machine finishes its magic, the final step is removing the garment from the hoop and trimming the excess backing. The goal is to leave a safe border of stabilizer around the design—usually about 1/4 to 1/2 inch. Do not try to trim flush against the stitches. Leaving this small margin ensures the design will lay flat against the chest and will not curl up at the edges after washing. Always use specialized duckbill appliqué scissors to carefully glide between the garment and the backing, protecting the shirt from accidental snips.
Common Mistakes
The most common mistake beginners make is trying to trim the stabilizer too flush with the embroidery stitches, which can accidentally snip the thread or, worse, cut a hole directly into the garment. Another frequent error is using a standard, thick white cut-away backing on thin, sheer, or light-colored fabrics, causing an ugly white square to visibly show through the front of the shirt. To avoid ruining garments, always use duckbill scissors for trimming and opt for a soft, semi-transparent "no-show" mesh cut-away when working with lightweight or sheer materials.
Frequently Asked Questions
Do I leave the cut-away stabilizer on when washing?
How close should I cut my stabilizer to the embroidery design?
What is a no-show mesh cut-away stabilizer?
Can I layer cut-away stabilizers for dense designs?
Can I use cut-away stabilizer on towels?
As an Amazon Associate and affiliate partner, we may earn a small commission from qualifying purchases at no extra cost to you.
Digitizer's Insight
Even the right stabilizer cannot fix a poorly digitized file. If you're still experiencing puckering, gaps, or registration issues after using the correct backing, the root cause is almost certainly your DST/EMB file — not your setup. Our team at EZ Stitch Digitizing specialises in precision pull-compensation and density correction.
Get Professional Digitizing →