Turning a standard digital image into a machine-ready masterpiece is the most critical step in the embroidery process. If you have a logo or artwork and need to know how to perform a JPEG to DST conversion, you are in the right place.
While it might seem as simple as “Save As,” converting a JPG to DST file is actually a technical process called digitizing. In this comprehensive guide, we will explore the best tools, software, and methods to convert JPG to DST format while ensuring your embroidery machine produces flawless, professional results.
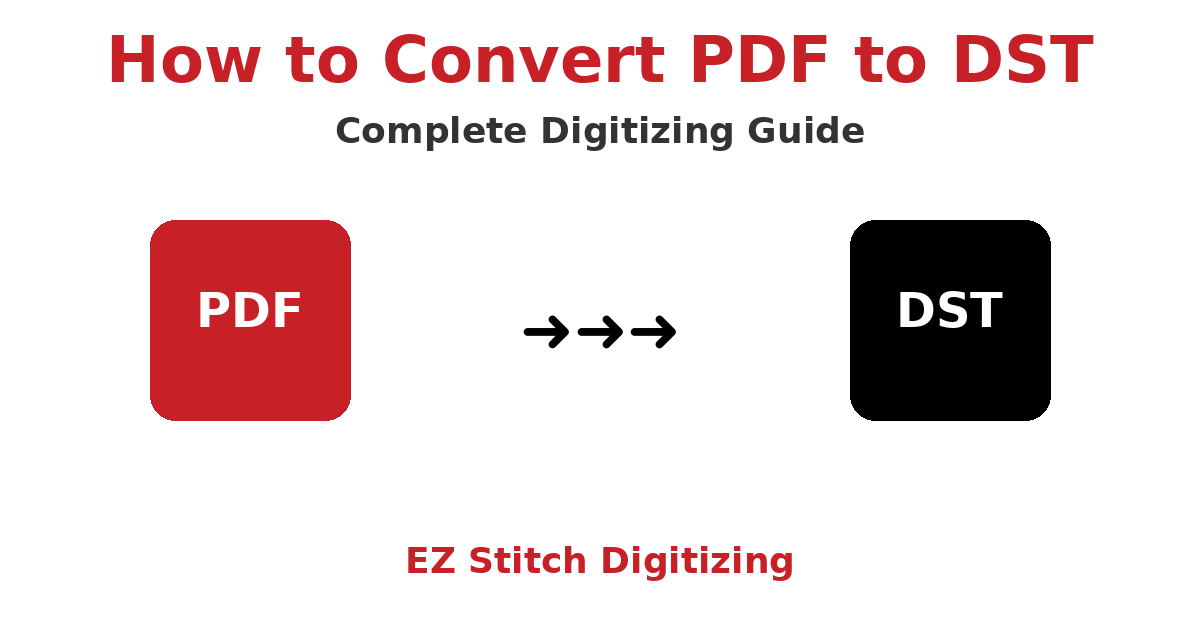
What is the Difference Between a JPEG and a DST File?
To understand why you need a JPG to DST file converter, you must first understand the technical gap between these two formats.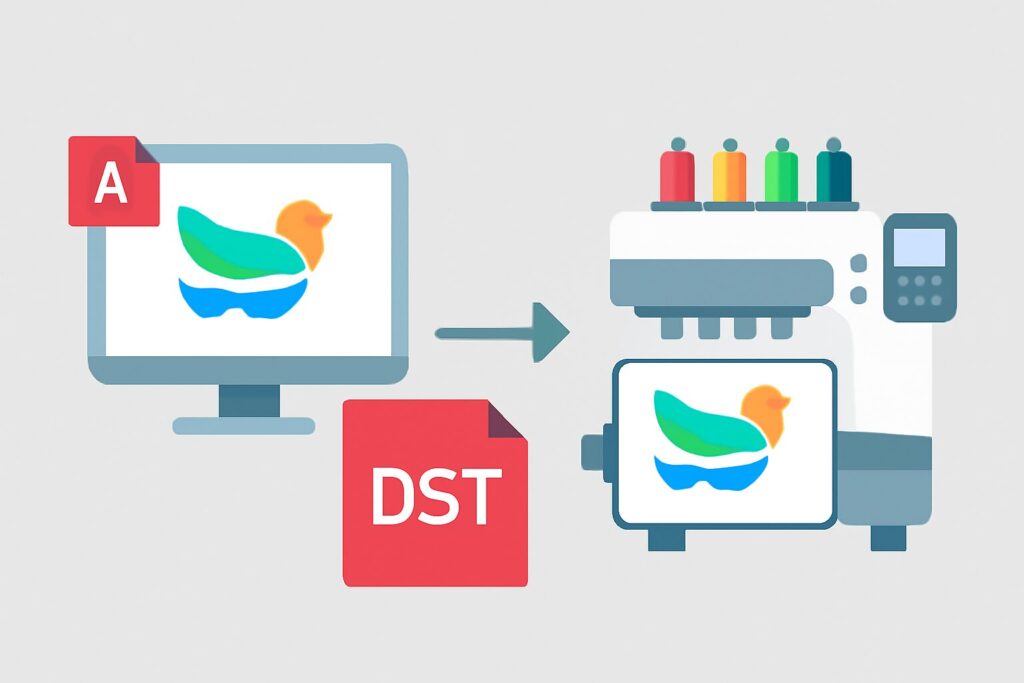
JPEG/JPG (Joint Photographic Experts Group): This is a raster image made of thousands of tiny pixels. It is designed for screens and printers. However, a JPEG doesn’t tell a needle where to go or when to stop.
DST (Data Stitch Tajima): This is a vector-based embroidery format. Instead of pixels, it contains a set of mathematical “commands.” These commands tell the machine exactly where the X and Y coordinates are for every single stitch, when to jump, and when to trim the thread.
Because of this difference, you cannot simply “rename” a file. You must reconstruct the image using stitches—a process often referred to as DST images creation.
Why You Must Convert JPG to DST for Embroidery
Modern embroidery machines, whether commercial Tajima units or home-based Brother machines, cannot “see” a JPEG. Here is why the JPEG to DST converter step is mandatory:
Stitching Instructions: A DST file contains information on stitch type (Satin, Tatami, or Run), density, and underlay.
Machine Compatibility: DST is the industry standard. Most machines require this specific format to operate.
Color Management: Converting a JPEG allows you to map digital RGB colors to physical DST file colors based on your thread inventory.
How to Convert JPG to DST: 3 Proven Methods
Depending on your budget and skill level, there are three primary ways to convert JPG to DST file formats.
Method 1: Using a JPG to DST Converter Online (Free & Fast)
If you are a hobbyist looking for a JPG to DST converter online, several browser-based tools can help.
When to use it: For very simple shapes, solid colors, and low-stakes projects.
The Process: You simply upload your image to a jpg to dst file online converter, set your dimensions, and download the output.
The Risk: Most free jpg to dst converter tools use “auto-digitizing.” This often results in “birdnesting” (thread tangling) or poorly aligned borders because the AI doesn’t understand fabric tension.
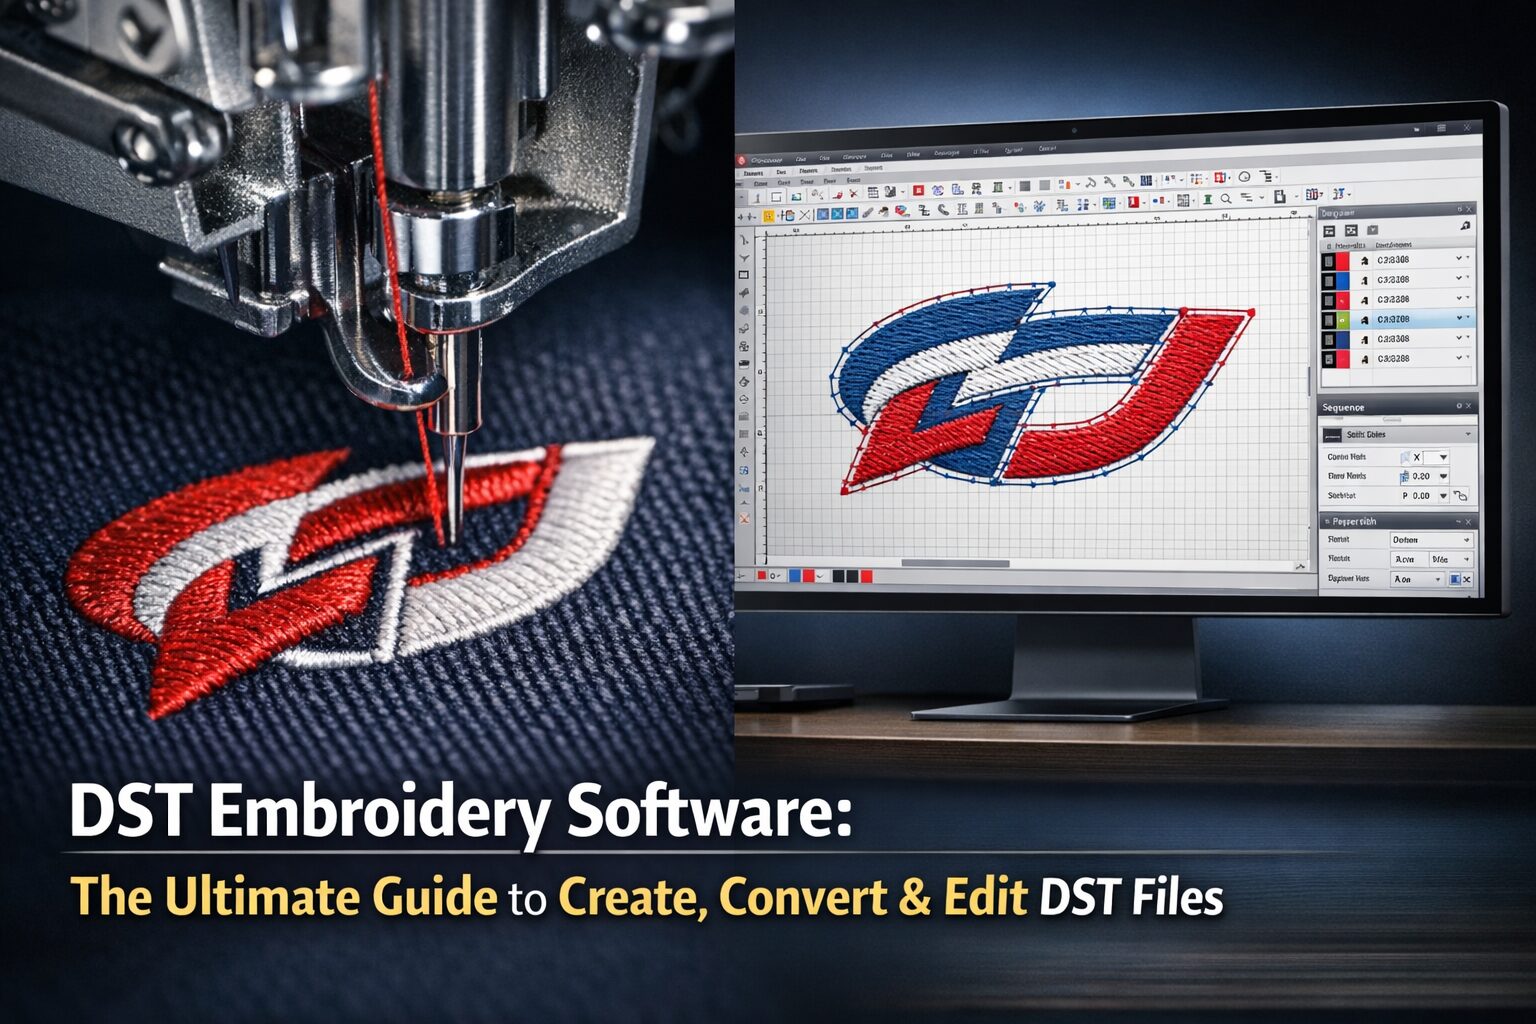
Method 2: Manual Digitizing with Software (Best for Business)
For professionals, using jpg to dst converter software is the standard.
Wilcom EmbroideryStudio: The gold standard for commercial digitizing.
Hatch by Wilcom: Perfect for home-to-pro transitions.
Ink/Stitch: A great jpg to dst converter free software option (Open source extension for Inkscape).
Embird: A modular and affordable professional choice.
Note: If you are working with vector files instead of JPEGs, your results will be even cleaner. Check our guide on SVG to DST for a deeper look at vector workflows.
Method 3: Professional Digitizing Services (Guaranteed Quality)
When you need to convert jpg to dst embroidery file formats for a paying client or a complex logo, manual digitizing is the only way to ensure the machine doesn’t jam. A professional digitizer paths the design by hand, ensuring the “pathing” is efficient and the “push-and-pull” of the fabric is accounted for.
Step-by-Step: How to Convert JPEG to DST Successfully
If you are doing this yourself, follow this checklist to ensure a high-quality jpg to dst conversion:
Prepare the Image: Clean up your JPEG. Remove blurry edges and reduce the color count.
Set the Scale: Unlike standard photos, a dst picture must be sized before the stitches are generated.
Import to Software: Use your chosen png to dst tool or software to import the artwork.
Assign Stitch Types: Use “Satin” stitches for text and borders, and “Tatami” (fill) stitches for large areas.
Audit the File: Before you hit “Start” on your machine, use an Online DST Viewer to check for overlapping stitches or jump-thread errors.
Troubleshooting Common Conversion Issues
Even with the best jpeg to dst file converter, you might run into issues:
Fabric Puckering: This happens when your stitch density is too high for the fabric weight.
Gaps in Design: This usually occurs when you haven’t accounted for the “pull” of the thread.
Thread Breaks: Often caused by too many small stitches (under 1mm) in the jpg to dst file conversion.
Frequently Asked Questions (FAQ)
Professional Digitizing Services
If your DST embroidery file shows errors, causes thread breaks, or looks messy, we can help you achieve production-ready quality.
Our specialized services include:
Custom embroidery digitizing (Manual pathing for flawless results)
DST file repair and optimization
Vector artwork conversion for embroidery
📧 Email: info@ezstitchdigitizing.com
📘 Facebook: EZ Stitch Digitizing
👉 Quote Form: Get a Professional Digitizing Quote
Conclusion
Whether you are using a free jpg to dst converter or professional software, the goal is always the same: a clean, efficient design that stitches perfectly. By following this guide and understanding the nuances of jpeg to dst file conversion, you are well on your way to mastering the art of embroidery.