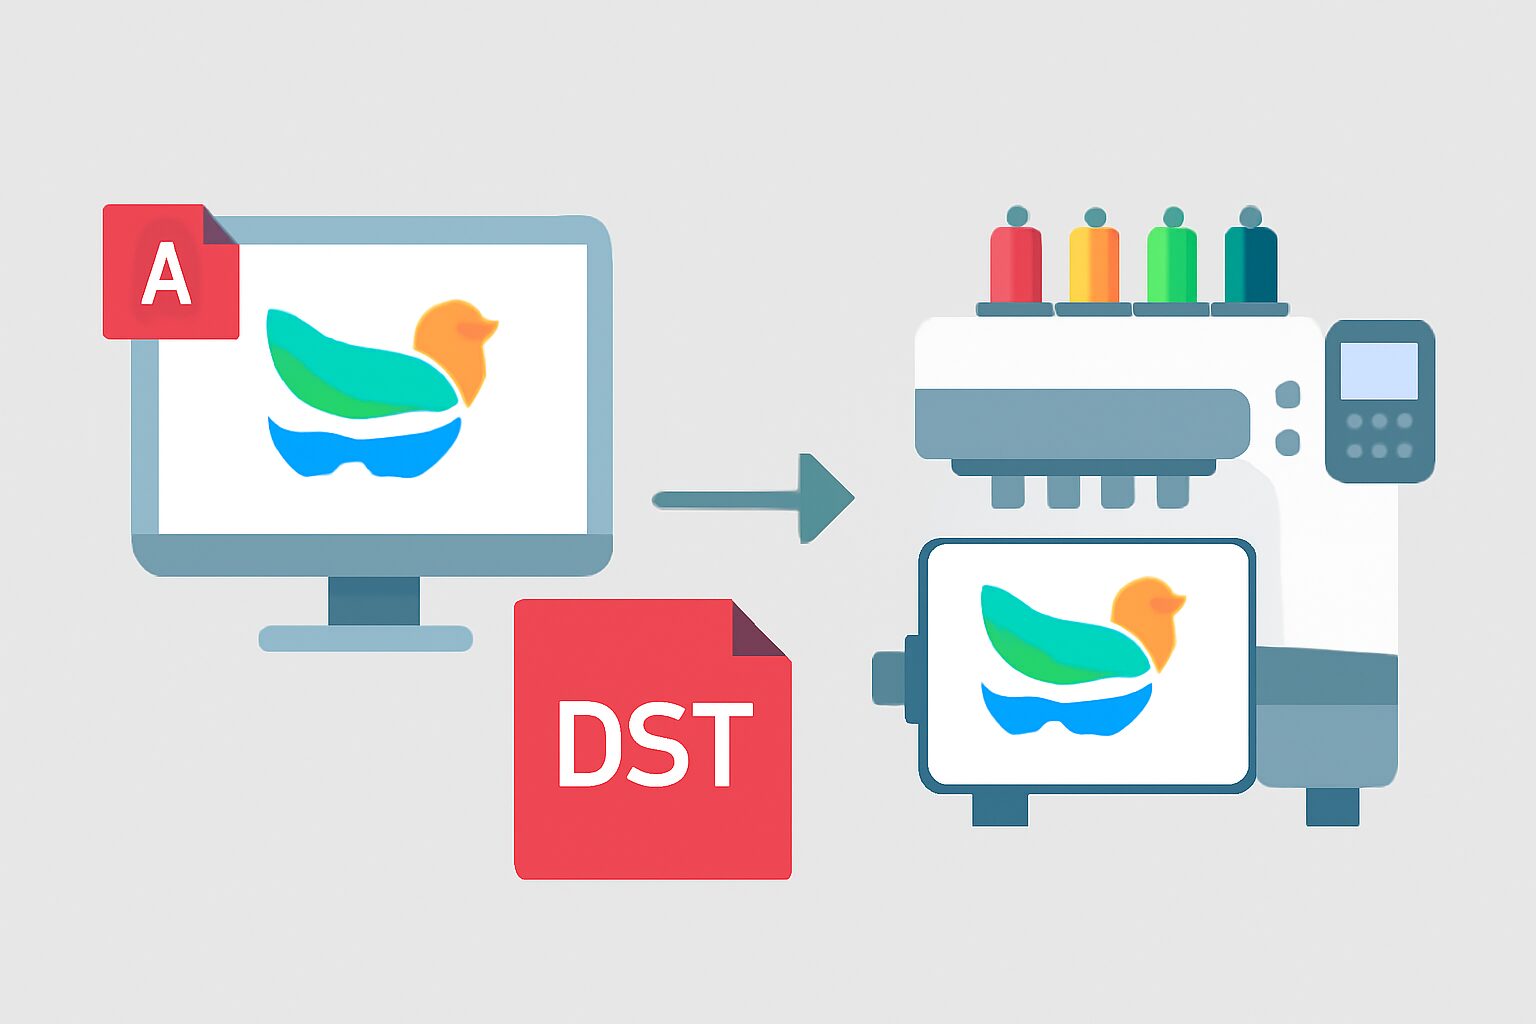
When it comes to turning your digital art into embroidery, ensuring the correct file format is key to a successful outcome. JPEG images are a common starting point for many, but to bring your design to life on fabric, you must convert them to the DST embroidery file format. DST files provide embroidery machines with detailed instructions on stitching, ensuring precise and vibrant results.
This guide explores how to convert JPEG to DST files for embroidery, the importance of accurate conversion, and the tools available to make this process seamless. Whether you’re a hobbyist, a small business owner, or an apparel brand, understanding how to create DST files from JPEGs is essential for high-quality embroidery production.
Understanding the Importance of DST Files in Embroidery
What is a JPEG File?
JPEG, short for Joint Photographic Experts Group, is the standard file format for digital images. It uses lossy compression to reduce file sizes while maintaining image quality. JPEGs are versatile for everyday use, but they lack the stitching instructions required for embroidery.
Why DST?
DST (Data Stitch Tajima) files are specialized formats designed for embroidery machines. Unlike JPEGs, which are simply pixel-based, DST files provide embroidery machines with specific instructions for stitching, such as stitch type, order, density, and more. These instructions ensure that the design is replicated accurately and consistently on fabric.
Why Convert JPEG to DST?
Precision in Stitching
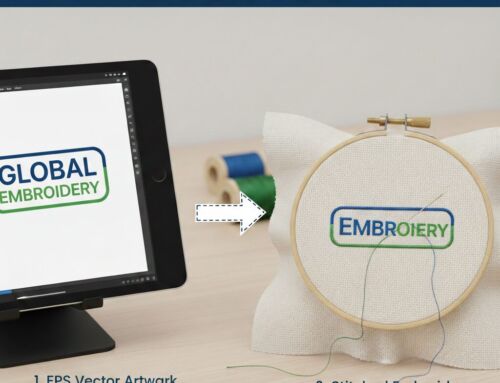
Embroidery is about thread, not pixels. While JPEGs beautifully capture colors and gradients, they don’t provide the stitch directions needed for a machine to recreate the design. Converting to DST ensures each stitch is placed accurately on fabric.
Quality Embroidery Output
DST files preserve the integrity of the design through stitch types and densities. Converting from JPEG to DST guarantees that the final embroidery mirrors the original image, whether it’s a simple logo or an intricate piece of art.
Machine Compatibility
Embroidery machines are designed to read DST files. Directly using JPEG images can lead to misinterpretations and errors, resulting in stitching issues or machine malfunctions. By converting to DST, you ensure that your machine can process and execute the design properly.
How to Convert JPEG to DST: A Step-by-Step Guide
1. Choose a Reliable Conversion Tool
The first step in converting JPEG to DST is selecting the right online or software-based tool. Look for platforms that offer precision and user-friendly features. Reputable tools will help ensure that your designs are transferred correctly and with minimal loss of detail.
2. Prepare Your JPEG Image
Before uploading your JPEG to the conversion tool, make sure it is clear, high-quality, and free of distortions. The better the original image, the better the resulting embroidery.
3. Adjust Settings for Accuracy
Many online conversion tools allow you to tweak settings like stitch types, colors, and size before starting the conversion. Adjust these settings based on your embroidery project’s needs. Always aim to preserve the design’s clarity and reduce any complex color transitions that may not convert well.
4. Convert and Preview
Once everything is set, initiate the conversion. Most tools provide a preview of the DST file before finalizing it. Check for any issues with stitching order, color accuracy, or design distortions.
5. Download and Test
After conversion, download the DST file and test it. Conduct a stitch-out to ensure the design is faithful to the original JPEG. It’s common to adjust the stitch density or size to ensure optimal results.
Best Practices When Converting JPEG to DST
1. Maintain Design Integrity
Converting from JPEG to DST isn’t always flawless. JPEGs are pixel-based, while DST files focus on stitch placements. Some designs may lose detail during the conversion, so check that all key elements are represented.
2. Ensure Proper Stitch Density
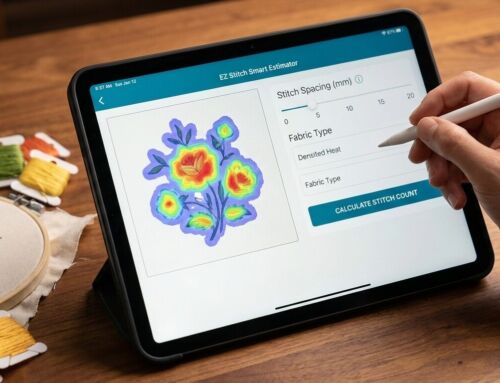
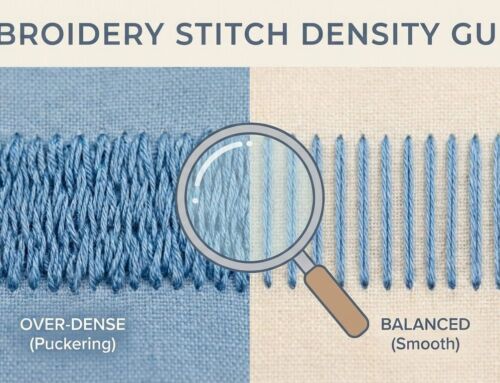
The stitch density will affect the look and feel of your embroidery. Too high a density may cause the design to be too heavy, while too low a density could make it too sparse. Adjust this based on the fabric type and the look you’re going for.
3. Select the Right Colors
Embroidery threads don’t match the full spectrum of digital colors. Be prepared to adjust colors to ensure that your embroidery matches the original design as closely as possible. Some conversion tools allow you to map digital colors to available embroidery threads.
4. Test First
Always perform a test stitch-out before proceeding with the final product. This step will help identify any potential issues in the DST file, allowing you to make adjustments before wasting time and materials.
Tools for Converting JPEG to DST Files
If you’re serious about embroidery, professional digitizing tools can provide the best results. Below are some popular software options for converting JPEG to DST:
Wilcom TrueSizer
A robust tool for resizing, editing, and converting images into DST files. It’s known for its advanced features, allowing users to adjust stitch types, sizes, and densities.
EmbroideryWare
This tool offers a wide range of conversion features, ensuring that your JPEG is converted into a high-quality DST file. It’s especially helpful for adjusting stitch paths and densities.
BuzzXplore
Ideal for organizing and managing your designs, BuzzXplore also allows you to batch convert multiple JPEGs to DST files, making it perfect for businesses or large projects.
Challenges in Converting JPEG to DST
1. Loss of Design Detail
Because JPEGs are based on pixels, some intricate design details may not convert well to DST. This can result in less intricate stitching or missing elements.
2. Color Mismatch
The color palette of JPEGs often doesn’t match the available thread colors in embroidery. Adjusting the colors after conversion is often necessary to ensure the final output resembles the original design.
3. Size and Scaling Issues
When converting a large JPEG image to DST, scaling it down to fit a smaller embroidery machine can result in a loss of detail. Always ensure that the design is sized properly before conversion.
Why You Should Work with a Professional Digitizing Service
While online tools and software make converting JPEG to DST easier, they may not deliver the level of precision and quality required for professional results. Hiring a professional embroidery digitizing service ensures that your designs are optimized for embroidery machines and stitched to perfection.
At Genius Digitizing, we offer expert services in converting your JPEG images into DST files. Our team ensures that every design is meticulously digitized, maintaining the integrity of the original and ensuring high-quality results for your embroidery project.
Ready to Get Your Designs Digitized?
Get in touch with us today at info@ezstitchdigitizing.com or visit our Facebook page for more information or you can Contact us
Conclusion
Converting JPEG files to DST format is crucial for achieving high-quality embroidery. With the right tools and techniques, you can ensure your designs stitch out perfectly every time. Whether you’re a hobbyist or running a business, understanding the conversion process and best practices will elevate your embroidery game.
Hashtags:
#EmbroideryDigitizing #DSTFiles #ConvertJPEGtoDST #EmbroideryTips #EmbroideryBusiness #DIYEmbroidery #EmbroideryHobby

