What Are Custom Velcro Embroidered Patches?
Custom velcro embroidered patches are a modern twist on traditional patches. Instead of being permanently sewn on, they feature a velcro backing that allows quick attachment and easy removal.
They consist of two main parts:
The Patch: Typically made from fabric, twill, leather, or PVC and decorated with embroidery, logos, or artwork.
The Velcro Backing: The hook-and-loop system that secures the patch to any surface with the opposite side.
This flexibility makes them popular for jackets, uniforms, tactical gear, hats, backpacks, and even custom gifts. They’re durable, reusable, and let you switch up styles in seconds.
Materials You’ll Need for Custom Velcro Embroidered Patches
To make your patches sturdy and professional, gather these essentials:
Embroidery Machine (multi-needle recommended)
Velcro (hook & loop fasteners, preferably VELCRO® Brand)
Fabric (twill, polyester, or water-resistant fabric for outdoor use)
Stabilizers (tear-away or cut-away, depending on fabric weight)
Embroidery Threads (polyester is best for colorfastness)
Embroidery Needles (size 75/11 or 80/12 recommended)
Scissors or Rotary Cutter
Cutting Mat (self-healing)
Adhesive Spray (optional, for fabric placement)
Fray Check or Fabric Sealant (optional, for edge durability)
Steam Iron (for crisp edges before hooping)
💡 Pro Tip: Use quality velcro and polyester threads. They hold up better after multiple washes, especially on uniforms or outdoor gear.
Step-by-Step Guide to Making Custom Velcro Patches
Step 1: Create Your Patch Design
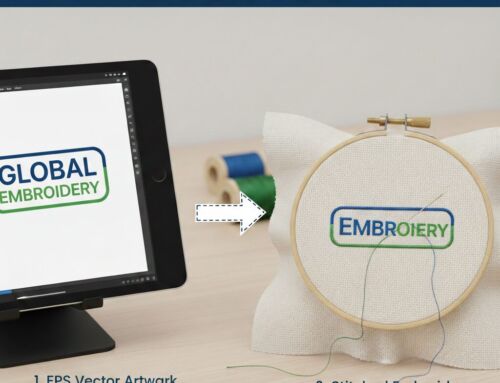
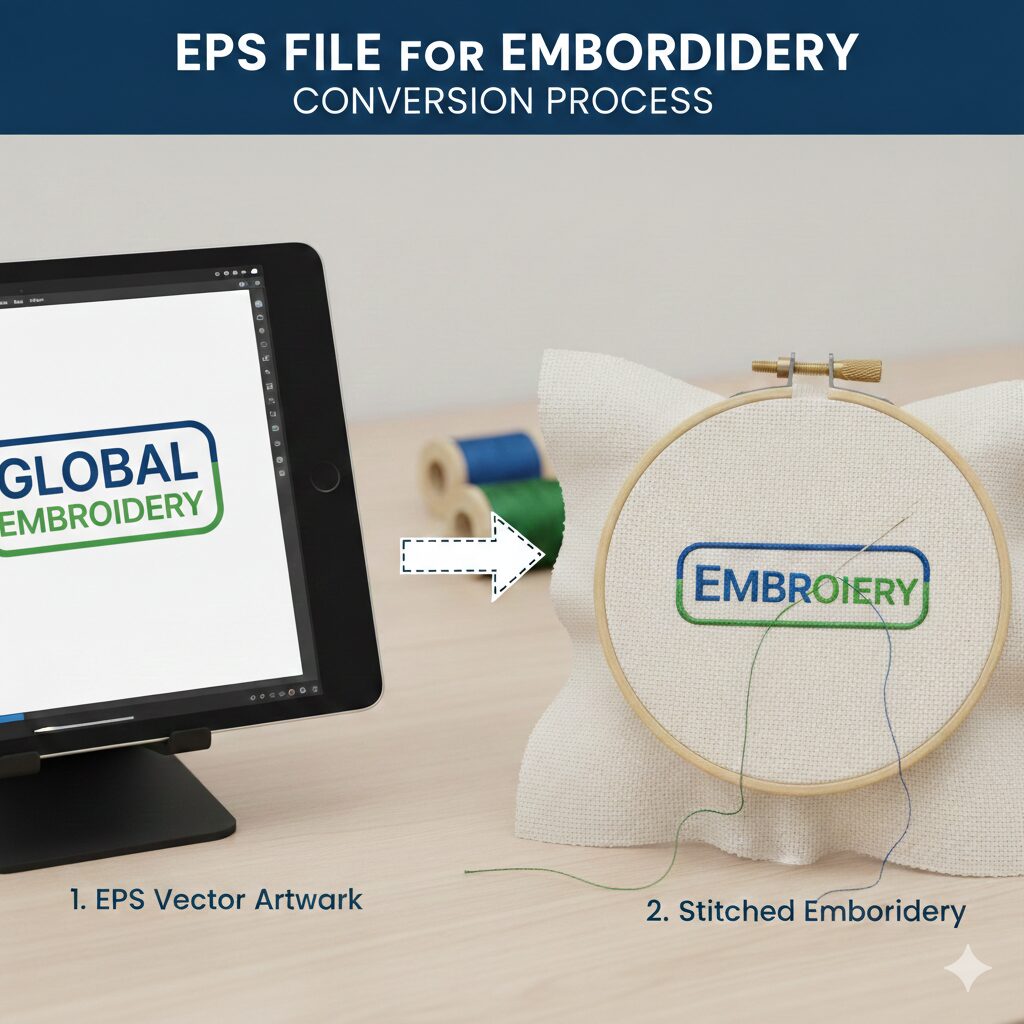
Use embroidery digitizing software to prepare your design. If you don’t have experience, outsourcing to professionals can save time. At EZ Stitch Digitizing, we provide high-quality digitized files so your patches stitch out perfectly.
Step 2: Prepare Fabric and Stabilizer
Cut your fabric and stabilizer slightly larger than your design. For flexible patches, use tear-away stabilizers. For heavy-duty patches, use cut-away stabilizers.
Step 3: Hoop the Stabilizer
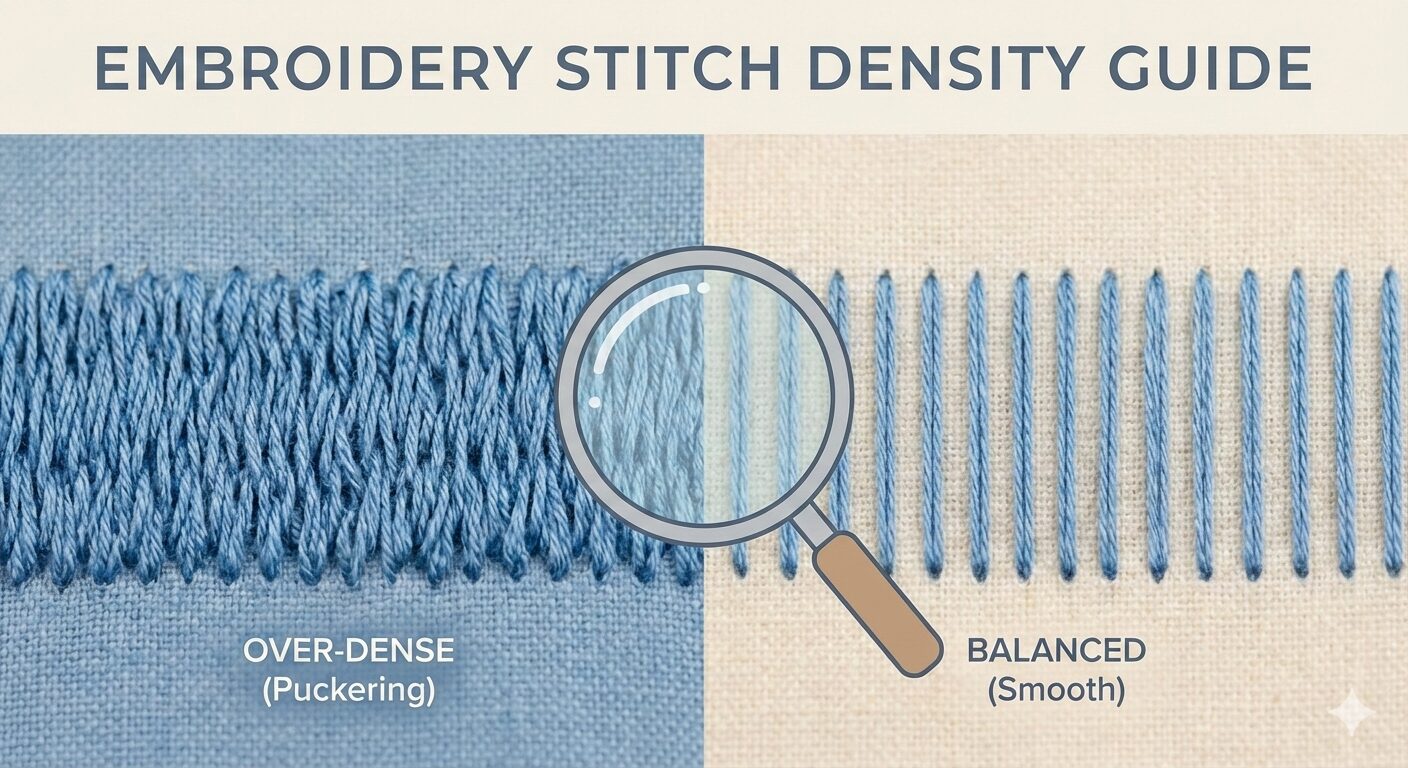
Place the stabilizer securely in the embroidery hoop. It must be tight to avoid puckering.
Step 4: Stitch the Placement Outline
Run the placement stitch on your embroidery machine. This gives you a guideline for positioning the fabric.
Step 5: Position the Fabric
Lay your fabric over the placement stitch and lightly secure it with adhesive spray or tape.
Step 6: Add the Velcro Backing
Cut a piece of velcro matching the patch size. Place it on the back side of the fabric before securing with tack-down stitching.
Step 7: Tack Down & Embroider
Run tack-down stitches around the edge to lock everything in place. Then, let your embroidery machine complete the main design.
Step 8: Finish the Borders
Use a satin, zigzag, or merrow stitch for clean edges. This gives your patch a professional look.
Step 9: Remove, Trim & Seal
Take the patch out of the hoop, trim excess stabilizer, and apply Fray Check if needed. Inspect for loose threads.
Your custom velcro embroidered patch is now ready to apply!
Creative Ways to Use Custom Velcro Patches
Custom velcro patches aren’t just functional—they’re versatile and stylish. Here are popular uses:
Uniforms & Workwear: Add logos, names, or ranks.
DIY Fashion: Personalize denim jackets, hats, or tote bags.
Kids’ Gear: Fun patches for backpacks, lunch bags, or coats.
Promotional Branding: Hand out branded patches at events.
Tactical & Outdoor Gear: Perfect for vests, military uniforms, and hiking bags.
Event Souvenirs: Family reunions, charity runs, or festivals.
Pet Accessories: Customize collars or harnesses.
Home Decor: Incorporate into cushions or wall hangings.
Why Choose Professional Digitizing for Your Patches?
While you can DIY your patches, professional embroidery digitizing ensures precision, durability, and vibrant results. At EZ Stitch Digitizing, we specialize in transforming artwork into stitch-ready embroidery files. We provide:
Affordable pricing
Fast turnaround
Free design preview before payment
100% quality guarantee
📧 Email us at info@ezstitchdigitizing.com or message us via Facebook to get started.
Frequently Asked Questions
1. What makes velcro patches better than sew-on patches?
Velcro patches are reusable, removable, and versatile. Unlike permanent sew-on patches, they can be switched out quickly on uniforms, jackets, or bags without damage.
2. Can I wash clothing with velcro embroidered patches attached?
Yes, but for best results, remove the patch before machine washing. This prevents wear on the velcro and keeps embroidery stitches looking fresh.
3. How long do custom velcro patches last?
With high-quality materials and stitching, patches can last for years. Using polyester threads and strong velcro helps them withstand frequent use.
4. What’s the best fabric for embroidered patches?
Twill and polyester are most common due to their durability. For outdoor or tactical gear, water-resistant fabrics like nylon are ideal.
5. Can I get professional help designing my patch?
Absolutely. Digitizing services like EZ Stitch Digitizing ensure your design is optimized for embroidery machines, saving time and ensuring a flawless finish.