Creating custom embroidery designs adds a personal touch to your projects. Whether you’re a beginner or an experienced crafter, learning how to make a PES file for embroidery is a crucial skill. PES files are the format used by Brother and Babylock embroidery machines to convert digital designs into stitch patterns. In this guide, we’ll show you exactly how to make a PES file for embroidery from scratch.

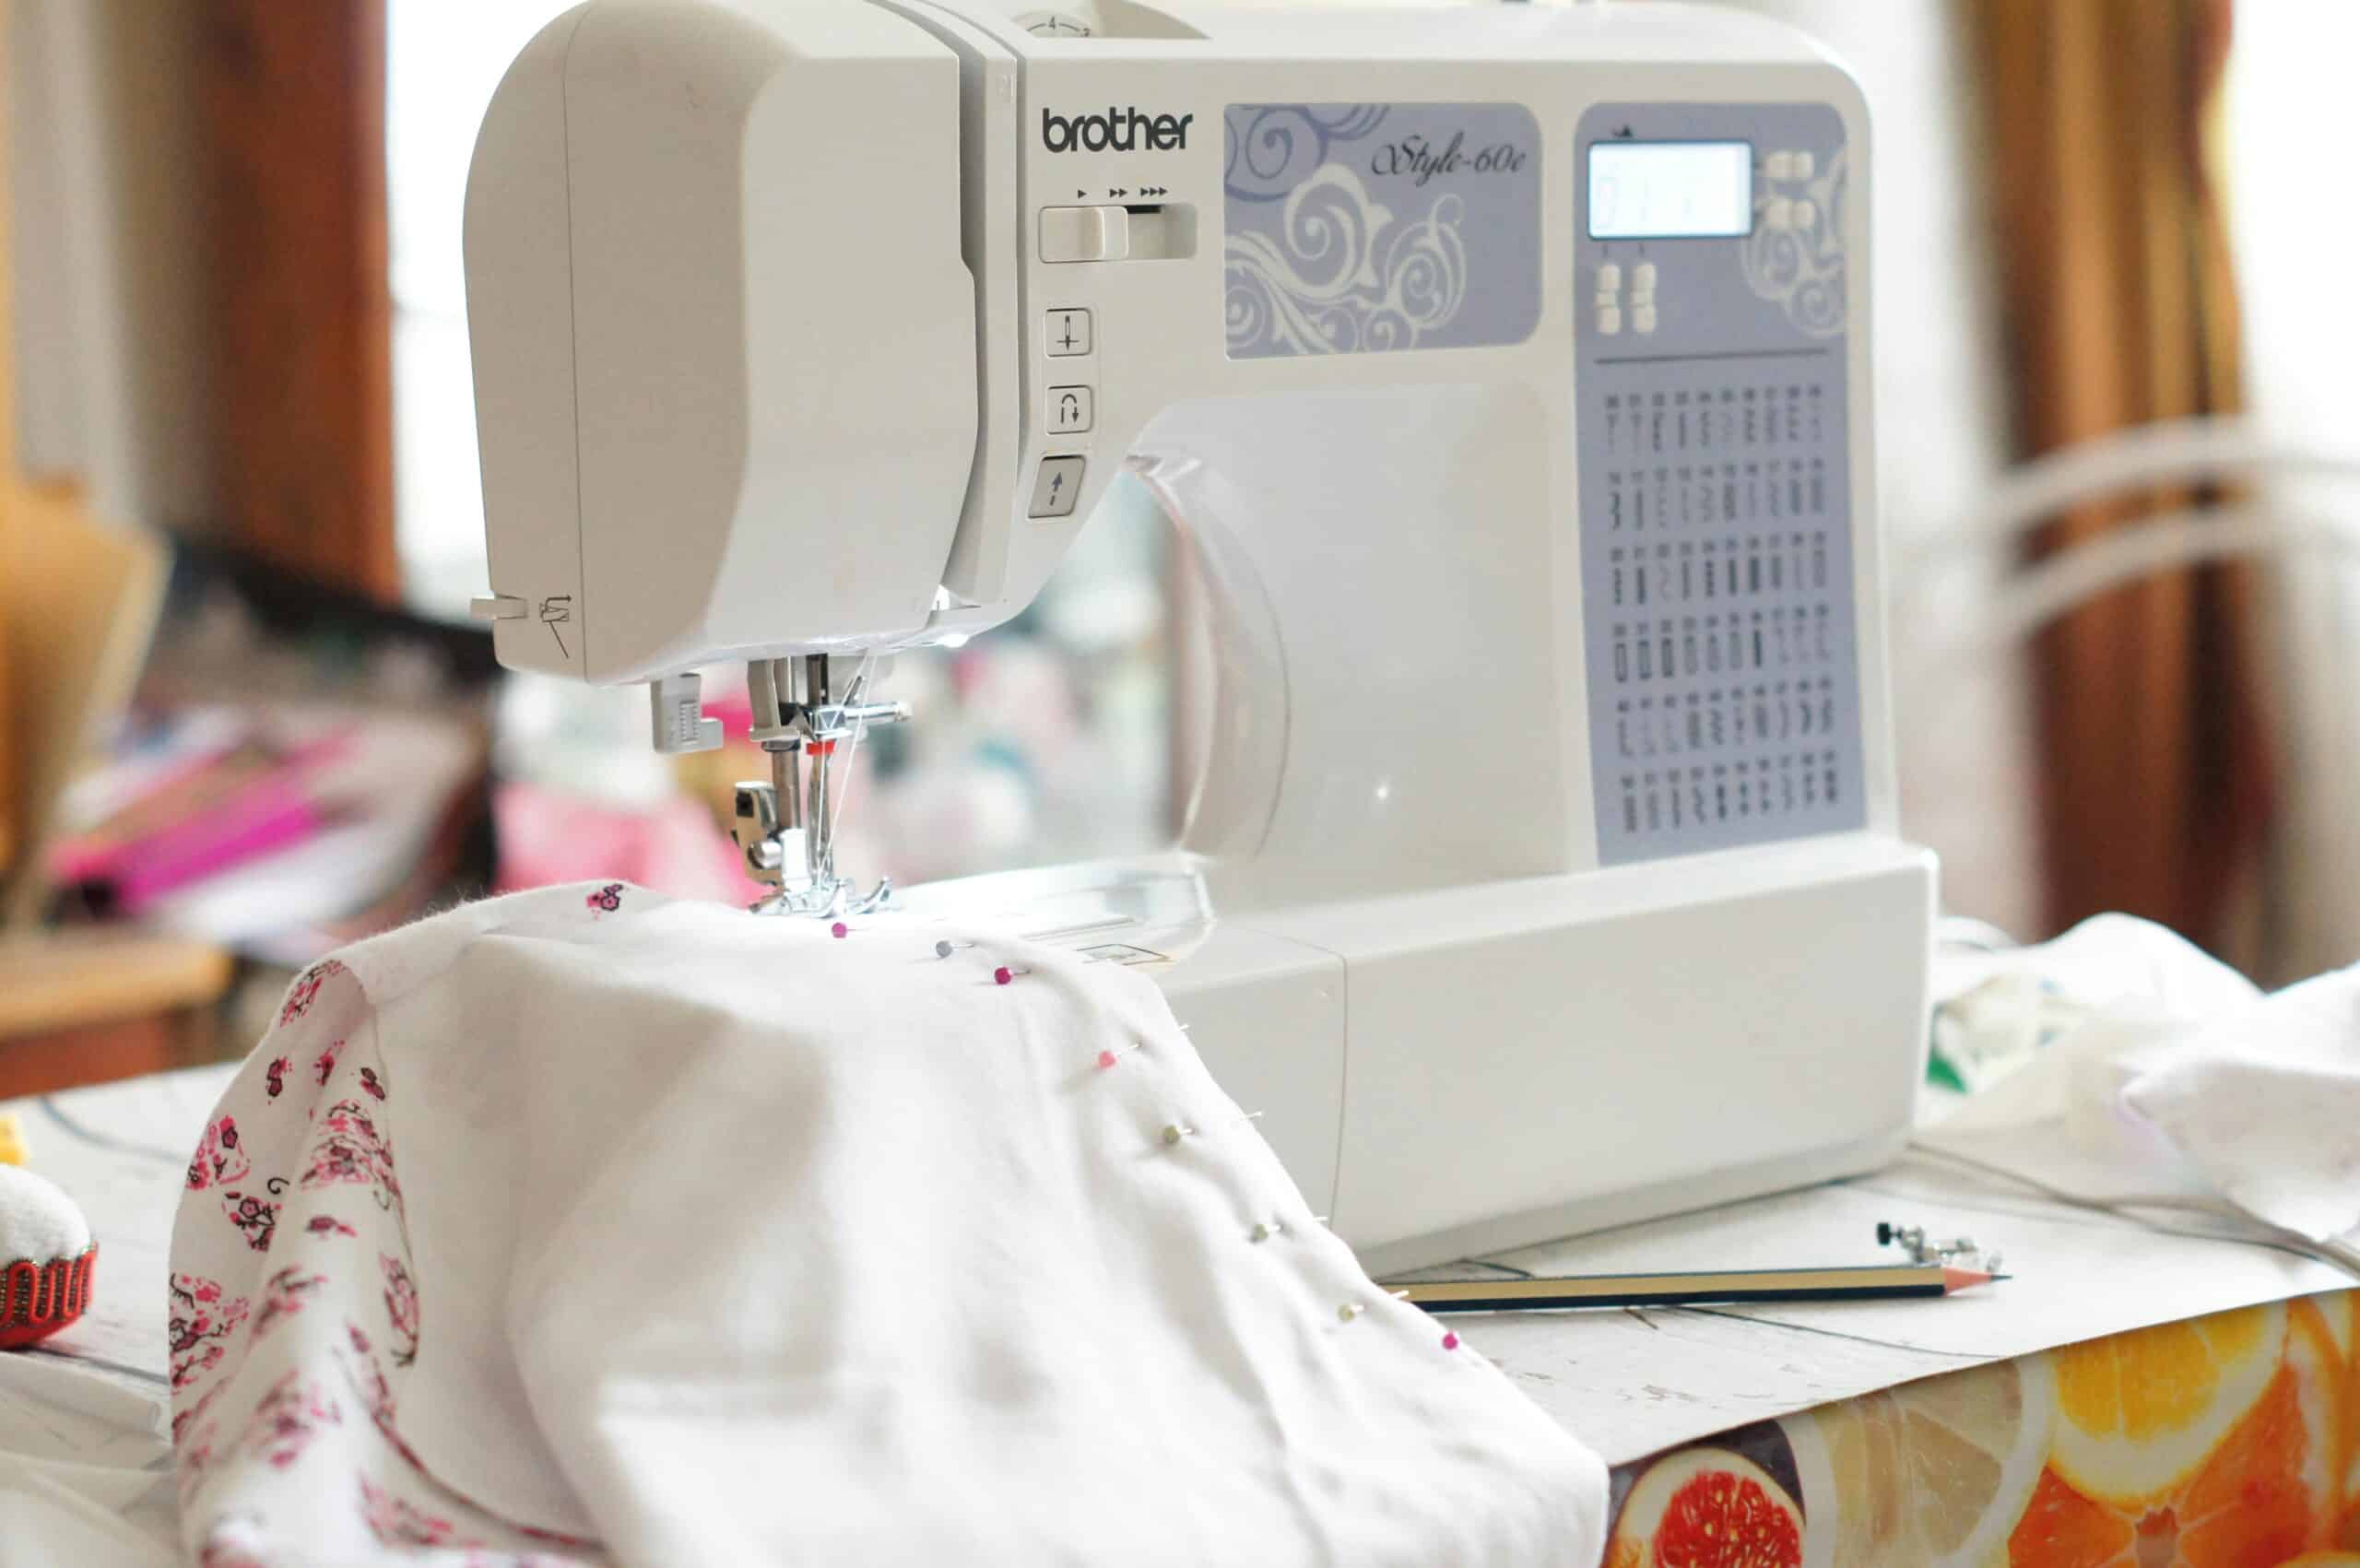
Photo by Anna Doschechko
What is a PES File?
A PES file is a format used by Brother and Babylock embroidery machines. It contains all the necessary instructions, such as stitch type, stitch order, and thread colors, to ensure your design stitches correctly. Learning how to make a PES file for embroidery allows you to bring your creative designs to life.
Why You Need a PES File
For your embroidery machine to stitch a design, it must be in the PES format. Without converting your artwork into a PES file, your machine won’t be able to read or stitch it properly. Knowing how to make a PES file for embroidery gives you full control over your designs and allows for better customization.
Steps to Create a PES File for Embroidery
Here’s how you can make a PES file for embroidery:
1. Choose or Create a Design
First, choose a design. You can:
Create your own design using software like Adobe Illustrator or CorelDRAW.
Use a pre-made design in formats such as PNG, JPG, or SVG.
Remember, simple designs are easier to digitize and work better when creating PES files for embroidery.
2. Use Embroidery Digitizing Software
To convert your design into a PES file, you’ll need embroidery digitizing software. Some popular choices include:
Here’s the process to make a PES file for embroidery using digitizing software:
Upload the design: Import your PNG, JPG, or SVG file.
Digitize the design: Assign stitch types (e.g., satin or fill stitches) to different parts of the design.
Adjust stitch parameters: Fine-tune stitch density, underlay, and angles for improved quality.
Assign thread colors: Select colors from the software’s palette to match your design.
3. Save Your Design as a PES File
Once your design is fully digitized, the next step is saving it as a PES file:
Go to the “File” menu.
Select “Save As” or “Export.”
Choose the PES format and save it to your computer.
4. Test the PES File
Before stitching, use the software’s stitch simulator to preview how your design will stitch out. This helps you identify any potential issues before transferring the PES file to your machine.
5. Load the PES File to Your Embroidery Machine
Now, transfer the PES file to your embroidery machine using USB or direct connection. The machine will read the file and stitch your design accordingly.
Helpful Tips for Creating PES Files
Simplify your designs: Start with simple designs to minimize stitching errors.
Test on scrap fabric: Always run a test stitch on scrap fabric before embroidering on your final material.
Check thread tension: Ensure the tension on your machine is properly set to prevent issues like thread breakage or puckering.
Conclusion
Learning how to make a PES file for embroidery opens up endless creative possibilities for custom designs. By following these simple steps and using the right digitizing software, you’ll be able to convert any design into a professional-quality PES file for embroidery machines.
If you need professional assistance with converting your designs into PES files, EZ Stitch Digitizing offers fast, reliable, and affordable digitizing services. Contact us today to get started on your next embroidery project!


