Creating a PES file is an essential step for anyone working with Brother embroidery machines. PES is a machine-readable file format that holds all the necessary data to bring your design to life through stitching. In this blog, we’ll take you through a step-by-step proc
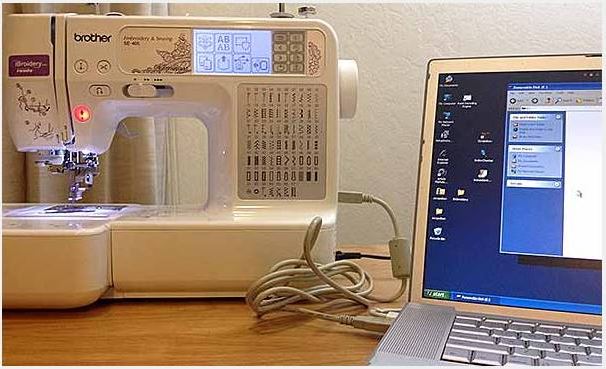
From Google | Image by Brother Canada
ess on how to make a PES file, the tools you’ll need, and some best practices to ensure your embroidery project goes smoothly.
What is a PES File?
A PES file is the format most commonly used by Brother embroidery machines. It contains instructions for the machine, including stitch paths, colors, and the order in which to apply stitches. If you’re working with any type of Brother machine, you’ll need to know how to make a PES file to transfer your digital designs into actual embroidery.
Tools Needed to Make a PES File
To create a PES file, you need embroidery digitizing software that can convert your design into a machine-readable format. Here are some software options that are compatible with Brother machines:
PE-Design: Brother’s official software that offers comprehensive digitizing tools to convert images into embroidery-ready files.
PE-Design SoftwareInk/Stitch: A free, open-source plugin for Inkscape that allows you to create and digitize embroidery designs.
Ink/Stitch PluginSewArt: A budget-friendly tool for converting raster images (like JPEGs) into embroidery files.
SewArt
Step-by-Step Guide to Making a PES File
Follow these steps to create a PES file for your embroidery machine:
Step 1: Choose Your Software
First, select the digitizing software you want to use. Some software, like PE-Design, is paid and offers extensive features, while others, like Ink/Stitch, are free but might be less advanced.
Step 2: Upload or Create Your Design
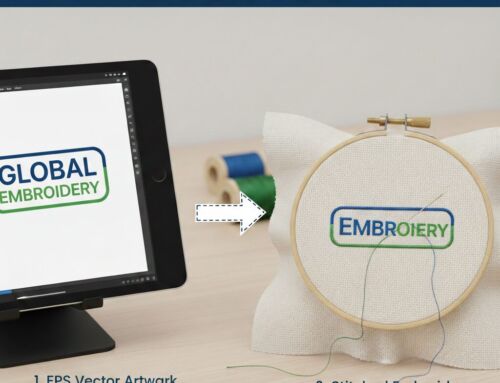
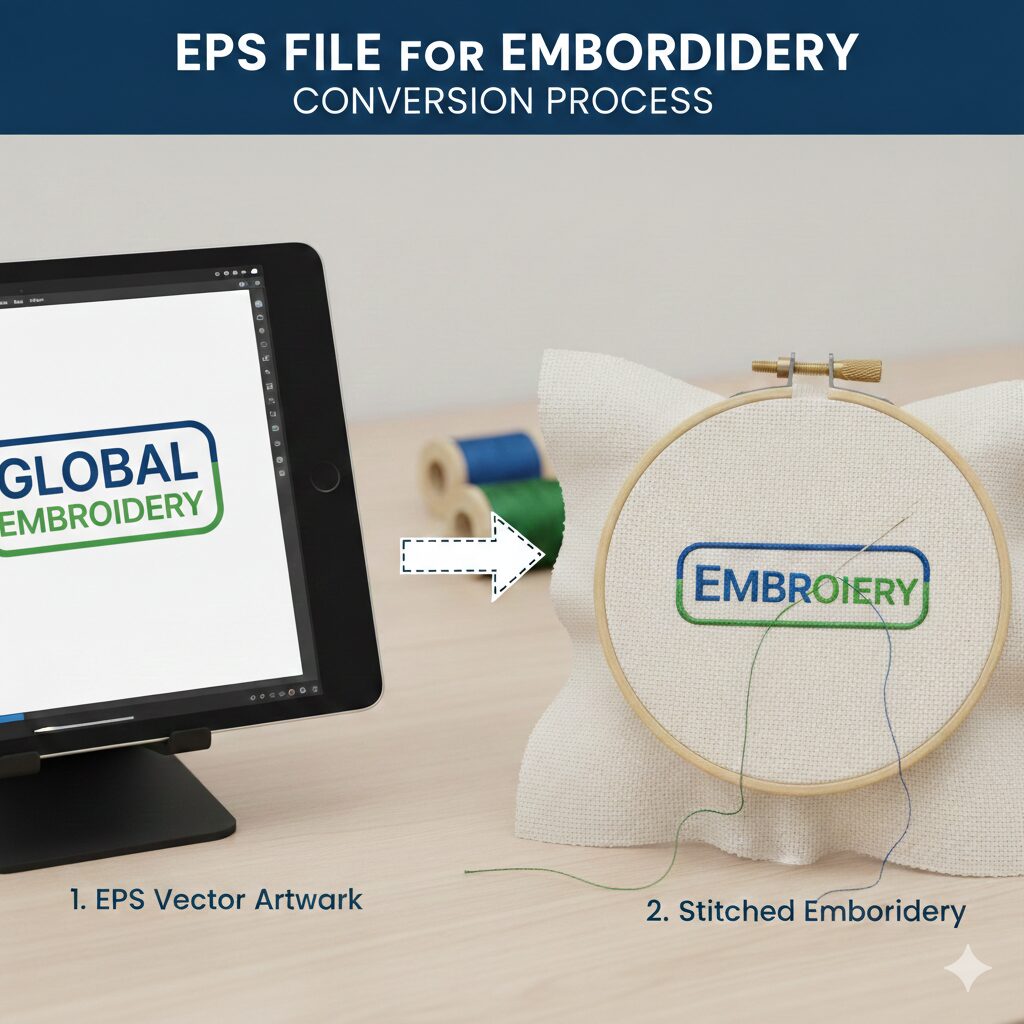
Open your chosen software and either upload an existing image or create a new one. For example, if you’re using Ink/Stitch, you can import vector designs in formats like SVG. Some software, like SewArt, can convert raster images such as PNG or JPEG files into embroidery designs.
Step 3: Digitize Your Design
The next step is to digitize the design. This involves converting your artwork into stitch data that the embroidery machine can understand. Most digitizing software will allow you to manually adjust stitch types (like satin or fill stitches) and set stitch directions to match your design’s details.
Step 4: Save Your File as PES
After digitizing, save the design in PES format. Make sure the file is saved in the right format for your Brother machine. You can then transfer the file to your machine via USB or another method supported by your device.
Best Practices for Making PES Files
Here are a few best practices to ensure that your PES files stitch out smoothly:
Use High-Quality Designs: The quality of your PES file depends largely on the quality of the design. Avoid using low-resolution images that can lead to poor stitch results.
Test on a Sample: Always test your PES file on a sample fabric before applying it to your final project. This helps you spot any stitching issues early.
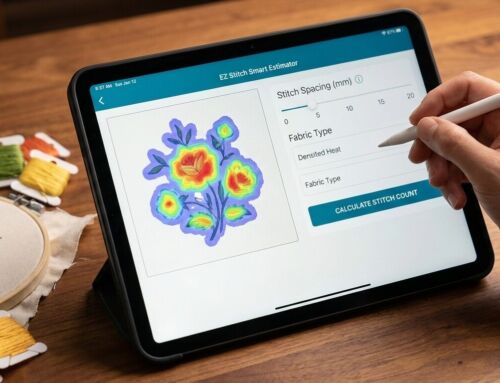
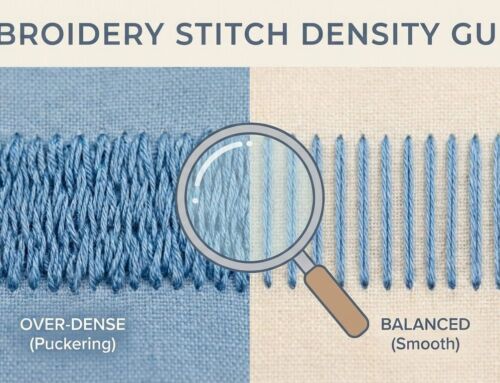
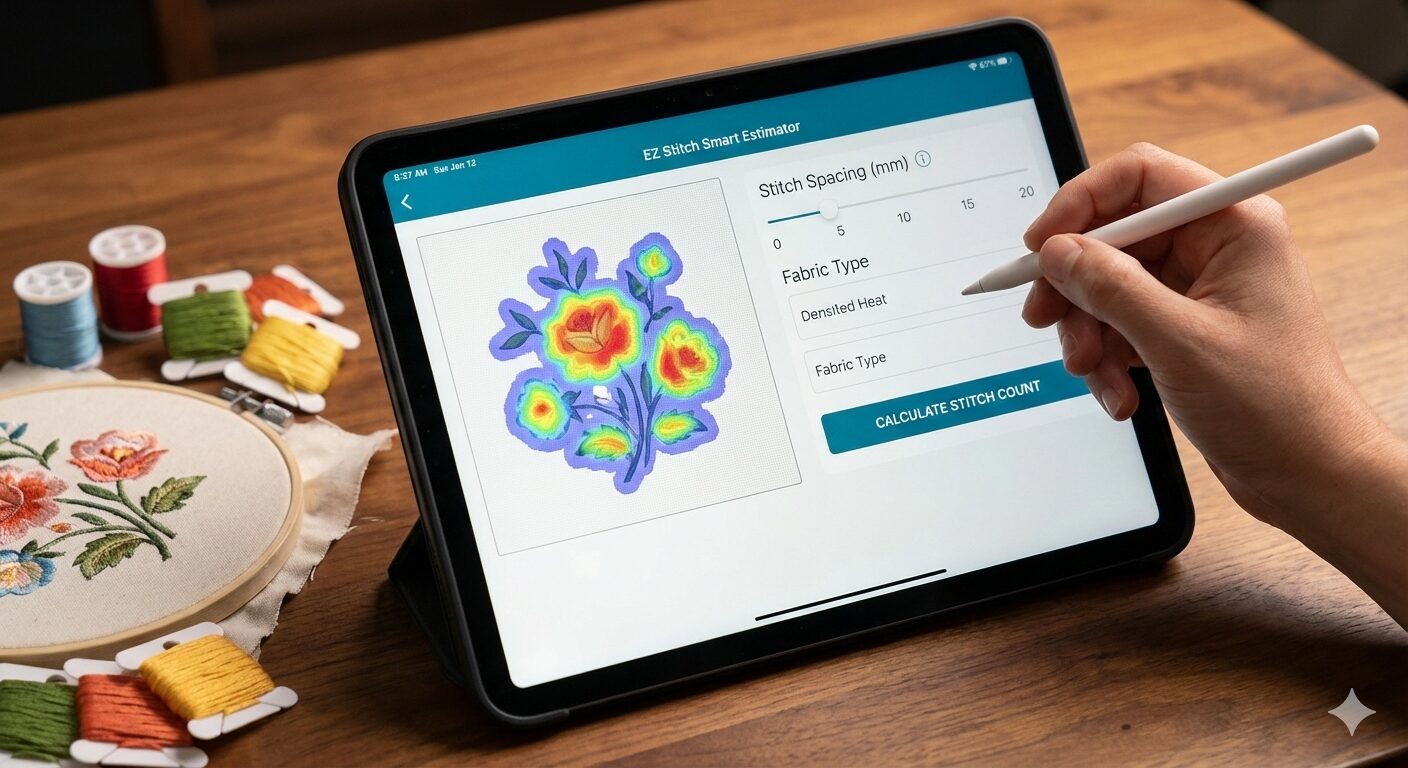
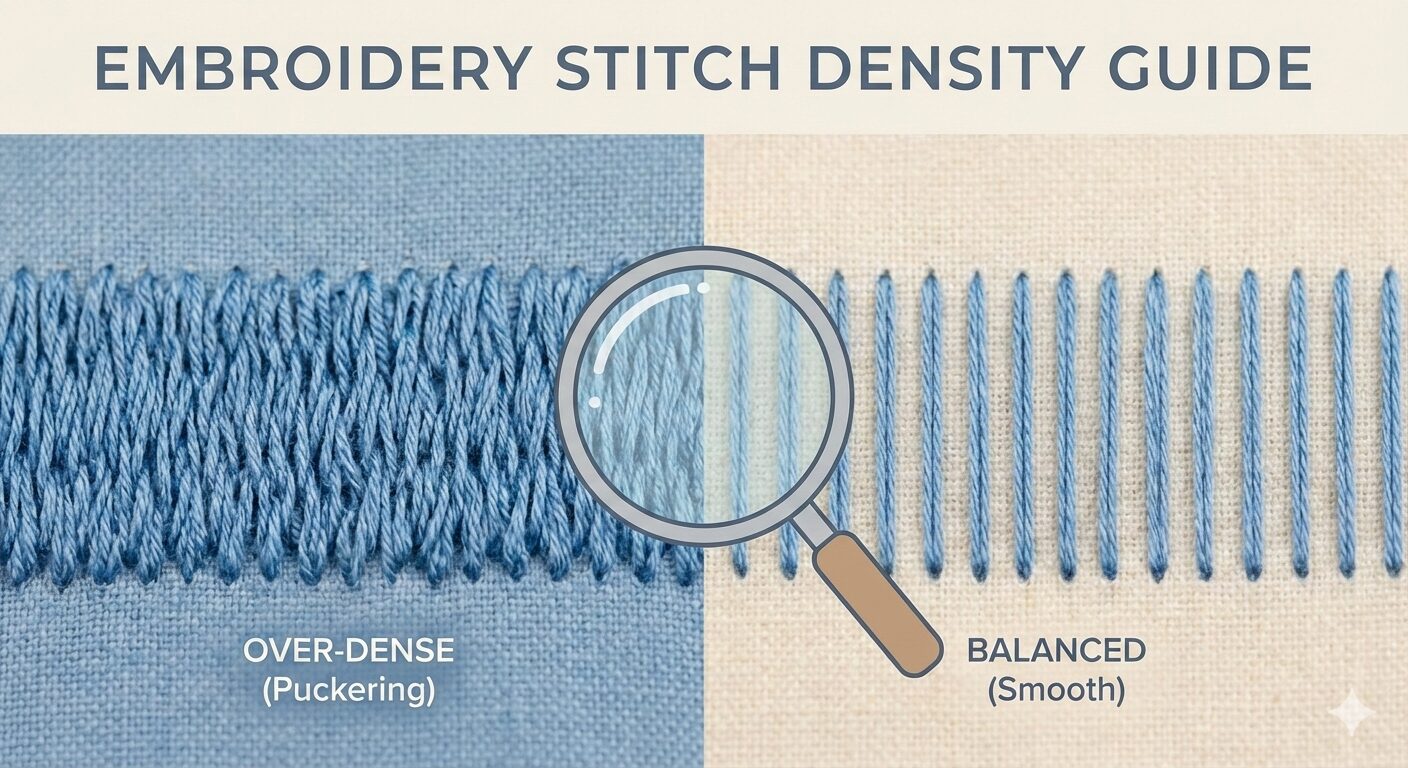
Choose the Right Stitch Density: Adjust the density of your stitches to match the type of fabric you’re using. For example, dense stitching may be required for heavier fabrics.
Conclusion
Learning how to make a PES file is crucial for any embroidery enthusiast or business owner working with Brother embroidery machines. With the right software and techniques, you can easily transform your designs into stitch-ready PES files. Whether you’re using free software like Ink/Stitch or advanced tools like PE-Design, the steps to making a PES file are straightforward and can be learned quickly.
At Ez Stitch Digitizing we offer professional embroidery digitizing services to help you create flawless, machine-ready PES files. Whether you’re a small business owner or a hobbyist, we make the process easy, offering quick turnaround times and free design backups. Contact us today to get started on your next project!