Are you looking to bring your custom designs to life through embroidery? Knowing how to create PES files for embroidery is an essential skill that can help you turn your digital artwork into stitchable designs. PES files are the format used by popular embroidery machines like Brother and Babylock. These machines rely on PES files to understand where to stitch, what stitch types to u
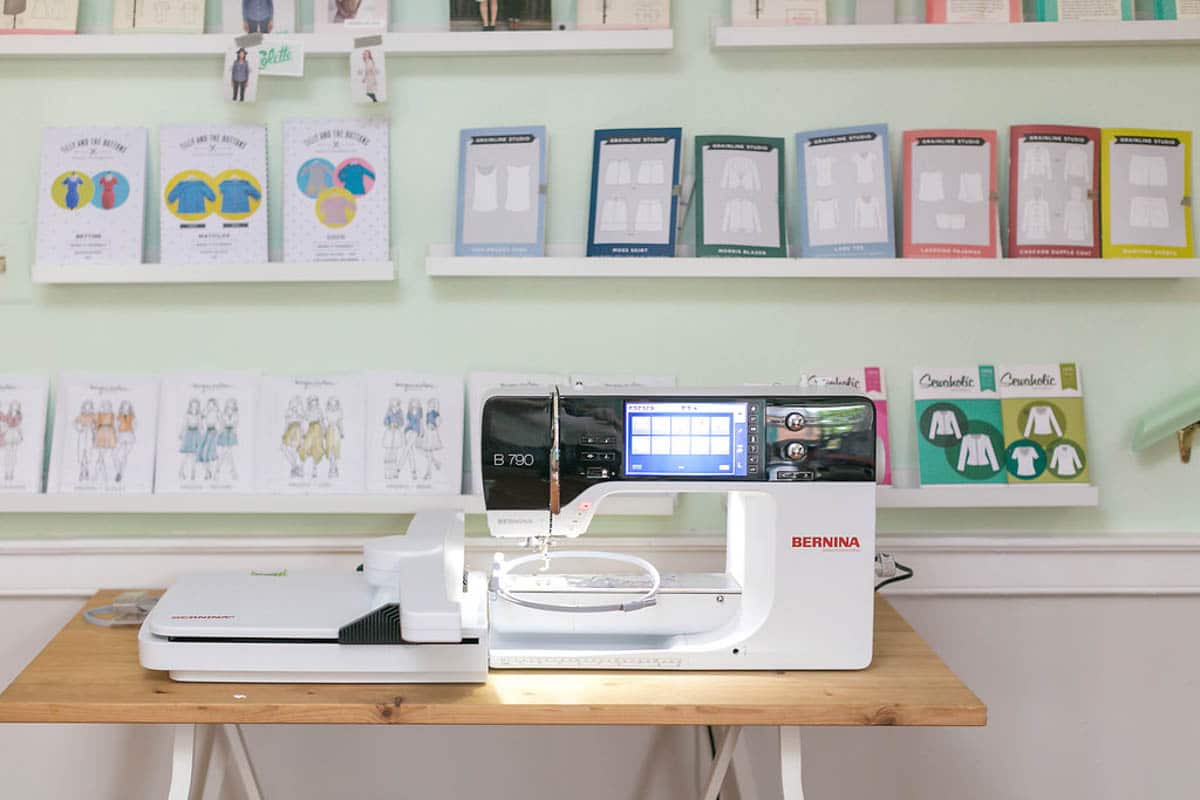
From Google | Image by BERNINA
se, and which thread colors to apply. In this guide, we’ll walk you through everything you need to know to create your own PES files for embroidery.
What is a PES File?
A PES file is the format that embroidery machines, particularly Brother and Babylock models, use to interpret digital designs. When you create a PES file, you’re giving your machine instructions on how to stitch your design. The file contains data like stitch paths, types of stitches (satin, running, etc.), thread colors, and stitch sequence. Without converting your design into a PES file, your embroidery machine won’t know how to replicate it.
Why You Need a PES File for Embroidery
Embroidery machines can’t simply stitch any image or artwork as it is. The design must first be digitized into a machine-readable format. When you create a PES file for embroidery, you’re transforming your artwork into a language that your machine understands, ensuring precise stitching and color matching. Whether you’re creating designs for personal projects or professional embroidery work, knowing how to digitize and save a PES file gives you control over the finished product.
How to Create PES Files for Embroidery: Step-by-Step
Ready to create your first PES file? Follow these easy steps to get started:
1. Choose or Create a Design
The first step is to choose the design you want to embroider. This design could be something you’ve created in graphic design software, or it could be an existing image in a format like PNG, JPG, or SVG. Keep in mind that simpler designs tend to work better for embroidery. Overly complex images with too many details may not stitch well.
2. Use Embroidery Digitizing Software
To convert your design into a PES file, you’ll need embroidery digitizing software. Some popular options include:
Here’s the process to digitize your design:
Upload the image: Import your chosen design (in formats like PNG, JPG, or SVG) into the software.
Assign stitch types: Use the software to assign different stitch types (such as satin, fill, or running stitches) to various parts of the design. This tells your embroidery machine how to sew the design.
Adjust stitch settings: You can customize the stitch density, direction, and angles to optimize the design for stitching.
Select thread colors: Choose the correct thread colors for each part of your design, ensuring they match the desired final look.
3. Save Your File as a PES Format
Once you’ve digitized your design, it’s time to save it as a PES file:
Click “File” in your digitizing software.
Choose “Save As” or “Export.”
Select PES from the list of available file formats and save your design.
4. Test Your PES File
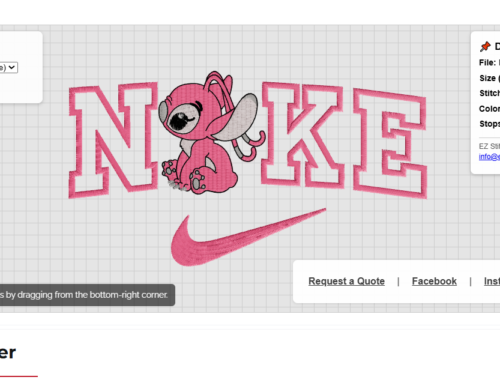
Before stitching your design on fabric, it’s a good idea to test the PES file in your software’s simulation feature. This preview allows you to check for any issues, such as incorrect stitch types or missed details, and fix them before the machine starts embroidering.
5. Transfer the PES File to Your Embroidery Machine
Now that your PES file is ready, transfer it to your embroidery machine using a USB drive or direct connection. Your machine will read the PES file and stitch the design according to the instructions.
Helpful Tips for Creating PES Files for Embroidery
Start simple: If you’re new to creating PES files, begin with basic designs that don’t have too many intricate details.
Test on scrap fabric: Before stitching on your final fabric, run a test on scrap fabric to ensure the design stitches as expected.
Check thread tension: Proper thread tension prevents issues like thread breakage or puckering during stitching.
Use high-quality software: Good digitizing software is essential for creating high-quality PES files. It’s worth investing in software that offers advanced features and supports a wide range of embroidery machines.
Conclusion
Learning how to create PES files for embroidery opens up endless creative possibilities for your embroidery projects. Whether you’re customizing clothing, creating unique gifts, or running an embroidery business, mastering this process will allow you to bring your designs to life with precision. By following the steps outlined in this guide and using the right tools, you’ll be able to create your own PES files with ease.
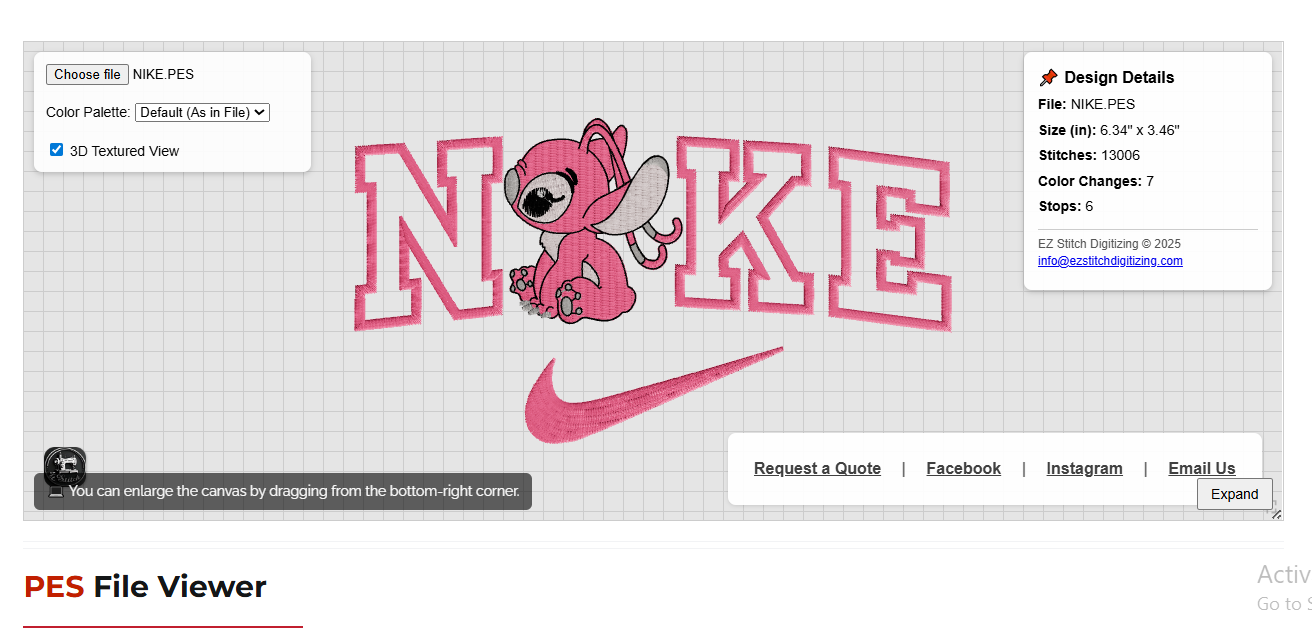
If you need expert help with creating PES files for your embroidery projects, EZ Stitch Digitizing is here to assist! We offer professional, affordable digitizing services to ensure your designs stitch perfectly every time. Contact us today to get started!

