Embroidery has evolved significantly with the advent of digital technologies. One of the most important aspects of modern embroidery is the DST file format, which helps guide embroidery machines in stitching designs with precision. Whether you’re just starting out or you’re an experienced embroiderer, understanding how to create and work with a DST file is essential for producing high-quality embroidered designs.
What is a DST File for Embroidery?
A DST file (Data Stitch Tajima) is an embroidery-specific file format that contains the instructions necessary for an embroidery machine to stitch out a design. Unlike common image formats, DST files focus on stitch types, sequence, and density, making them perfect for ensuring a precise embroidery result.
How to Create a DST File for Embroidery: Step-by-Step Guide
Step 1: Choose Your Design
Select your design carefully. Whether it’s a logo, custom text, or an image, keep in mind that complex designs m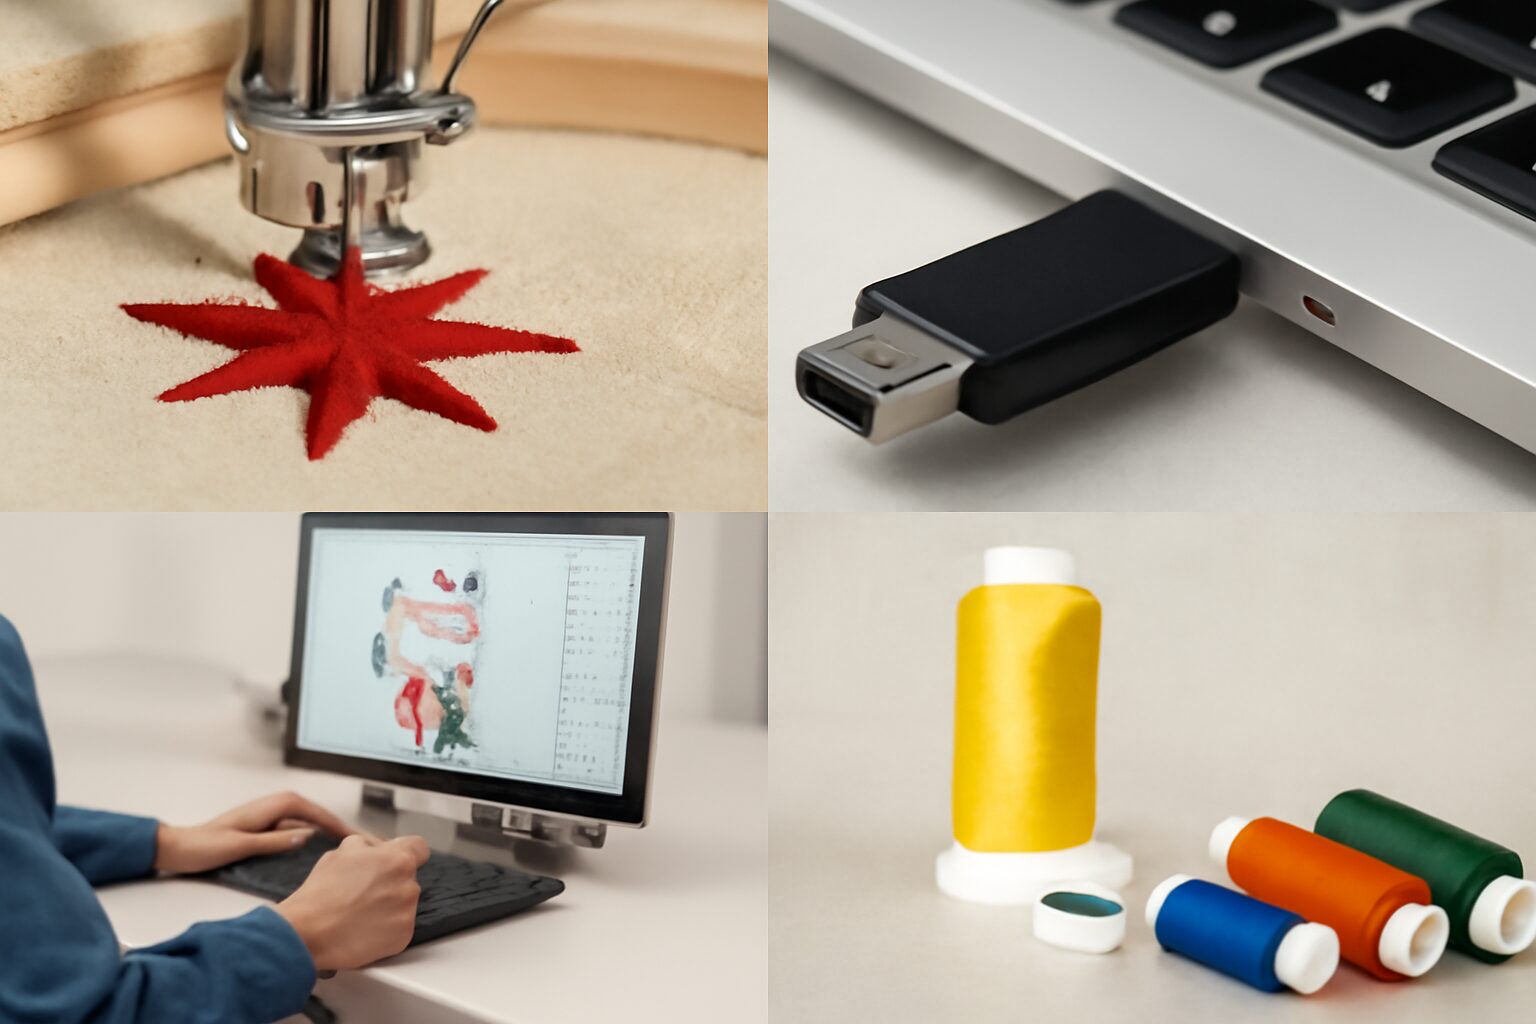 ay require a bit more effort to digitize into a DST file.
Step 2: Refine Your Design
Ensure your design is clean and optimized before digitizing. Adjust the colors, simplify any intricate details, and focus on clear lines and shapes. This makes the conversion process smoother.
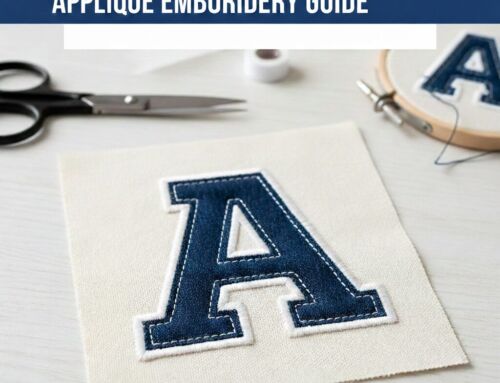
Step 3: Pick the Right Digitizing Software
You’ll need embroidery software like Wilcom, Hatch, or Pulse to create the DST file. These programs are designed to convert your artwork into stitch instructions, which is essential for the process.
Step 4: Import and Adjust Your Design
Once your design is ready, import it into the software. Resize, rotate, and make necessary adjustments. If the design isn’t in a compatible format, you can convert it using a DST to PES converter.
Step 5: Select Stitch Types and Adjust Parameters
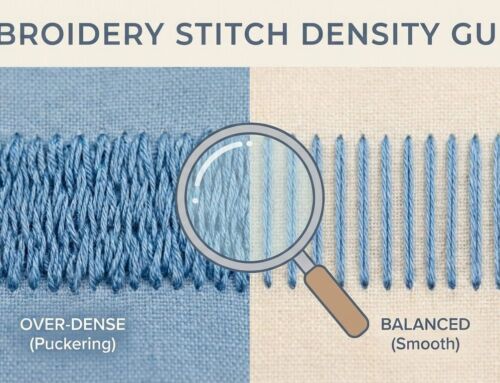
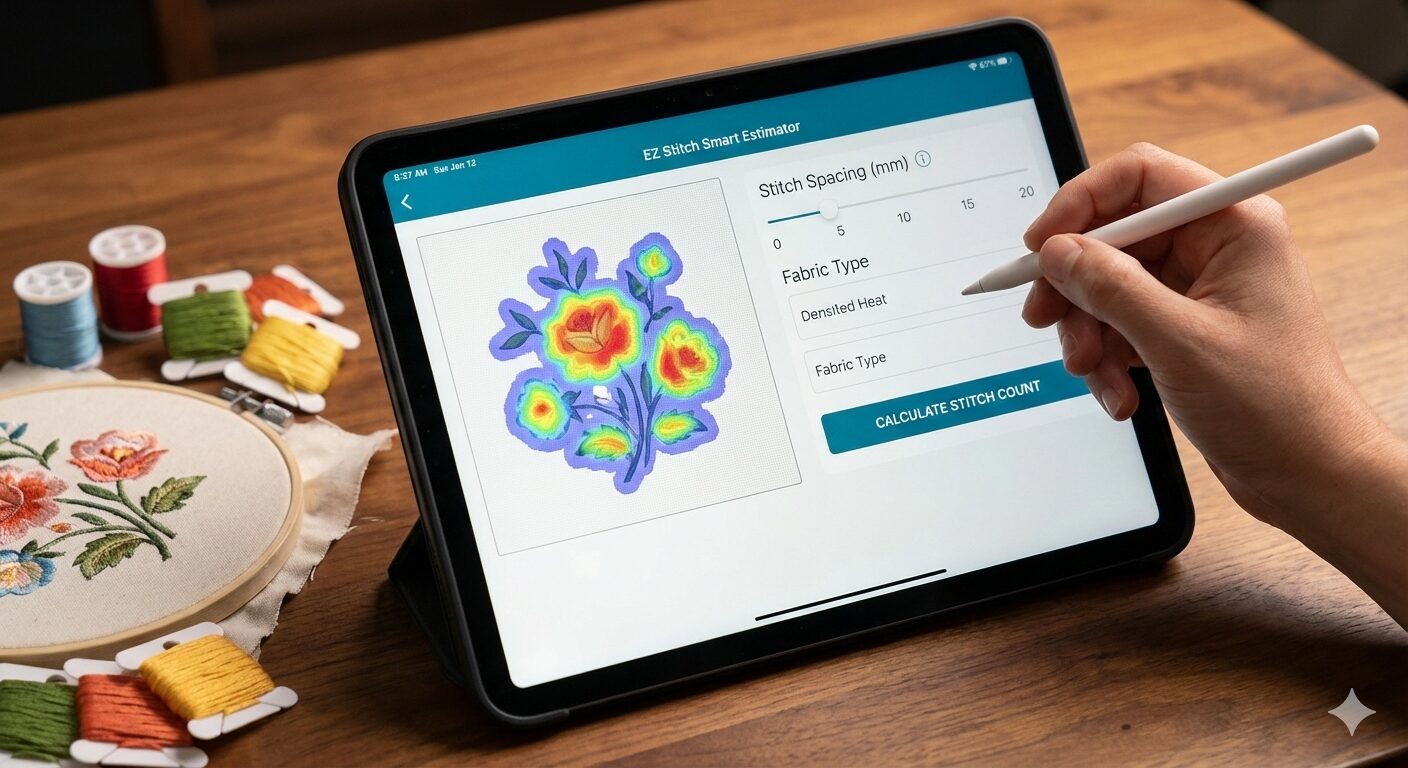
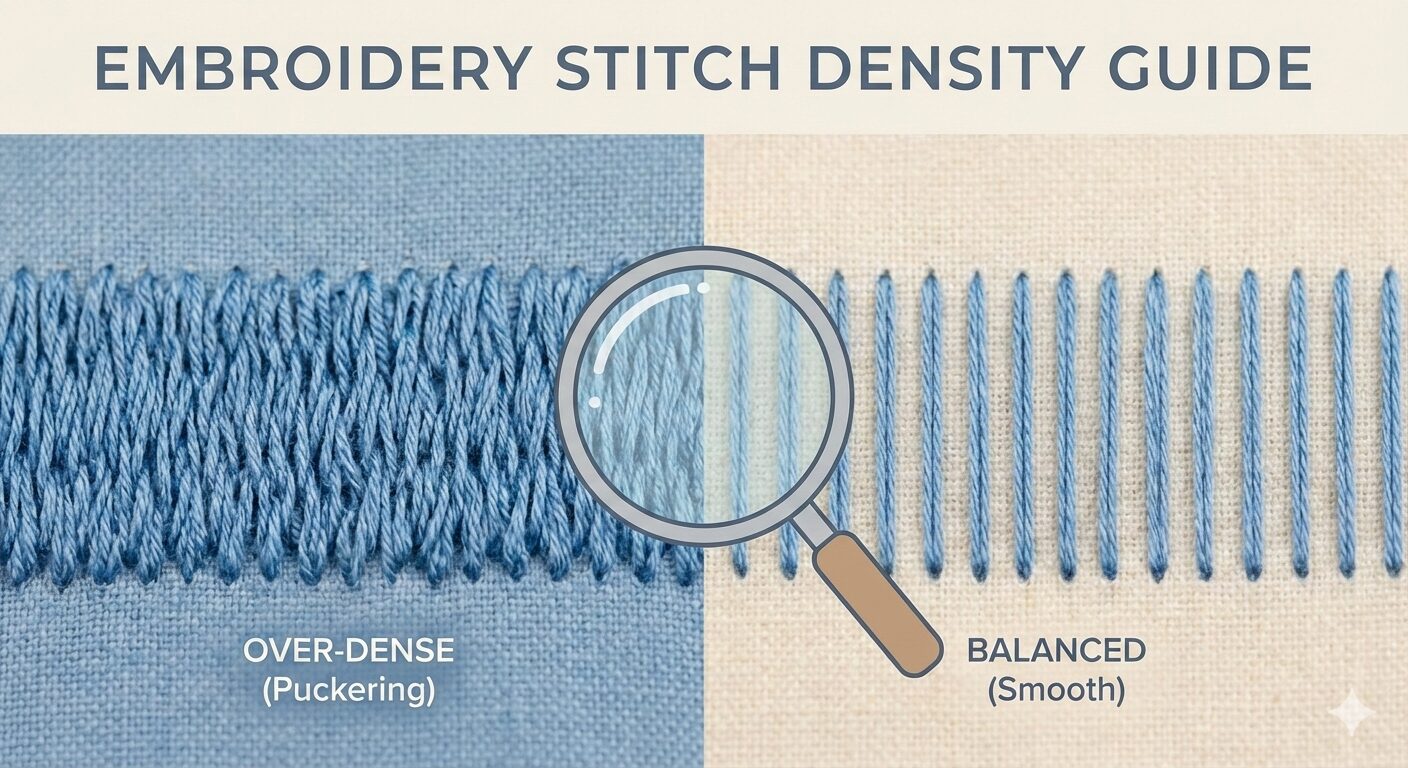
Choose from various stitch types, such as satin stitches for borders, fill stitches for solid areas, and run stitches for finer details. Adjust the stitch density and length for the desired effect.
Step 6: Add Color Stops
Color stops are vital for multi-colored designs. Adding these in your embroidery file ensures that the embroidery machine changes thread colors at the right moments for accurate stitching.
Step 7: Test Your Design
Use the software’s simulation feature to preview how the design will stitch out. This helps ensure that everything looks perfect before you save the file.
Step 8: Save the DST File
Once you’re satisfied with the preview, save the design in the DST file format, which ensures it can be read by your embroidery machine.
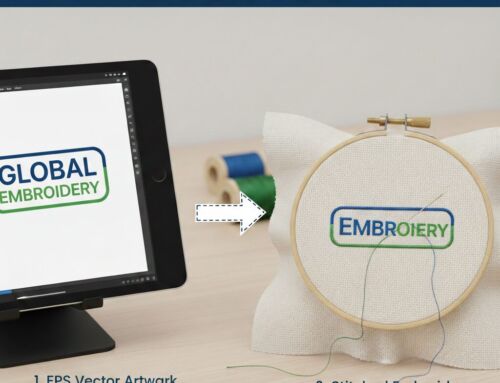
Step 9: Transfer the DST File to Your Embroidery Machine
Transfer the DST file to your embroidery machine using a USB or memory card. Ensure that the file is correctly loaded into your machine.
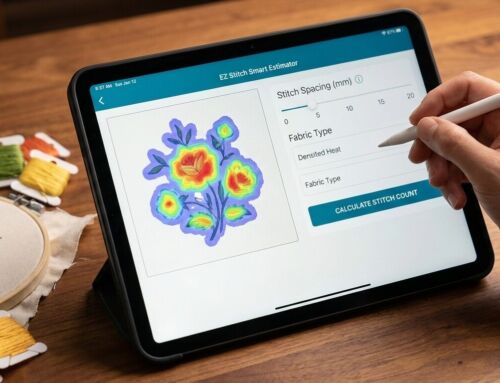
Step 10: Prepare Your Fabric and Thread
Choose the right fabric and stabilizer, then hoop the fabric tightly. Thread your machine with the colors specified in the DST file.
Step 11: Test the Design on Fabric
Before starting the final piece, test the design on scrap fabric to check for any adjustments that might be needed.
Step 12: Final Touches
Once the design is stitched, remove the fabric from the hoop and trim any loose threads. Press the embroidered area if necessary to make it look pristine.
Key Tips for Creating a Perfect DST File
Use High-Resolution Designs: Ensure your images are high-quality and clear to make the final embroidery sharp and precise.
Simplify Complex Designs: Intricate designs can be tricky to convert. Simplify the design to make the process easier.
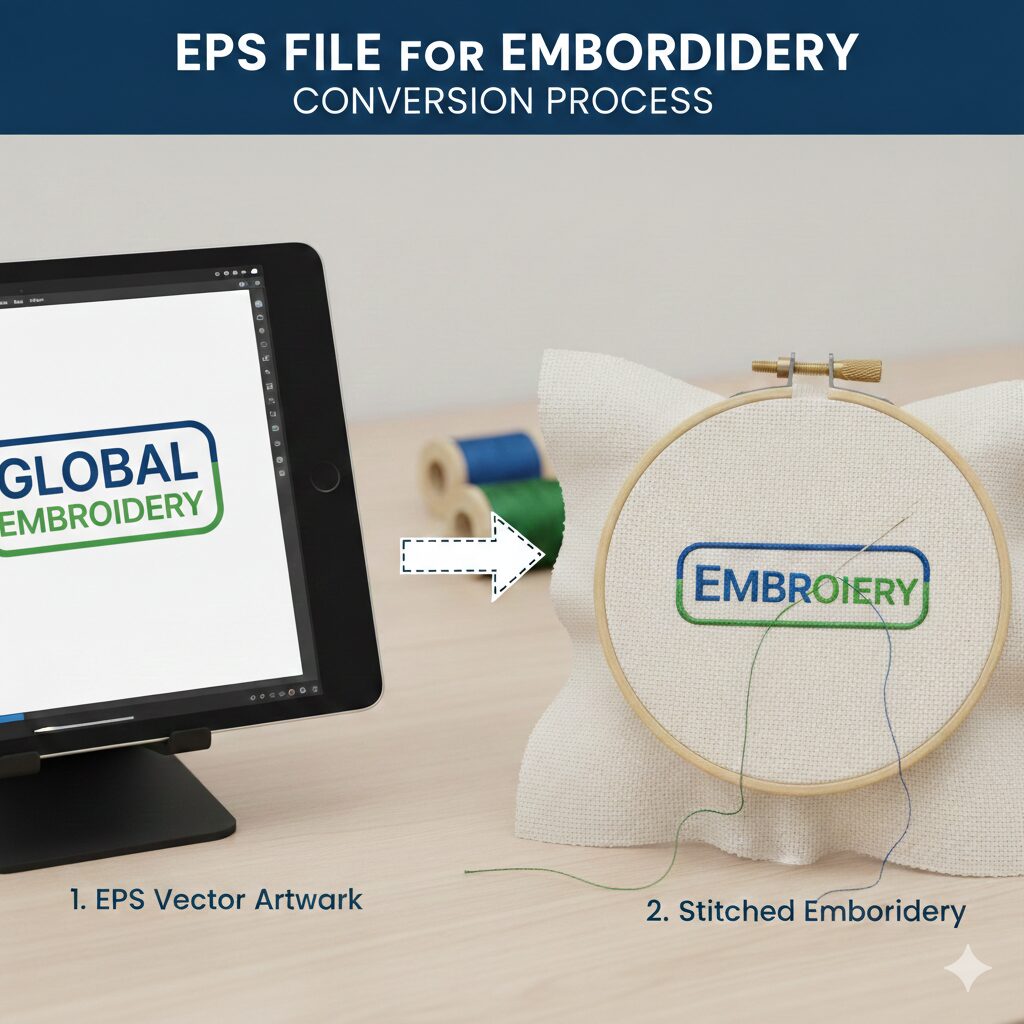
Work with Vector Files: If possible, use vector files like AI or EPS. These formats allow for smooth scaling, making the creation easier.
Choose the Right Stitch Types: Understand and select the appropriate stitch types. Satin, fill, and run stitches all serve different purposes in your design.
Adjust Underlay Stitches: Underlay stitches help stabilize your fabric and improve the final result.
Match Fabric Types: Always account for the fabric’s weight and texture when digitizing. Different fabrics require different stitch settings.
Always Test First: Before using your design on the final project, test it on a scrap piece of fabric to ensure quality.
Optimize Color Stops: Arrange color stops efficiently to reduce unnecessary thread changes and make your project more efficient.
Monitor Tension: Keep an eye on the tension of the fabric and backing material to avoid issues with stitching.
Why DST Files Are Essential for Embroidery
Without a DST file, embroidery machines wouldn’t know how to place each stitch to reproduce your design accurately. The DST file ensures precision and high-quality results, making it the go-to format for embroidery projects.
If you’re looking for professional and accurate DST file creation or need expert assistance with your embroidery designs, Ez Stitch Digitizing Home is here to help. Our team specializes in converting your artwork into high-quality, machine-readable DST files that ensure precision and a seamless embroidery process. With fast turnaround times and exceptional attention to detail, we guarantee that your designs will come to life exactly as you envision them. Don’t hesitate to reach out to us for top-notch embroidery digitizing services! Contact us today at ezstitchdigitizing1@gmail.com or visit our Facebook page to get started!