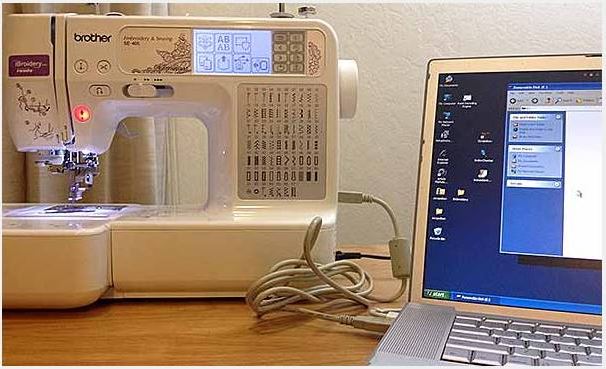
From Google | Image by Brother Canada
Embroidery enthusiasts and business owners often work with PES files, especially when using Brother embroidery machines. PES is a widely-used file format that stores embroidery data, allowing machines to stitch designs accurately. In this guide, we will walk you through the process of creating a PES file using various digitizing software options.
What is a PES File?
A PES file is a machine-readable embroidery file format, particularly popular with Brother embroidery machines. It contains all the stitch and color data for your design, ensuring the machine follows the exact placement of stitches. If you’re using a Brother machine, this format is ideal as it simplifies transferring designs from your computer to the embroidery machine.
Tools for Creating a PES File
To create a PES file, you’ll need embroidery digitizing software. Here are some popular options:
PE-Design: Brother’s own software, offering powerful digitizing tools to convert images into embroidery files.
PE-Design SoftwareInk/Stitch: A free, open-source plugin for Inkscape that allows you to digitize embroidery designs.
Ink/Stitch PluginEmbrilliance Essentials: A user-friendly software designed for creating and editing embroidery designs.
Embrilliance Essentials
Steps to Create a PES File
Step 1: Choose Your Software
Pick your preferred digitizing software from the options above. Each software has unique features, so choose based on your needs—whether you’re looking for advanced features with PE-Design or a free tool like Ink/Stitch.
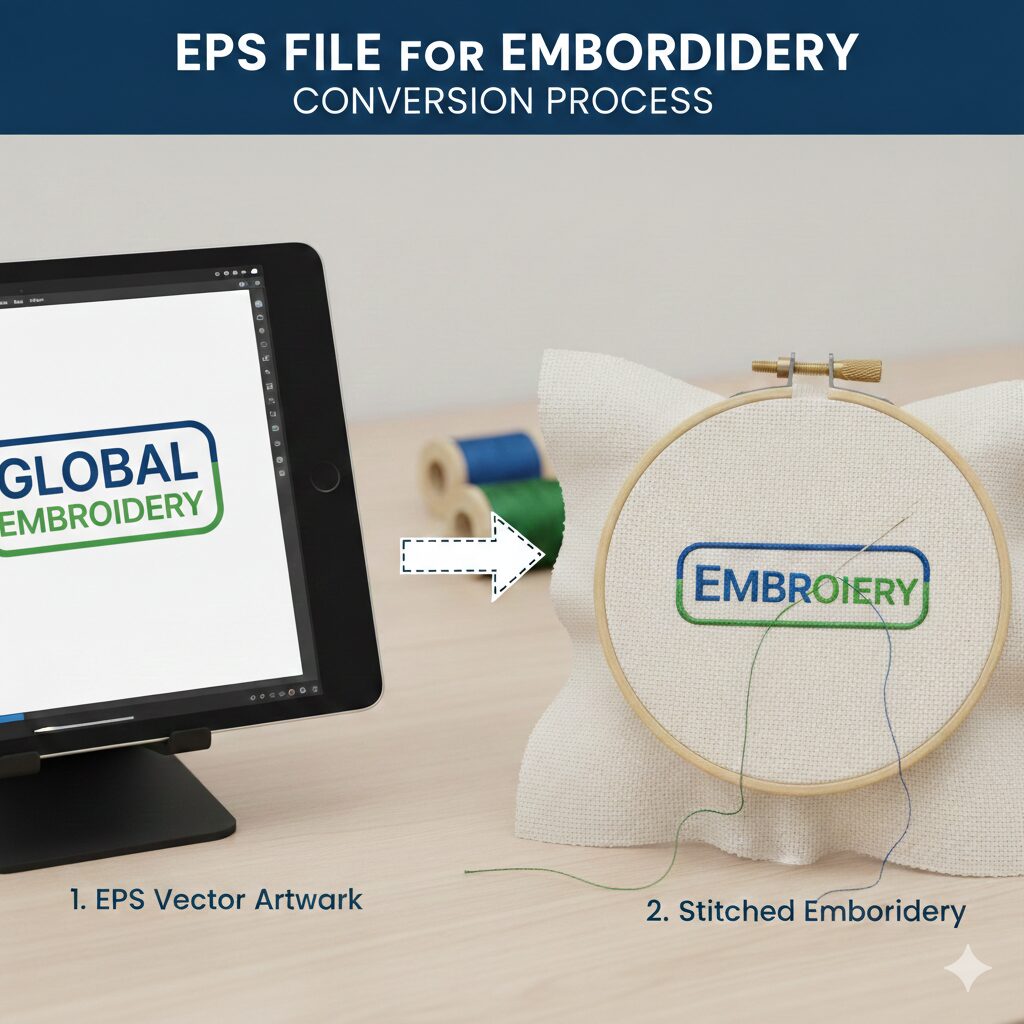
Step 2: Upload or Create Your Design
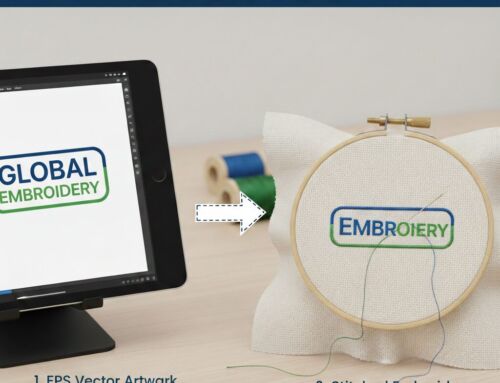
Once you open the software, import the design you want to embroider. This could be a raster image (e.g., JPEG or PNG) or a vector design (e.g., SVG). Some programs even allow you to draw the design directly within the software.
Step 3: Digitize Your Design
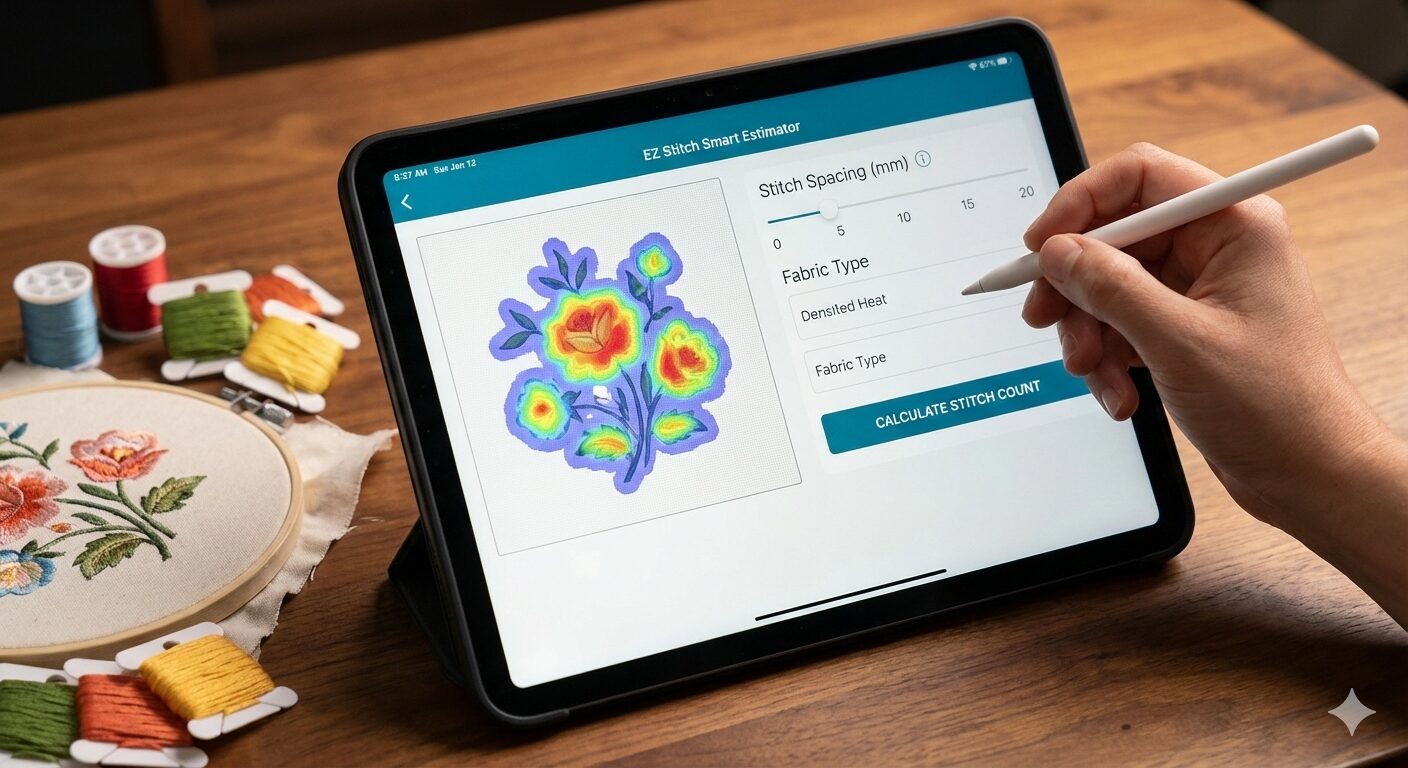
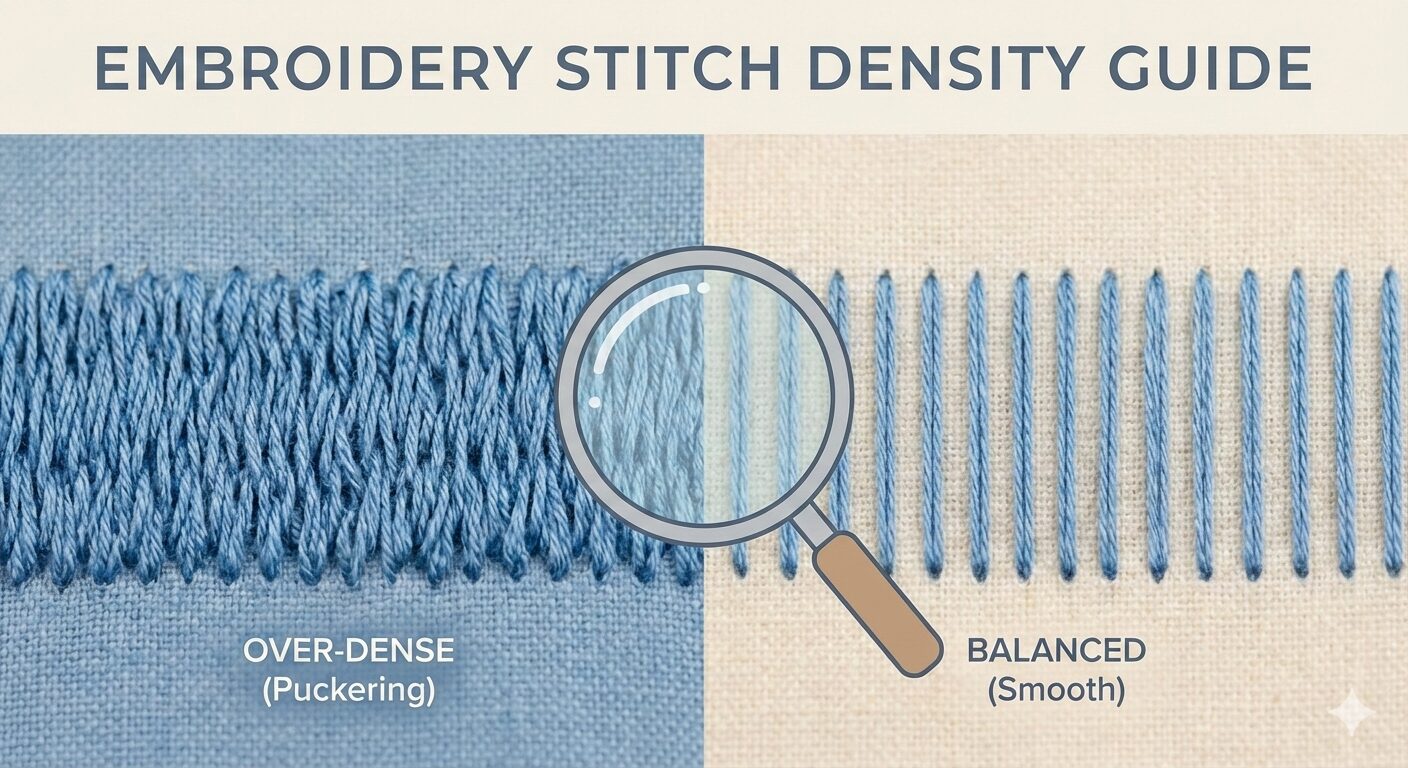
After uploading, start converting your design into stitches. This digitizing process involves converting the artwork into a machine-readable format, detailing stitch paths, directions, and density settings. Adjust stitch types, such as satin or fill stitches, based on your design.
Step 4: Save as PES
Once digitized, export your design as a PES file. Make sure to save it in the correct format, as this is what your Brother embroidery machine will read. Transfer the file via USB or directly to your machine for stitching.
Best Practices for Creating PES Files
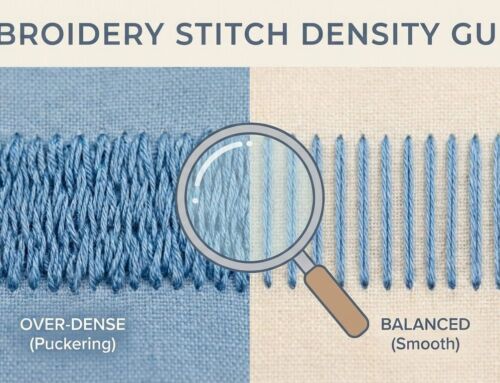
Sewability Matters: Ensure your digitized design is optimized for smooth stitching. Poorly digitized designs can lead to thread breaks or uneven stitching.
Test Your Design: Always test your PES file on fabric before full production to ensure it stitches correctly.
Proper Scaling: Be cautious when scaling your design, as changing size too drastically can affect stitch quality.
Conclusion
Creating a PES file is an essential skill for anyone using Brother embroidery machines. With the right software and a step-by-step approach, you can easily turn your designs into stitch-ready files. Whether you choose free tools like Ink/Stitch or advanced software like PE-Design, the process is straightforward.
At EZ Stitch Digitizing, we simplify the process for you by offering professional embroidery digitizing services tailored for Brother and other machines. Whether you’re a business owner or a hobbyist, we ensure your designs are converted to flawless, machine-ready PES files. Plus, we offer free design backups, quick turnaround times, and more. Contact us today to get started on your next project!