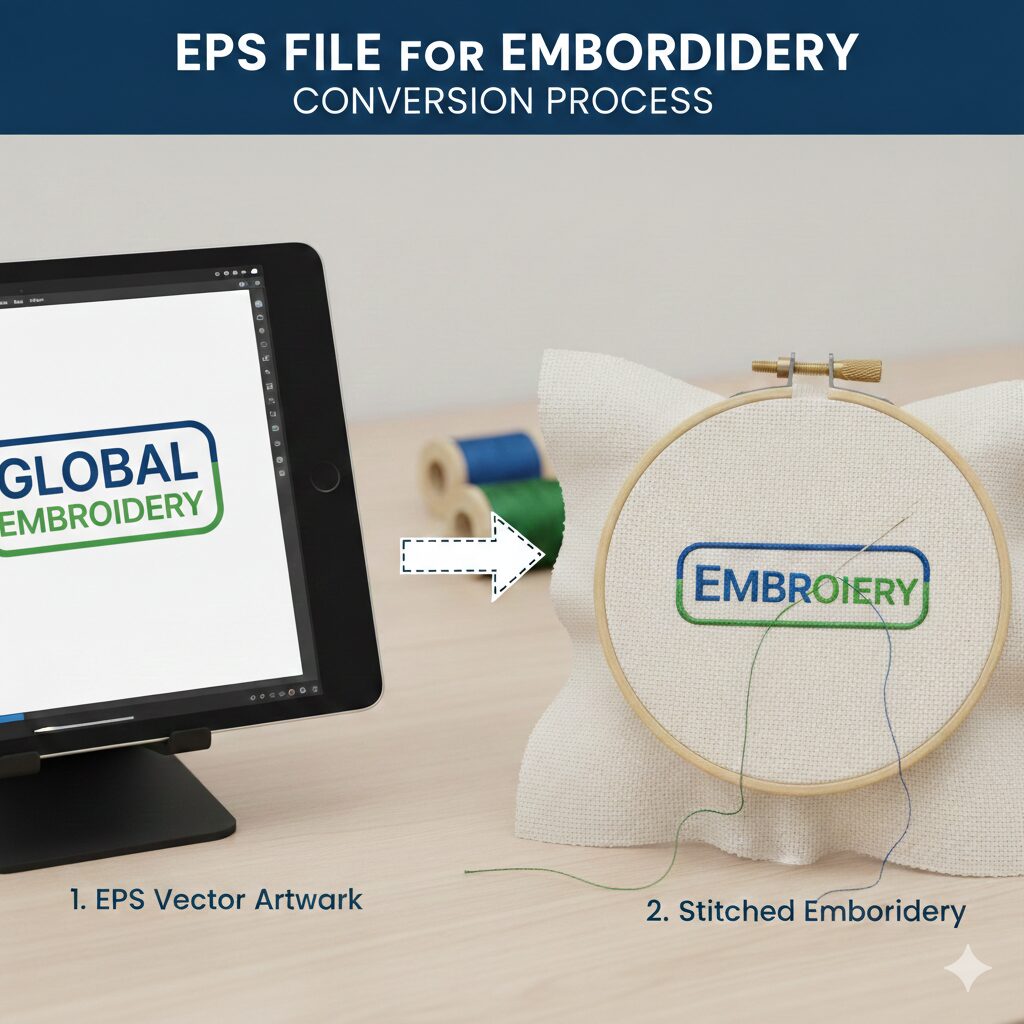
Embroidery stitch density is the spacing between stitches that controls coverage, durability, and fabric stability. Correct density depends on fabric type, stitch style, and design size. Using smart tools like an AI stitch estimator prevents thread breaks, puckering, and inaccurate stitch counts.
What Is Stitch Density in Machine Embroidery?
Stitch density is the distance between parallel stitches in an embroidery design.
It is measured in millimeters (mm) or stitches per inch (SPI).
Lower numbers = higher density.
Higher numbers = lower density.
Think of it like image resolution.
More stitches = better detail, but more stress on fabric.
Why Stitch Density Matters
Proper stitch density affects:
Design clarity – Clean borders and filled areas.
Fabric health – Prevents puckering and tearing.
Thread performance – Reduces thread breaks and needle damage.
Production cost – Controls stitch count and machine runtime.
Digitizing quality – Defines professional vs amateur output.
Insider Tip from Professional Digitizers
Most embroidery problems blamed on thread are actually caused by over-density combined with poor stabilization.
Always match density with:
Fabric thickness
Stabilizer strength
Stitch type (satin vs fill)
What Do Stitch Density Numbers Mean?
Density is spacing, not volume.
| Density Value | Meaning | Result |
|---|---|---|
| 0.30 mm | Very dense | Heavy coverage |
| 0.40 mm | Standard | Balanced result |
| 0.45 mm | Light | Soft appearance |
| 0.55 mm+ | Very light | Airy fill |
Higher number = more space between stitches = lighter embroidery.
Recommended Embroidery Stitch Density Chart
| Fabric Type | Satin Stitch | Fill Stitch (Tatami) | Notes |
|---|---|---|---|
| Cotton | 0.40 mm | 3.8 SPI | Standard backing |
| Polyester | 0.42 mm | 4.0 SPI | Watch melting |
| Denim | 0.38 mm | 3.6 SPI | Strong stabilizer |
| Caps | 0.35 mm | 3.5 SPI | Structured backing |
| Knits | 0.45 mm | 4.2 SPI | Cut-away stabilizer |
| 3D Puff | 0.28–0.32 mm | N/A | Foam coverage |
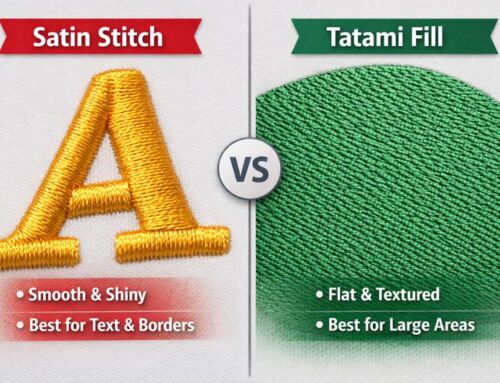
Stitch Density by Stitch Type
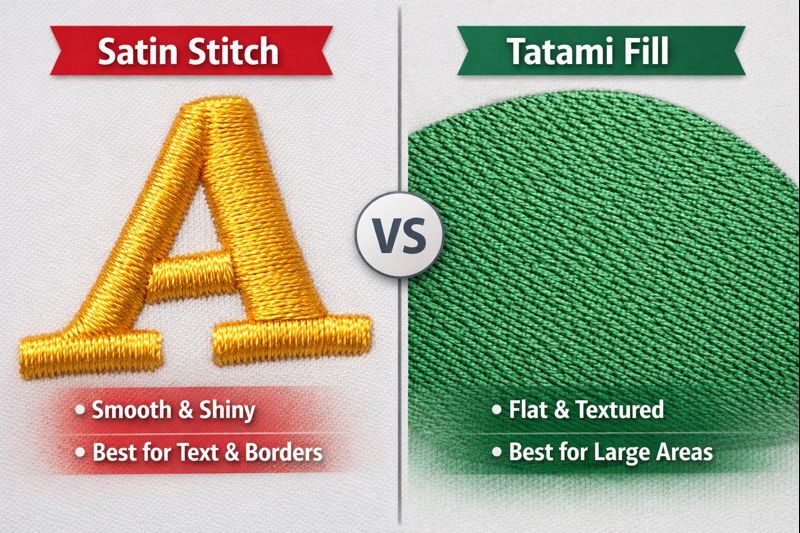
Satin Stitch (Borders):
Needs tighter spacing for smooth edges.Tatami Fill:
Uses lighter density with overlap for coverage.3D Puff:
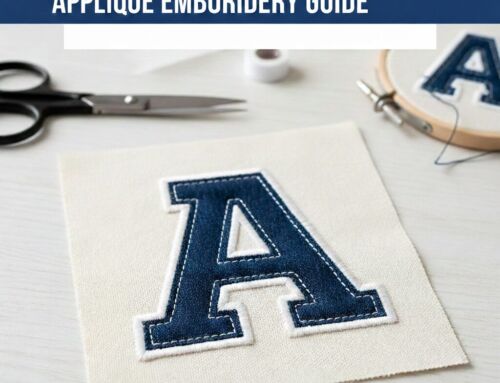
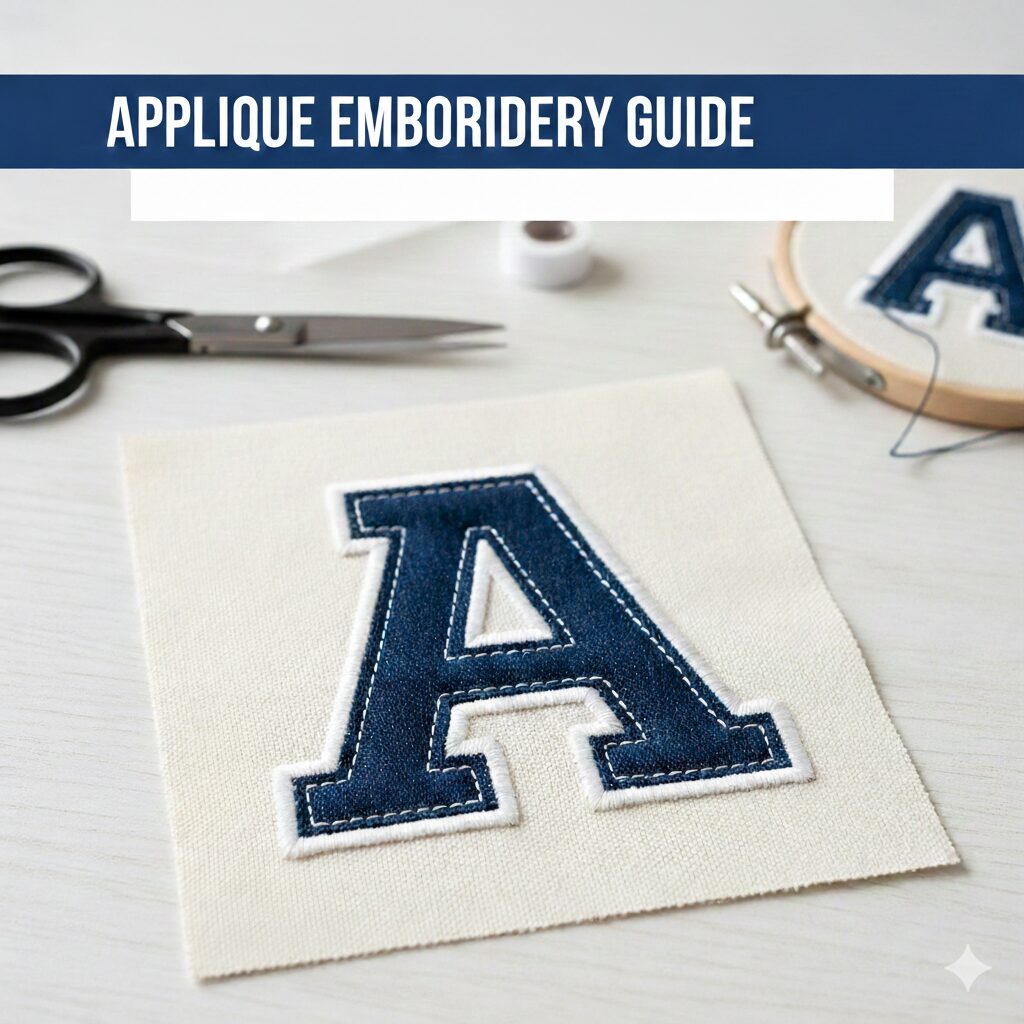
Requires high density to fully wrap foam.Applique:
Low density inside, dense edge stitching.
The Hidden Cost of Wrong Density
Over-density causes:
Needle breaks
Thread fraying
Fabric distortion
High stitch count
Longer machine runtime
Higher digitizing cost
Under-density causes:
Gaps in fill
Weak coverage
Poor color blending
Cheap appearance
How Professionals Calculate Stitch Count
Manual methods use area × density.
They ignore stitch type and shape complexity.
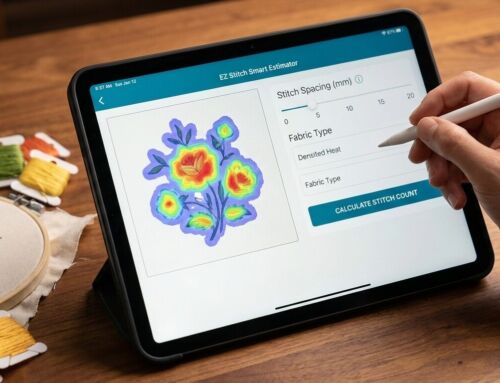
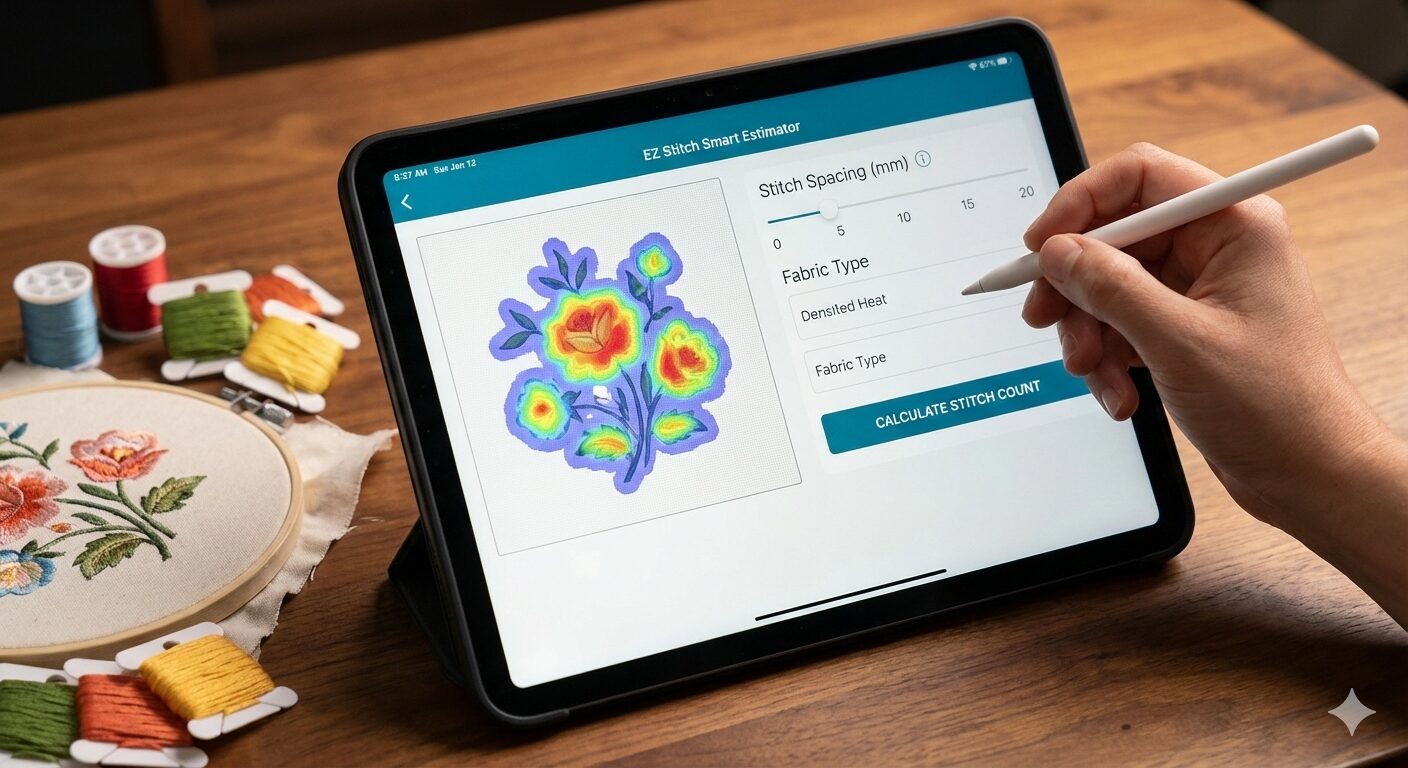
Modern method uses AI Stitch Estimation.
That’s why we built this tool:
👉 EZ Stitch Smart Estimator
https://ezstitchdigitizing.com/free-embroidery-stitch-estimator/
It uses:
Distance Transform Logic
Density Mapping
Smart Zone Analysis
Instead of guessing, it detects:
Satin borders
Tatami fill
High-density text
Applique zones
It then calculates:
Stitch count
Machine runtime
Digitizing price
Market rate vs EZ Stitch pricing
Why This Tool Beats Regular Stitch Calculators
| Feature | Normal Calculator | EZ Stitch Smart Estimator |
|---|---|---|
| Area-based | Yes | No |
| Image analysis | No | Yes |
| Stitch type detection | No | Yes |
| AI density mapping | No | Yes |
| Cost comparison | No | Yes |
| Instant quote | No | Yes |
How to Adjust Stitch Density Correctly
You can change density in two ways:
1. Digitizing Software
Adjust object properties:
Stitch spacing
Underlay type
Pull compensation
2. Machine Scaling
Shrinking design = increases density.
Enlarging design = decreases density.
⚠️ Scaling should be under 10% to avoid distortion.
Troubleshooting: It’s Not Always Density
If embroidery looks bad:
Check:
Needle size
Stabilizer type
Hooping tension
Thread quality
Machine speed
Density should be the last thing you change.
About the Author
EZ Stitch Digitizing is an industry-leading embroidery digitizing company with over 10 years of professional experience. Our team specializes in precision stitch density control, AI-assisted stitch estimation, and affordable digitizing for global embroidery businesses.
Call to Action
Need accurate stitch counts and pricing?
Use our free tool:
👉 https://ezstitchdigitizing.com/free-embroidery-stitch-estimator/
For professional digitizing:
📧 info@ezstitchdigitizing.com
📘 https://www.facebook.com/EZStitchDigitizing1/