When it comes to professional embroidery, creating a flawless design begins with the right embroidery machine digitizing software. This software plays a critical role in transforming a simple digital image into a stitch-ready file for embroidery machines. In this blog, we’ll dive deep into what embroidery machine digitizing software is, how it works, and how to choose the right one for your needs.
What is Embroidery Machine Digitizing Software?
At its core, embroidery machine digitizing software is a specialized tool that converts digital artwork into embroidery stitches. This process, known as digitizing, tells the embroidery machine where to place stitches, the order of stitching, and the thread colors to use. Without digitizing software, your machine can’t interpret digital designs, meaning it won’t be able to stitch your artwork onto fabric.
Most embroidery machines, especially from brands like Brother, Babylock, and Janome, require specific file formats (such as PES or DST) that only digitizing software can produce.
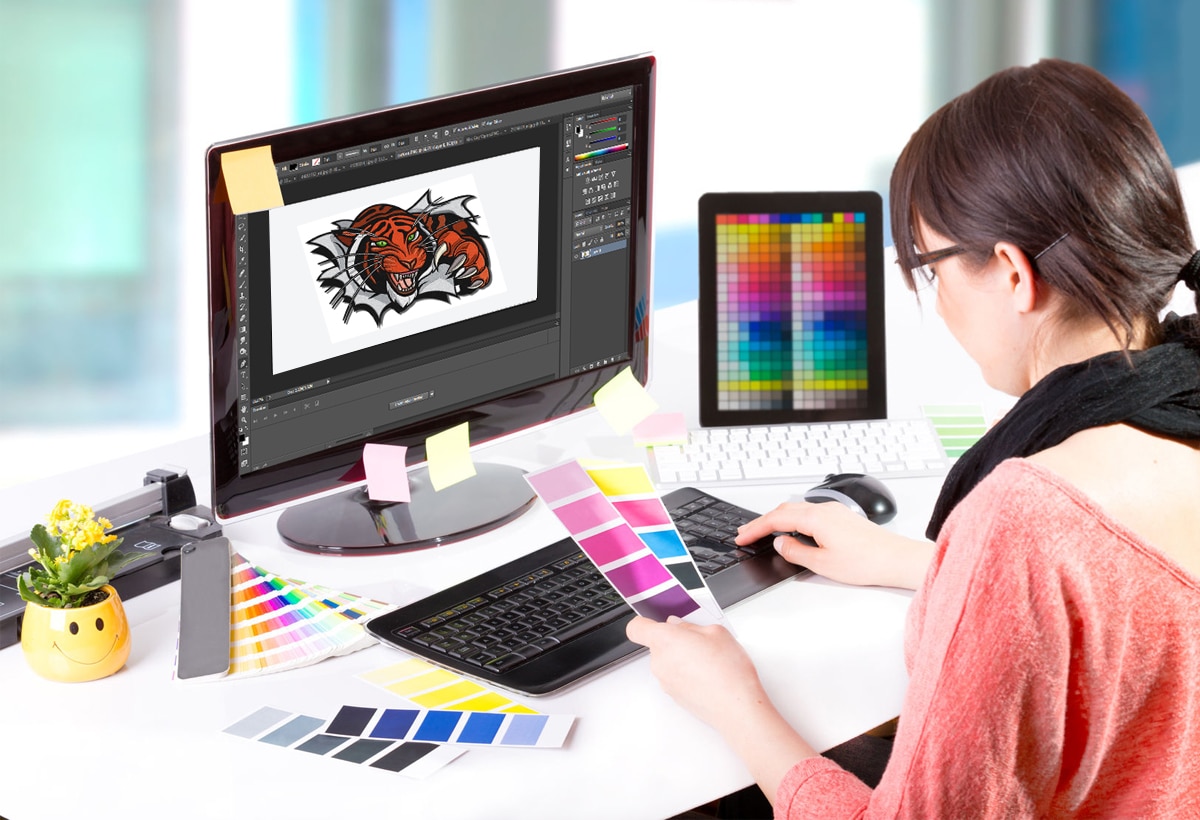
From Google | Image by Megri Digitizing
How Does Embroidery Machine Digitizing Software Work?
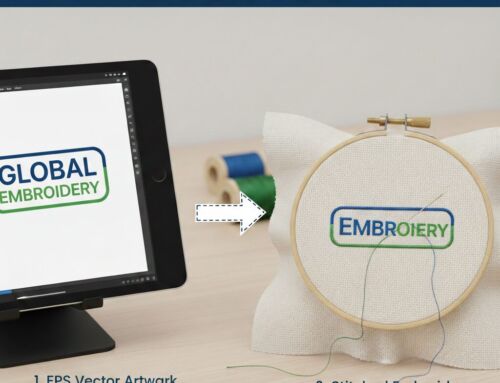
The process of converting an image into an embroidery file involves several steps, all of which are handled through digitizing software. Here’s a basic breakdown of how embroidery digitizing works:
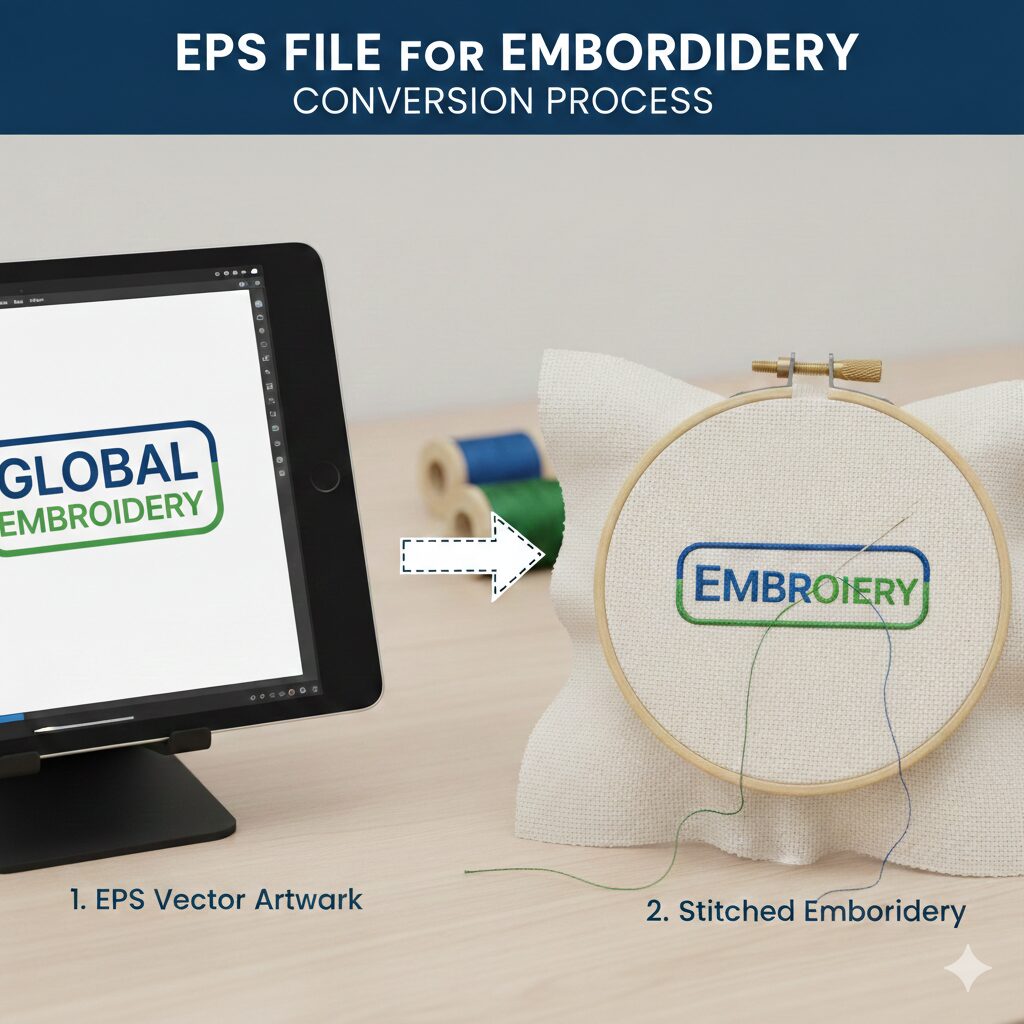
Upload Your Design: You start by importing your image file into the software. Most programs accept formats like JPG, PNG, or SVG.
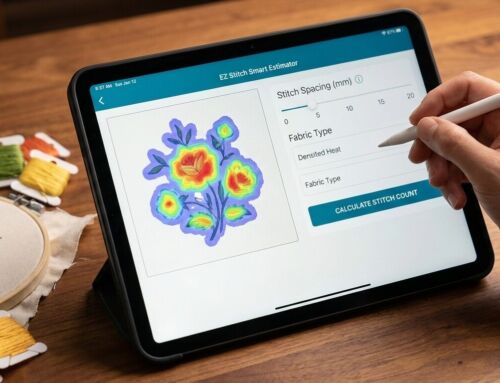
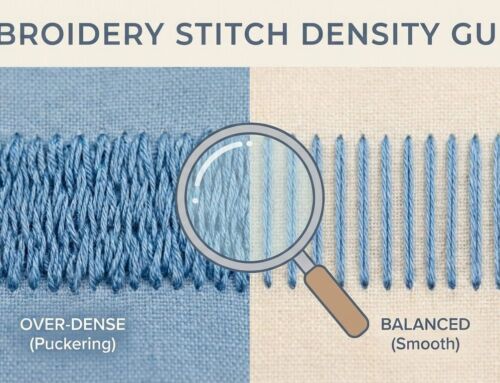
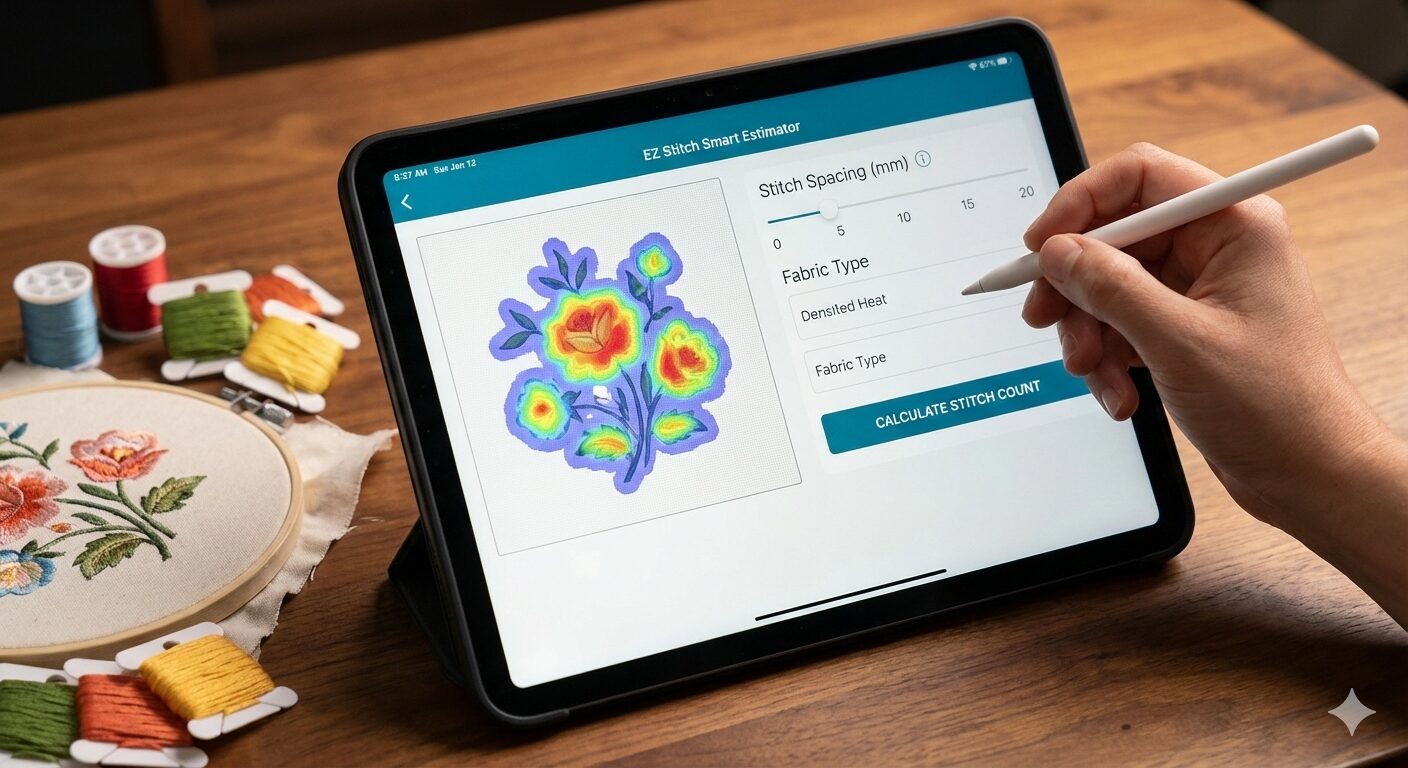
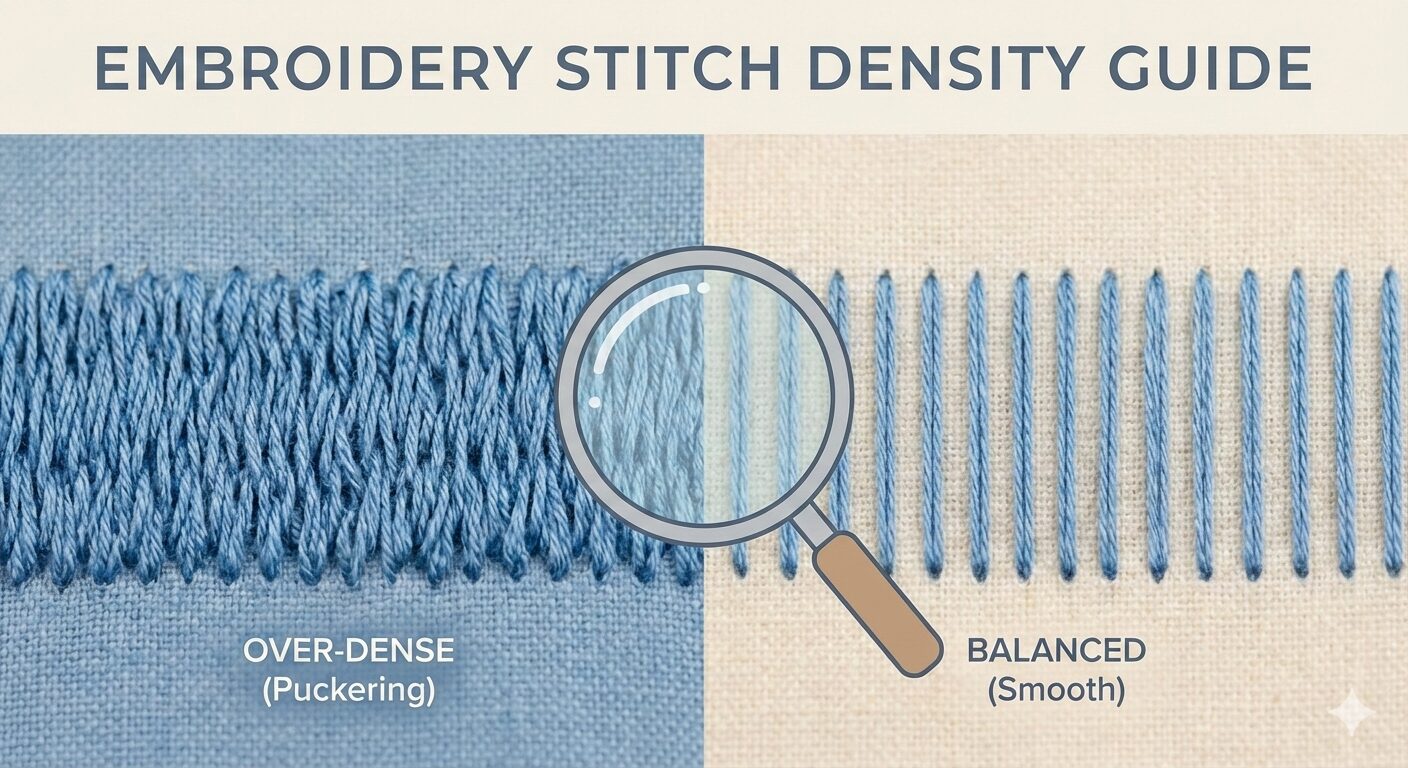
Digitize the Design: This is where the magic happens. The software allows you to assign different stitch types (e.g., satin, fill, or run stitches) to parts of the design. You can adjust the stitch density, angles, and sequence to ensure smooth stitching.
Assign Thread Colors: Most digitizing programs have built-in thread color libraries, letting you match your design’s colors with your thread inventory.
Save in the Correct File Format: Once your design is fully digitized, you save the file in the correct format (PES, DST, etc.) compatible with your embroidery machine.
Test Your Design: Before stitching, it’s always good to test the file using a built-in stitch simulator or by stitching it on scrap fabric.
Key Features to Look for in Embroidery Machine Digitizing Software
Choosing the right software is crucial for achieving professional results. Here are the top features to look for in a good embroidery digitizing software:
User-Friendly Interface: Whether you’re a beginner or a pro, an intuitive interface makes the learning curve smoother.
Stitch Customization: The ability to fine-tune stitch types, density, and angles is vital for design accuracy.
Thread Color Libraries: Built-in thread color charts from major brands help you easily match your design to your actual thread collection.
File Format Compatibility: Ensure the software supports the embroidery file formats your machine uses (like PES, DST, EXP).
Preview and Simulation Tools: Being able to preview your design in stitch form helps you catch potential errors before stitching.
Machine Compatibility: Not all digitizing software works with every machine, so be sure to pick one that’s compatible with your specific embroidery machine.
Popular Embroidery Machine Digitizing Software Options
There are many digitizing software options available, ranging from beginner-friendly to professional-grade. Below are some of the most popular ones:
Brother PE-Design: Known for its compatibility with Brother machines, this software offers advanced features and is suitable for serious embroiderers.
Wilcom Embroidery Studio: A high-end, professional software known for its extensive features and precise controls.
Embird: A budget-friendly option that offers both basic and advanced features, making it great for beginners and experienced users alike.
Hatch Embroidery Software: This is a versatile software known for its ease of use and wide range of editing tools.
SewArt: One of the simpler programs, ideal for those new to embroidery digitizing. It focuses on ease of use and basic functionality.
Benefits of Using Embroidery Machine Digitizing Software
Whether you’re running a small embroidery business or doing it as a hobby, using embroidery machine digitizing software has several benefits:
Customization: You have full control over the look and feel of your design, from stitch types to thread colors.
Faster Production: Once you’ve digitized a design, you can reproduce it as many times as you want without additional manual work.
Improved Accuracy: The software ensures that your stitches are placed with precision, resulting in higher-quality embroidered designs.
Time-Saving: Digitizing software allows you to test and tweak designs before you stitch, minimizing trial and error.
Tips for Getting Started with Embroidery Digitizing
If you’re new to digitizing, here are a few tips to help you get started:
Start Small: Begin with simple designs to avoid overwhelming yourself.
Use Tutorials: Many software programs offer online tutorials and guides to help you learn the ropes.
Test Before Committing: Always stitch a test design on scrap fabric to check for any issues.
Keep Designs Simple: Too much detail can result in overly complex stitch patterns, leading to errors in stitching.
Conclusion
Using the right embroidery machine digitizing software is key to creating beautiful, professional-looking embroidery designs. Whether you’re digitizing a logo for a client or creating personalized gifts, the right software gives you the control and flexibility you need. If you’re ready to take your embroidery to the next level, choose the software that best fits
your needs and start creating stunning embroidery designs today!
Need expert help digitizing your designs? At EZ Stitch Digitizing, we provide fast and affordable digitizing services to ensure your embroidery projects come out flawless every time. Contact us today to learn more!