Quick Answer: How do I create an embroidery PES file? To create a PES file, you cannot simply save an image as a new format. You must use embroidery digitizing software to convert an image file (like a JPG or PNG) into stitch data. The basic steps are: 1) Import your image into a PES file creator, 2) Assign stitch types, angles, and colors, 3) Adjust stitch density, and 4) Export the final design as a .pes format.
Creating custom designs adds a massive personal touch to your crafting projects. Whether you are a beginner looking to digitize a simple logo or an expert crafter, learning how to make a PES file for embroidery is a foundational skill. In this guide, we will walk you through the exact steps, software options, and best practices to create PES embroidery files from scratch.
What is a PES File?
A PES file is the standard embroidery file format used primarily by Brother, Babylock, and Bernina embroidery machines.
Unlike standard image files that are made up of pixels, a PES file contains highly specific mathematical instructions. It tells your embroidery machine exactly how to move the hoop, what stitch types to use (like satin or fill stitches), stitch density, and when to pause for thread color changes.
Pro Tip: Always Preview Your Files
Before sending your newly created design to the machine, run it through a visualizer to check for density errors or misplaced stitches. Use our Free Online PES Viewer to analyze the file right in your browser — no downloads required.
Software to Create PES Files (Windows & Mac)
Before you can create a PES file, you need the right tools. You cannot use standard photo editors; you need dedicated embroidery digitizing software (often referred to as a PES file creator).
Popular Windows Software:
Brother PE-Design: The official software from Brother, perfect for creating PES files.
Wilcom EmbroideryStudio: A premium, professional-grade digitizing tool.
Hatch Embroidery: Extremely popular for hobbyists and home-based businesses.
SewArt: A great budget-friendly option for beginners to make pes files.
How to make PES files on Mac: Historically, digitizing software was Windows-only, but Mac users now have excellent native options. If you want to create pes files for embroidery on Mac, the most popular native software is Embrilliance StitchArtist. Alternatively, many Mac users use software like Parallels to run Windows-based programs like Hatch or PE-Design.
Need to inspect a file before stitching? Use our free PES File Viewer to safely preview and analyze Brother PES files directly in your browser.
| Software Name | Key Features & Best For | Website |
|---|---|---|
| Brother PE-Design 11 | Official Brother software, excellent auto-digitizing capabilities, built-in fonts. Best for dedicated Brother machine owners. | Visit Site |
| Wilcom EmbroideryStudio | The industry standard. Unparalleled stitch generation, CorelDRAW integration. Best for commercial businesses and professionals. | Visit Site |
| Hatch Embroidery | Highly intuitive interface, modular pricing, excellent lettering tools. Best for serious hobbyists and home-based businesses. | Visit Site |
| Embrilliance StitchArtist | Native Mac support (no emulation needed), progressive learning curve. Best for Mac users who want to build custom files. | Visit Site |
| SewArt | Budget-friendly, highly accessible entry point for basic image-to-stitch conversion. Best for beginners on a strict budget. | Visit Site |
Step-by-Step: How to Create a PES File for Embroidery
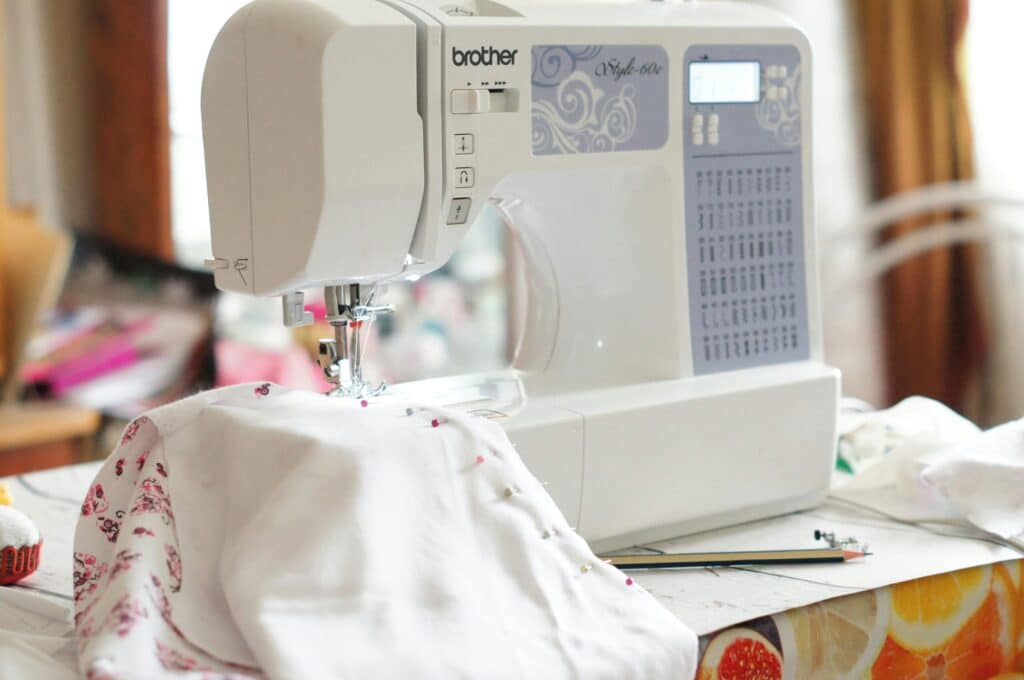
Photo by Anna Doschechko
Here is the exact workflow to make a PES file from your artwork.
1. Prepare Your Artwork
Start with a clean, high-resolution image. Simple vector graphics (SVG) or clear, unpixelated raster images (PNG, JPG) work best. The cleaner the artwork, the easier it is to digitize.
Pro Tip: If you are starting with a basic image, you can learn how to easily convert JPG to PES using automated or manual tools.
2. Import into Your PES File Creator
Open your chosen digitizing software and import your artwork. The software will place your image in the background as a template.
3. Digitize and Assign Stitches
This is the core of how to create pes embroidery files. You will use the software tools to trace over your image and assign specific stitches:
Line Stitches: Used for thin outlines and fine details.
Satin Stitches: Used for borders and text (usually between 1mm and 8mm wide).
Fill Stitches (Tatami): Used to cover large areas of color.
4. Adjust Stitch Parameters
A good PES file requires correct settings for the fabric you are using. Adjust the stitch density so the design isn’t too thick (which causes bulletproof embroidery) or too thin (which leaves gaps). You must also add “underlay” stitches—the invisible foundational stitches that stabilize the fabric before the top colors are laid down.
5. Save and Export
Once your digitizing is complete, go to the File menu. Select Save As or Export Machine File. Choose .pes from the dropdown menu to successfully create a pes file ready for your machine.
6. Transfer and Test
Load the exported file onto a USB drive and plug it into your Brother or Babylock machine. Always do a test run on scrap fabric of similar weight to your final project to check thread tension and registration.
Frequently Asked Questions (FAQ)
Request a Free Quote or Help with PES Files
Need more than just viewing? We also offer: ✔ Custom embroidery digitizing from scratch ✔ Editing and fixing PES files ✔ Vector conversion and cleanup ✔ Quick delivery and affordable rates
Feel free to get in touch: 📧 Email: info@ezstitchdigitizing.com
📘 Facebook: EZ Stitch Digitizing
👉 Want a custom design? – Fill out our Quotation Form
