If you are looking to convert an EPS to DST, you have probably encountered dozens of free online tools claiming to be an “EPS to DST file converter.” You might have even tried uploading your vector graphic, only to receive a corrupted file or an error message.
Here is the reality that automated tools won’t tell you: You cannot simply “save as” or auto-convert an EPS file into a functional DST embroidery file. Converting an EPS vector file to DST embroidery file is not a basic format shift like changing a PNG to a JPG. It requires a manual process called embroidery digitizing, where a professional translates your artwork into specific stitch commands that an embroidery machine can read.
In this guide, we will break down exactly what an EPS to DST conversion entails, why automated converters are misleading, and the proper steps to get your logo ready for the embroidery machine.
What is the Difference Between EPS and DST?
To understand why a simple convert EPS to DST file command doesn’t work, you need to understand the fundamental difference between the two file types:
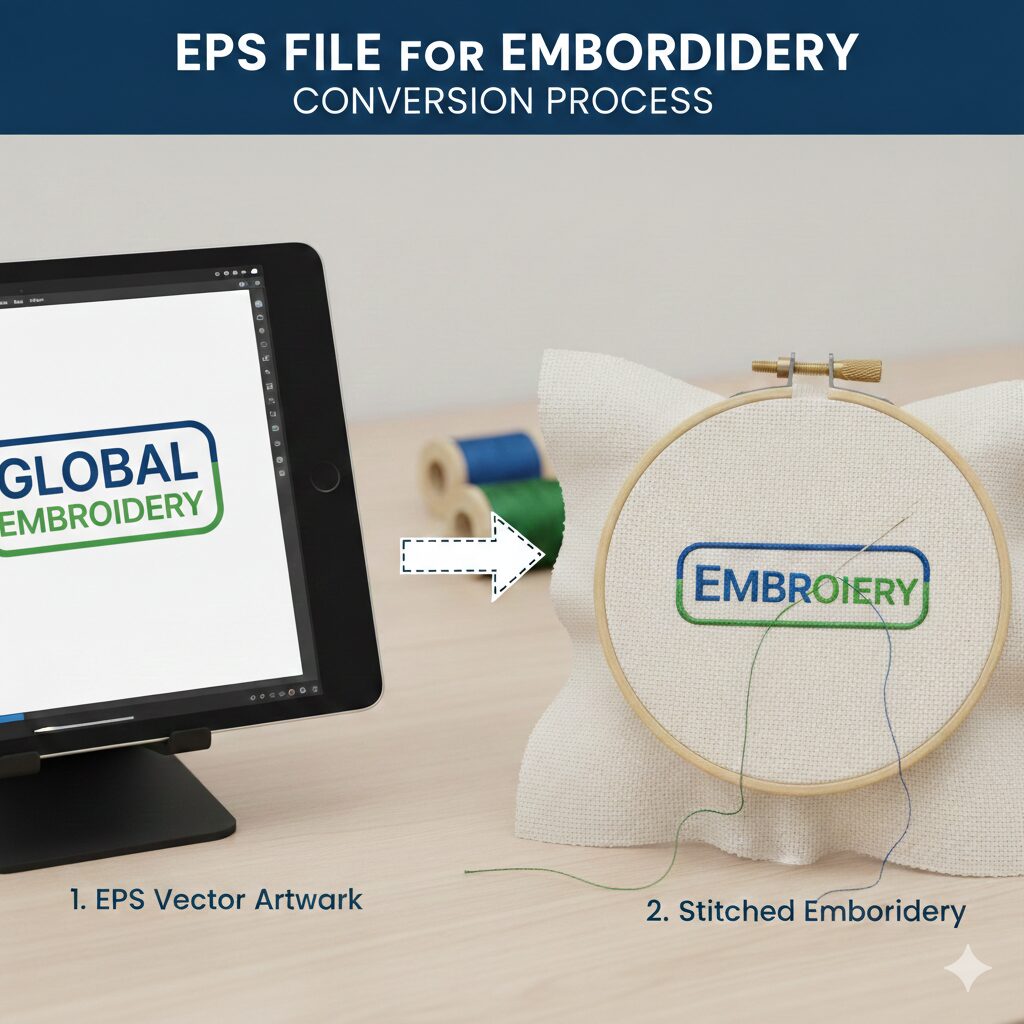
EPS (Encapsulated PostScript): This is a vector image file. It uses mathematical equations to create shapes, lines, and colors. It tells a computer screen or a printer how an image looks.
DST (Data Stitch Tajima): This is a machine-readable set of instructions. A DST File for Embroidery – Meaning, Format, Creation & Free DST Designs does not contain pixels or vector paths. Instead, it contains X and Y coordinates, telling the embroidery machine exactly where to drop the needle, when to trim the thread, and what type of stitch to use (satin, fill, or run).
EPS
DST
The Myth of the “EPS to DST File Converter“
A quick search for how to convert EPS to DST will bring up generic file conversion websites. These sites use automated scripts that attempt to force vector data into a stitch format.
Why do these fake converters fail? Because a vector graphic has no concept of “thread tension,” “fabric pull compensation,” or “stitch density.” If you try to run an auto-converted file on a multi-needle machine, you risk:
Massive thread breaks and needle snaps.
Ruined garments due to dense, overlapping stitches.
A design that looks like an unreadable mess of thread.
Can I Convert EPS to DST in Illustrator?
A very common question is how to convert EPS to DST in Illustrator. The short answer is: No, you cannot natively export a DST from Adobe Illustrator. Illustrator is an artwork program, not an embroidery software. While vector graphics (like EPS or SVG) are the perfect starting point, they must be imported into specialized digitizing software (like Wilcom or Hatch) to be manually traced with stitch tools. If you are working with other vector formats, the process is very similar, as outlined in our guide on SVG to DST: The Complete Guide to Converting Vector to Embroidery Files.
How to Convert EPS to DST Embroidery File (The Right Way)
To achieve a flawless EPS to DST embroidery result, the file must be manually digitized. Here is the step-by-step process professional digitizers use:
Step 1: Import the EPS into Digitizing Software
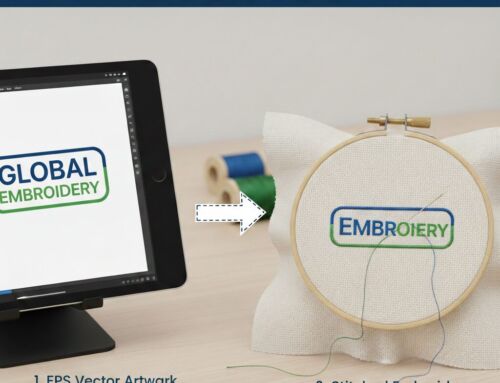
The digitizer imports the EPS file into embroidery software to use as a template. Because EPS is a high-quality vector, it provides crisp, clean lines, which is much easier to work with than a pixelated image. (If you only have raster images, check out our guide on The Ultimate Guide to DST Images: How to Convert JPEG to DST for Professional Embroidery).
Step 2: Pathing and Sequencing
The digitizer decides the order in which the design will sew. Proper sequencing minimizes jump stitches (the threads that stretch across the design) and reduces the number of times the machine has to trim the thread.
Step 3: Assigning Stitch Types
Different parts of your EPS logo require different stitches:
Satin Stitches: Used for text and borders.
Tatami/Fill Stitches: Used for larger, solid areas of color.
Run Stitches: Used for fine details and outlines.
Step 4: Setting Underlay and Pull Compensation
Fabric moves and stretches while being embroidered. A professional digitizer adds a foundational layer of hidden stitches (underlay) to stabilize the fabric, and adjusts the design slightly (pull compensation) so the final sew-out doesn’t pucker or distort.
Step 5: Assigning Thread Colors
An EPS file stores digital colors (RGB/CMYK), but a DST file uses a specific thread color palette. The digitizer must map the vector colors to machine threads. You can learn more about how this works in our guide: DST File Colors: Complete Guide to Understanding, Previewing & Editing DST Colors.
Step 6: Exporting the DST File
Once the manual digitizing is complete, the software generates the actual X/Y coordinate data and the file is finally saved (exported) as a Tajima .DST file.
(Note: This manual digitizing process applies to almost all document and image formats. For example, you can see our similar breakdown on How to Convert PDF to DST Embroidery File: The Complete Digitizing Guide).
How to Check Your Converted DST File
If you have hired a digitizer to do your EPS to DST file conversion, you shouldn’t just send it straight to the machine blindly. You need to inspect the stitch sequence, the color stops, and the digital sew-out.
You don’t need expensive embroidery software to do this. You can upload your finished file directly to our Online DST Viewer – Open, Audit & Analyze Tajima Embroidery(DST) Files to safely inspect the stitches, check the actual size, and ensure it is production-ready.
Frequently Asked Questions (FAQs)
Professional Digitizing Services
Stop wasting time with fake automated converters that risk damaging your embroidery machines and ruining expensive apparel. If you want crisp, beautiful embroidery, you need manual, expert digitizing.
If your DST embroidery file shows errors, production risks, or you simply need a high-quality conversion from your EPS vector, we can help with:
Custom embroidery digitizing
DST file repair and optimization
Vector artwork conversion for embroidery
📧 Email: info@ezstitchdigitizing.com
📘 Facebook: https://facebook.com/EZStitchDigitizing1
👉 Quote Form: https://ezstitchdigitizing.com/embriodery-digitizing-quotation-form/