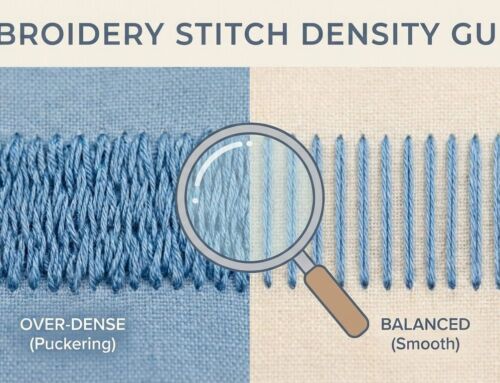
Satin Stitch creates a smooth, glossy finish ideal for borders and lettering, while Tatami Fill (a dense fill stitch) produces a flat, textured coverage for large areas. Using satin or tatami in the right context ensures crisp designs and efficient production. For example, small logos often use shiny satin outlines with tatami fill for stability.
What Are Satin Stitch and Tatami Fill?
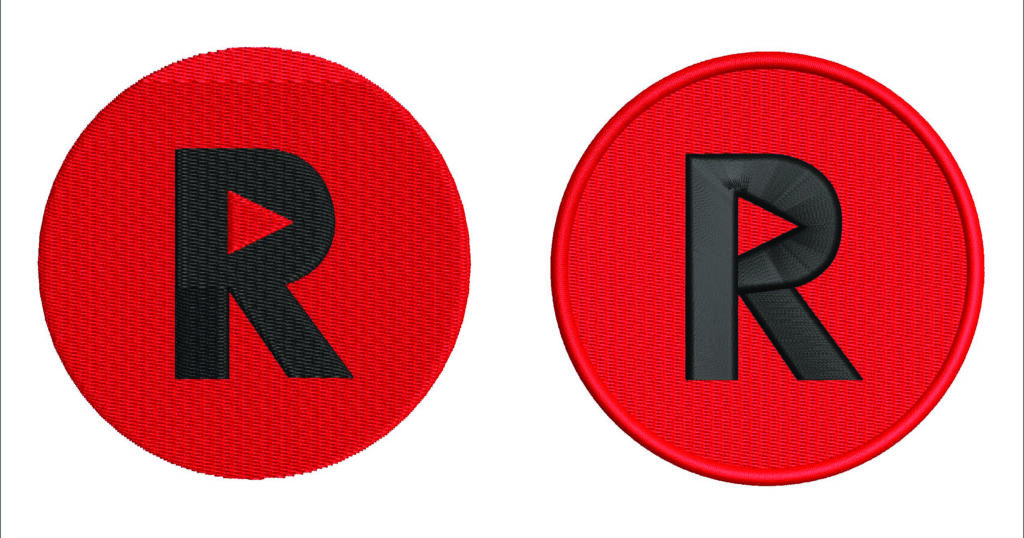
Satin vs Tatami stitches in an embroidery design(Left: Tatami fill for solid areas; Right: Satin stitch for highlights) . The choice of stitch dramatically affects the look and feel Satin stitch is made of long, closely spaced threads that give a smooth, reflective surface. It’s perfect for lettering, logos, and fine details, providing a high-density sheen. Tatami (fill) stitch, by contrast, consists of short run-stitches laid in rows, creating a flat, matte texture. Tatami is best for filling larger shapes and backgrounds with thread cover, often acting as a stable base underlay.
Satin Stitch vs Tatami Fill: Key Differences (Comparison Table)
| Aspect | Satin Stitch | Tatami Fill |
|---|---|---|
| Appearance | Smooth, shiny finish with high thread density | Flat, textured look with lower density |
| Ideal Use | Lettering, borders, small logos or detailed shapes | Filling large areas, logos’ backgrounds, shapes |
| Stitch Pattern | Long, parallel stitches (0.5–1mm apart) | Rows of short run-stitches laid back-and-forth |
| Fabric & Backing | Works on most knits and wovens; use cut-away stabilizer for knits | Suitable for most fabrics; often uses tatami underlay for stability |
| Tips | Use auto-split (e.g. 7mm) on long satin stitches to prevent snags | Adjust spacing (open density) or partition lines for texture and fewer stitches |
When to Use Each Stitch
Satin Stitch: Use when you need a polished, high-sheen effect on small to medium elements. Great for embroidered text, logos, badges or any detail up to ~12mm wide. Apply satin on stable fabrics (knits or wovens) but keep stitch spans reasonable or split long stitches to avoid thread breaks.
Tatami Fill: Choose tatami fill for large, solid areas and backgrounds, where a stable, matte texture is desired. It’s ideal for coloring in logos or shapes and for providing a reliable underlay. Using tatami helps distribute tension evenly, preventing puckering on most fabrics.

Combining Tatami and Satin. A design may use a dense tatami fill (beige background) under a shiny satin outline (red) for contrast and dimension. Modern digitizing often blends both: a flat tatami background can anchor the fabric, while satin highlights add definition. Always consider the design’s scale and fabric – a dense satin on thick fabric or an open tatami on delicate fabric can dramatically change the outcome.
Stitch Calculators and AI Tools for Embroidery
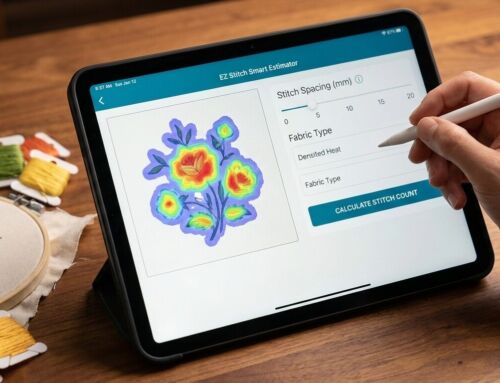
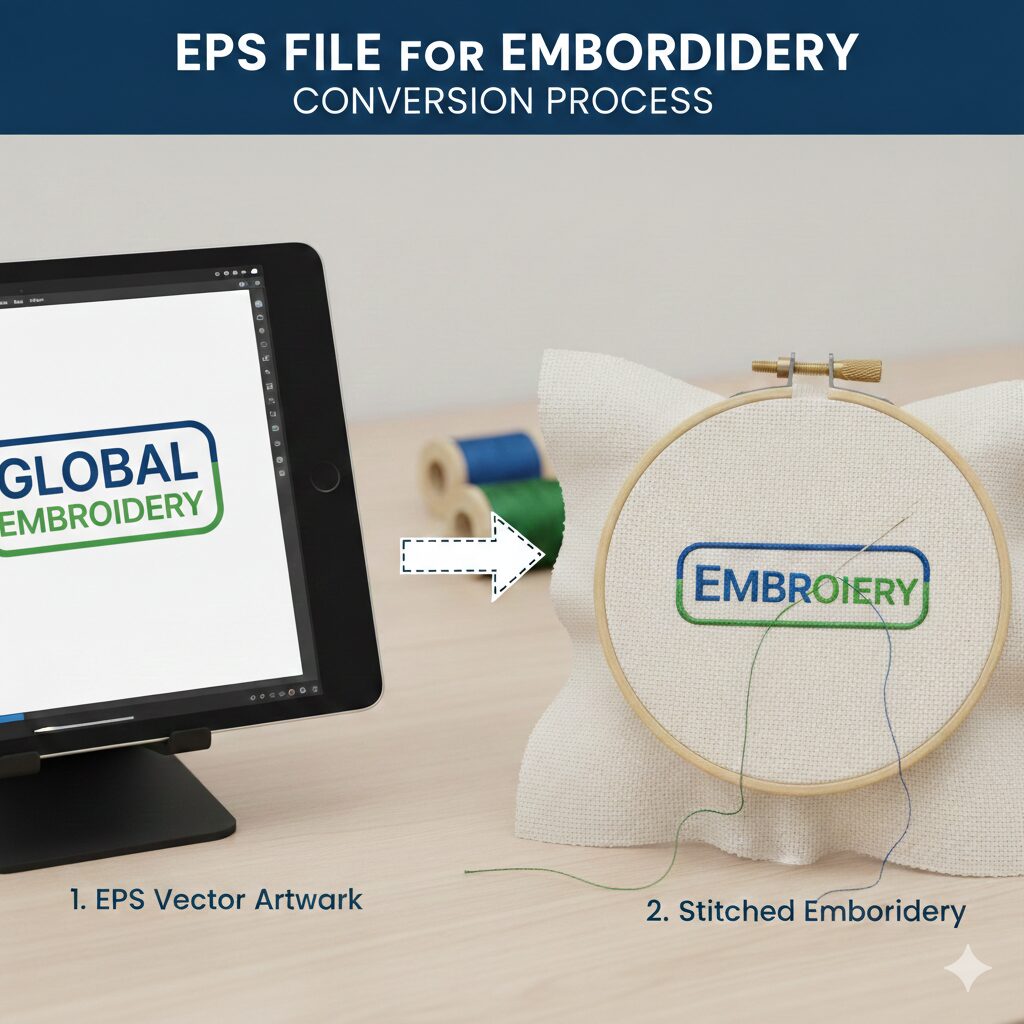
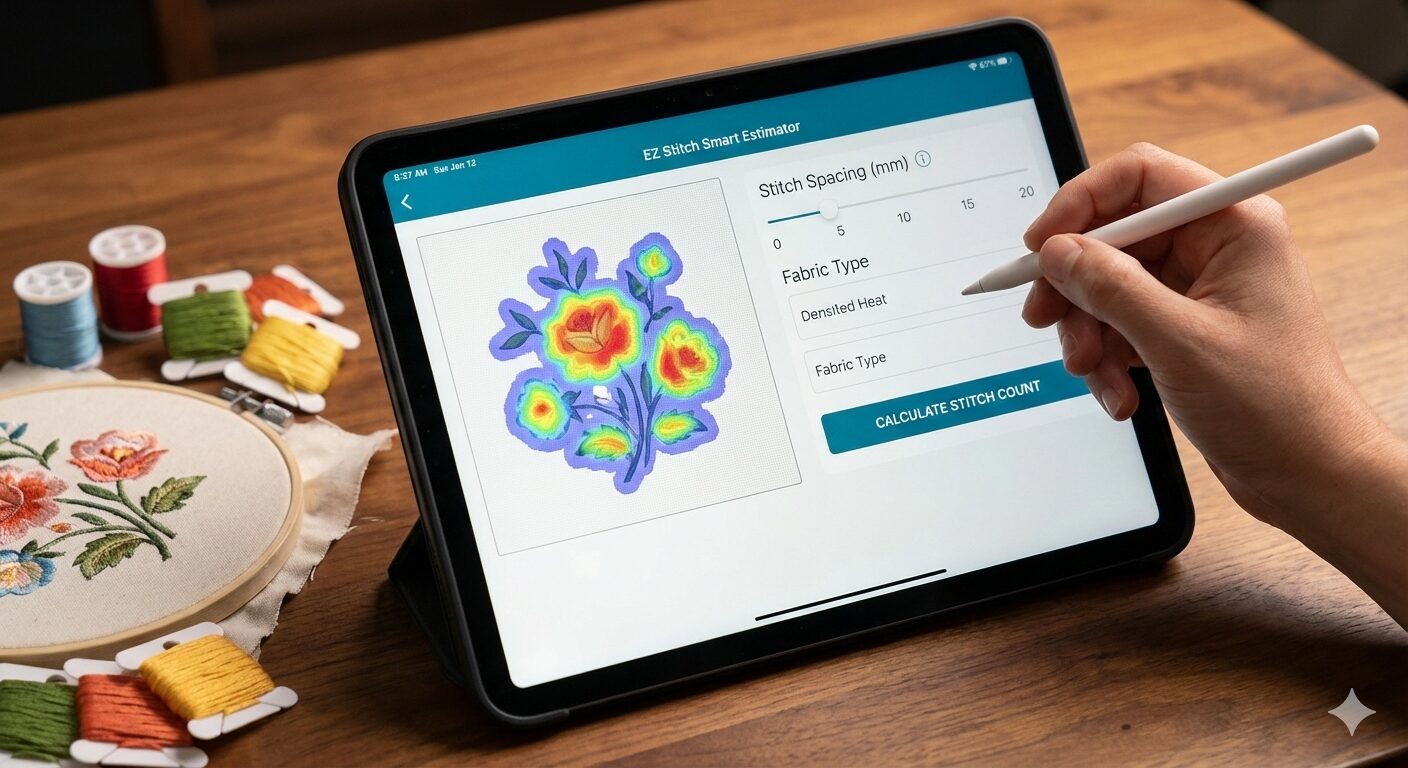
Efficient planning uses digital tools. Many embroidery programs and online tools can estimate stitch counts from your design dimensions and stitch density. For example, EZ Stitch offers a free AI-powered Stitch Estimator that analyzes your artwork’s fill density for an instant, accurate count. Commercial software like Wilcom EmbroideryStudio, Hatch or Embrilliance also include stitch count utilities. Additionally, free resources like Ink/Stitch (an open-source Inkscape extension) let hobbyists digitize and preview designs at no cost. Emerging AI embroidery generators (e.g. OpenArt’s Embroidery Generator) can even suggest design patterns or convert text prompts into stitch designs. These tools save time and help avoid underquoting projects.
EZ Stitch Smart Estimator: Upload your logo to get a precise stitch count via AI vision ezstitchdigitizing.com.
Embroidery Software Calculators: Use programs like Wilcom or Hatch to auto-calc stitches.
Ink/Stitch (free): An Inkscape-based digitizing platform for custom designsinkstitch.org.
AI Design Generators: Online AI tools (e.g. OpenArt) can create pattern ideas from keywords.
Expert Digitizing Tips
Professional digitizers use special techniques for clean embroidery:
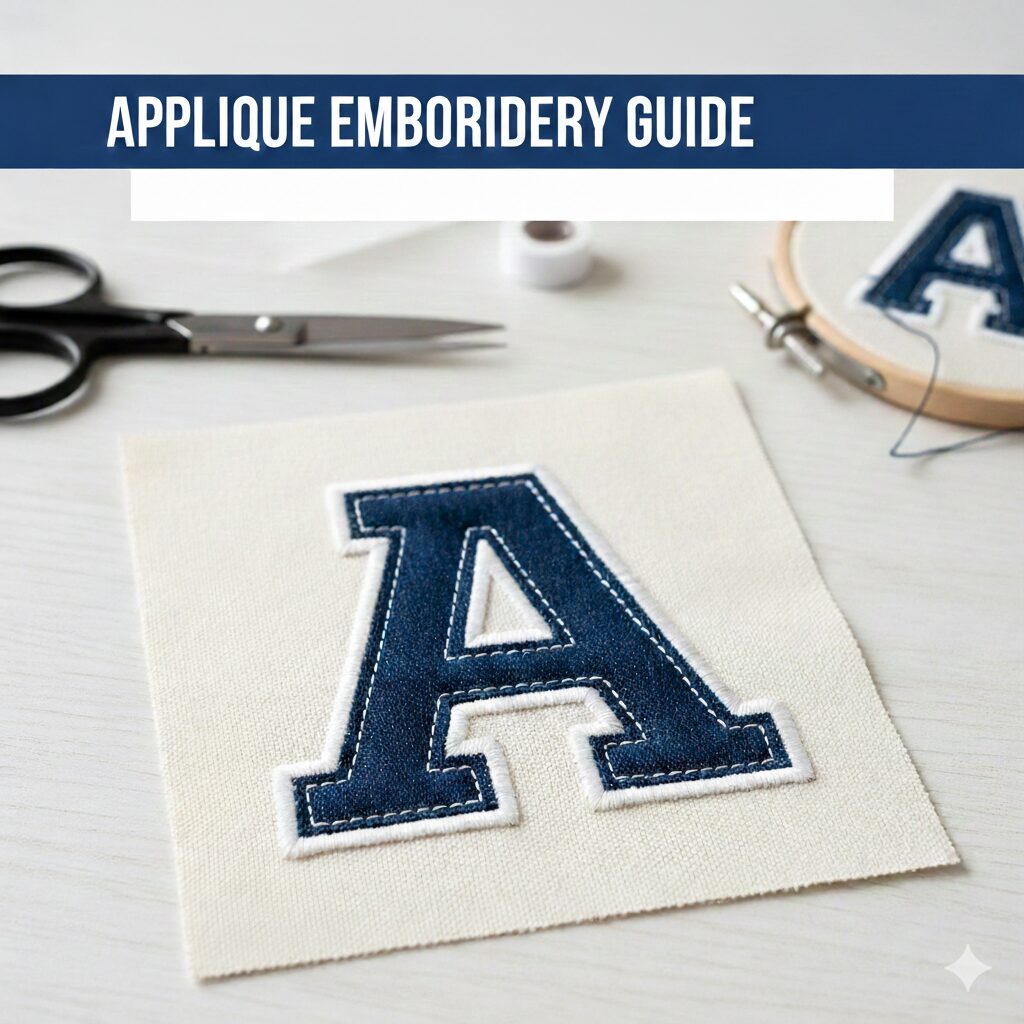
Underlay & Backing: Always add tatami or zig-zag underlay to stabilize stitches Use the correct backing – e.g. a heavy cut-away stabilizer under stretchy knits prevents puckering, while tear-away or water-soluble backs work on lightweight fabrics. Proper underlay means fewer top stitches and a flatter design.
Auto-Splits & Short Stitches: Prevent thread breaks by splitting long satin stitches. A 7mm split is often ideal. Short runs in tatami (with careful spacing) reduce stitch count without losing coverage.
Optimized Pathing: Arrange stitch order to minimize jumps and trims. Less travel time saves machine wear.
Thread & Needle: Match thread type and needle to fabric. Polyester thread on a slower machine speed can reduce breaks. Always test designs on scrap to catch issues early.
Implementing these tips (from digitizing experts) ensures high-quality embroidery and lower rework. For a deeper dive, see Hatch Embroidery’s guide on Tatami fills hatch.embroideryhelp.net.
FAQs
Q: What’s the main difference between Satin Stitch and Tatami Fill? A: Satin stitch uses long, overlapping stitches for a shiny, raised look (best on small elements) ezstitchdigitizing.com. Tatami (fill stitch) uses dense rows of short stitches to cover large areas with a flat texture hatch.embroideryhelp.netwilcom.com. The choice depends on the design’s scale and desired effect.
Q: When should I use Tatami fill instead of Satin stitch? A: Use Tatami for any large or irregular shape (e.g. shirt graphics, big logos) where satin would be too wide or loose. Tatami fill distributes tension well on wide areas. Satin is ideal only for narrow borders, letters or small details up to ~12mm width.
Q: Are there tools to calculate stitch count and cost? A: Yes. Many embroidery programs (Wilcom, Hatch, Embird, etc.) have built-in stitch estimators. Free online Stitch Count Calculators let you enter design dimensions and density for estimates. EZ Stitch offers a free AI Stitch Estimator that analyzes your artwork for an exact stitch count. These tools replace the old “1 inch = 2000 stitches” rule with precision.
Q: How can I use AI to help with embroidery digitizing? A: AI tools can accelerate the process. For example, the open-source Ink/Stitch applies algorithms to generate stitches from vector art. Online AI generators (like OpenArt’s Embroidery tool) can brainstorm design patterns from prompts. For production, EZ Stitch’s Smart Estimator uses computer vision to plan thread usage. However, final file accuracy often requires expert review or software like Wilcom EmbroideryStudio.
Q: What stabilizer and techniques prevent puckering and thread breaks? A: Use proper underlay and stabilizer. Heavy cut-away backing under knits, and tear-away under stable fabrics, keeps stitches flat. Include tatami underlay for fills. Limit long satin spans by auto-splitting or using shorter stitch lengths. Also, choose the right needle size and run test samples. These best practices are standard in professional digitizing.
How to Get Started
Ready to apply these tips? EZ Stitch Digitizing can handle the technical side so you focus on creativity. Our Embroidery Digitizing Services turn your logos and artwork into machine-ready stitch files with precision and speed ezstitchdigitizing.com. For quick quotes, try our EZ Stitch Smart Estimator online (free) or contact info@ezstitchdigitizing.com with your design. We’re also on Facebook for daily tips and support.
About the Author: EZ Stitch Digitizing is a global leader with over 15 years in the embroidery industry ezstitchdigitizing.com. Our team of master digitizers blends traditional craftsmanship with cutting-edge AI technology to deliver flawless, retail-ready designs and help embroidery shops maximize their profits.