What Is a DST File? (DST Meaning in Embroidery)
A DST file — short for Data Stitch Tajima — is the most widely used embroidery file format in the commercial industry. It stores machine-readable stitch instructions: needle movement, stitch type, trim commands, and color-change stops.
Unlike image files, a DST embroidery file contains no pictures or real colors. It holds a precise sequence of stitch coordinates that embroidery machines follow to recreate a design on fabric. This efficient structure is why the DST file format is supported by nearly every professional embroidery machine worldwide.
When people search for DST meaning in an embroidery context, they want to understand how digital designs become stitch files that machines can actually read. DST is that universal bridge.
From Google | Image by iconfinder
What Is a DST Embroidery File Used For?
DST embroidery files power the commercial embroidery industry. Common uses include:
- Stitching logos on corporate apparel and uniforms
- Creating embroidered patches, badges, and emblems
- Running multi-head commercial embroidery machines
- Storing and reusing professional digitized designs
- Ensuring consistent output across different machine brands
The DST file format became the industry standard precisely because it works reliably across Tajima, Brother, Barudan, Ricoma, and other major machine brands — no conversion needed.
DST File Format Explained (Technical Overview)
Every DST file has two core sections:
1. Header Section
The header stores design metadata that helps machines set up before stitching:
- Design name and label
- Total stitch count
- Number of color changes
- Design width and height
- Machine stop and end commands
2. Stitch Command Section
Each stitch command tells the machine exactly what to do next:
- X and Y needle movement (coordinates)
- Stitch type — normal stitch, jump, or trim
- Color-change instructions
Unlike PES or JEF formats, DST files do not embed thread colors or preview images. Colors are assigned manually in your software or on the machine before stitching begins.
💡 This stripped-down structure is actually a feature: DST files are lightweight, fast to read, and universally stable for high-volume commercial production.
DST File Type vs Other Embroidery Formats
| File Type | Compatible Machines | Best Use Case |
| DST | Universal – commercial grade | Logos, patches, bulk production |
| PES | Brother machines | Home embroidery |
| JEF | Janome machines | Home embroidery |
| EXP | Melco machines | Commercial |
| XXX | Singer machines | Home embroidery |
For professional digitizing and commercial embroidery, DST remains the safest and most compatible choice.
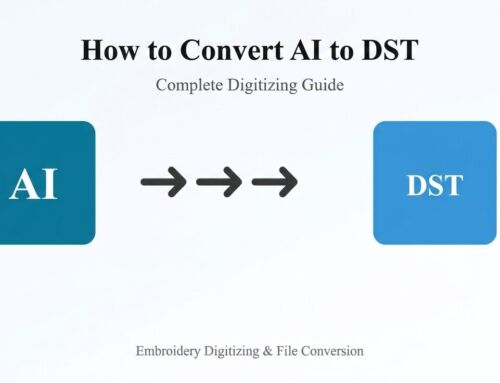
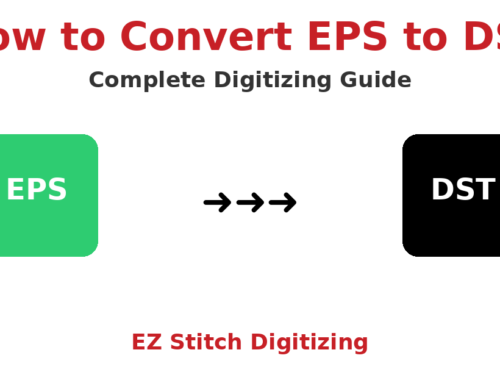
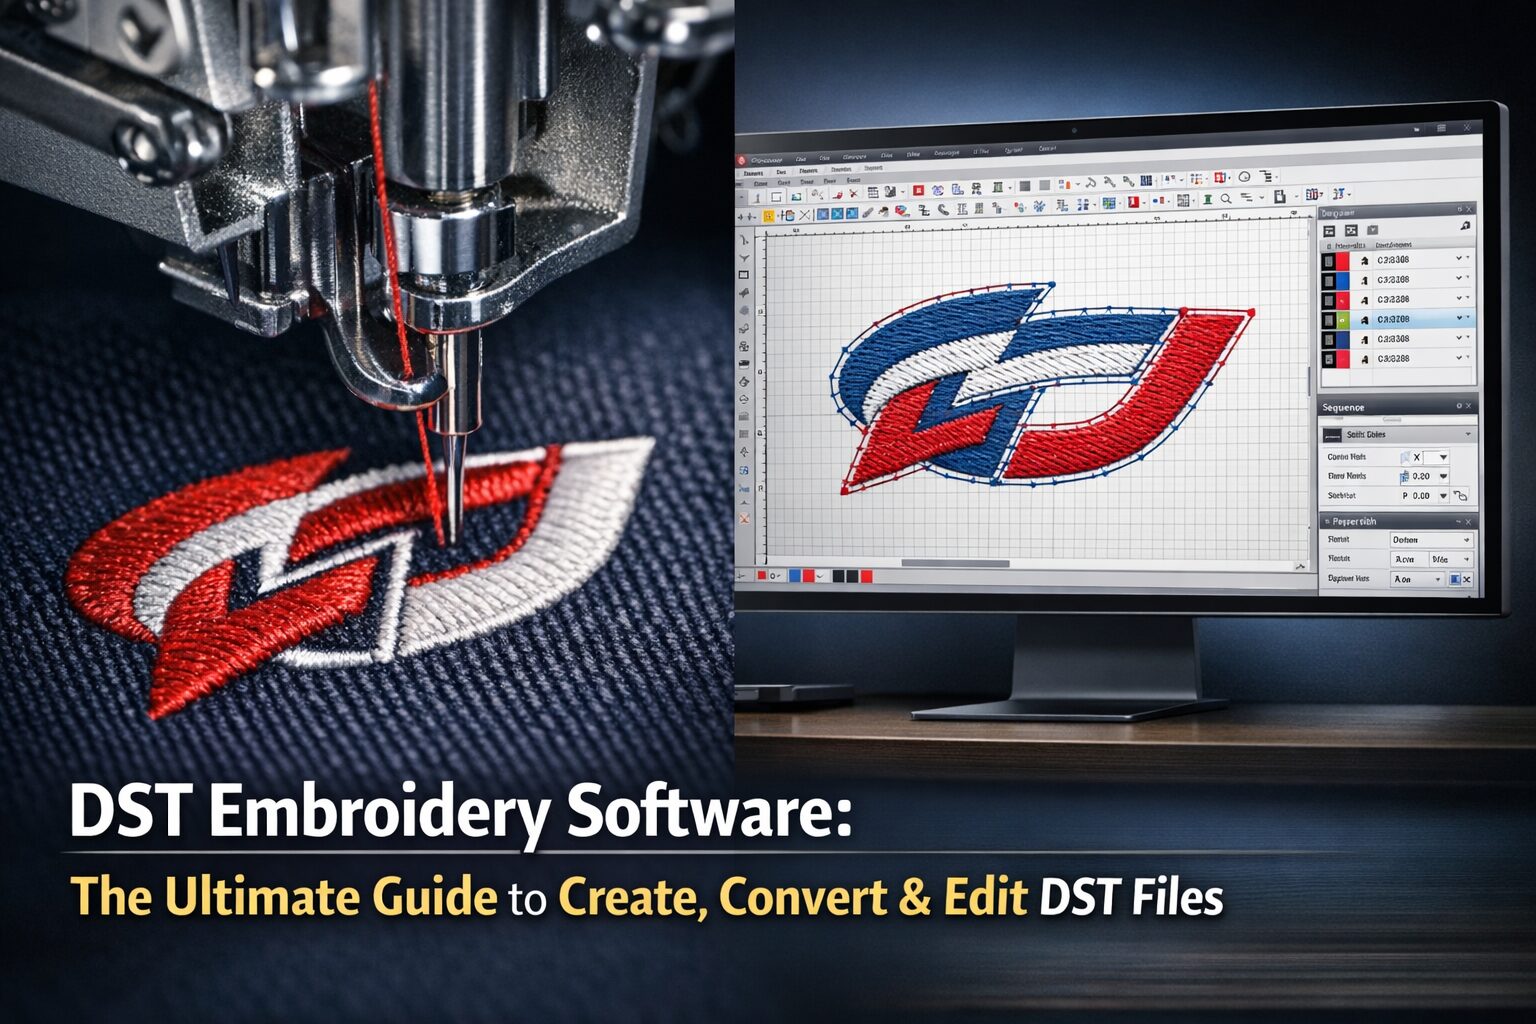
Creating a DST File – Step-by-Step
Creating a DST file requires embroidery digitizing software and technical skill. Automatic converters rarely produce production-quality results.
- Start with a high-resolution logo or artwork (300 DPI minimum).
- Import into embroidery digitizing software (Wilcom, Hatch, or Embird).
- Define stitch types: satin stitch for borders, fill stitch for solid areas, run stitch for fine detail.
- Set stitch direction and sequence for smooth, consistent coverage.
- Adjust stitch density to match your target fabric weight.
- Add trims, jump stitches, and color-change stops where needed.
- Export and save the design as a .DST file.
- Test-stitch on scrap fabric before production.
💡 At EZ Stitch Digitizing, every DST file is manually digitized — not auto-converted. This ensures clean stitch paths, correct density, and zero thread breaks. Email: info@ezstitchdigitizing.com
Stitch Density in DST Files (Critical Quality Factor)
Stitch density controls how tightly stitches are packed within a design. DST files store this data so machines adjust output to your fabric type.
| Fabric Type | Recommended Density | Risk if Wrong |
| Heavy fabrics (denim, canvas) | Higher density | Loose stitching, gaps |
| Light fabrics (organza, silk) | Lower density | Puckering, distortion |
| Standard fabrics (cotton, poly) | Medium density | Thread breaks if too high |
DST File Viewer – Open DST file now! Always preview stitch density before exporting your DST file. This prevents thread breaks, machine stress, and costly fabric damage.
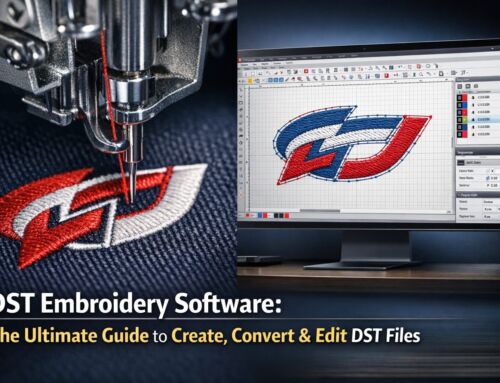
Best Software for DST Embroidery Files
Professional (Paid) Software
- Wilcom EmbroideryStudio – Industry gold standard, most precise
- Hatch Embroidery – Best for small shops and hobbyists
- Embird – Affordable, reliable, widely supported
Free & Open-Source Options
- Ink/Stitch (Inkscape extension) – Free, good for beginners and simple designs
- Wilcom TrueSizer – Free web version for viewing and resizing DST files
All of these tools let you open DST files, preview stitch paths, resize designs, and convert between embroidery formats.
Free DST Embroidery Files – Download Section
Download professionally digitized DST files for free — no signup required. Each file is machine-tested, properly trimmed, and balanced for standard commercial machines.
Every free DST file includes:
- Optimized stitch path — no overlapping or missed areas
- Correct trims and jump commands
- Balanced stitch density for most fabric types
- Machine-ready DST format (compatible with Tajima, Brother, Barudan, Ricoma)
DST 2022 & DST 2023 — What Do These Searches Mean?
Searches like DST 2022 and DST 2023 most commonly relate to graduation embroidery, senior class patches, commemorative event designs, and reunion logos — designs that include a year as part of the artwork.
EZ Stitch Digitizing creates custom year-based embroidery designs for:
- Senior class and graduation patches
- Anniversary and milestone logos
- School and sports team branding
- Retro and vintage-style embroidery
Contact us at info@ezstitchdigitizing.com to request a custom DST design with your year or text.
What Is PT DST?
PT DST refers to stitch point data embedded within a DST file. Each stitch point defines the exact next position of the needle — the X and Y coordinate it moves to. A typical commercial embroidery file may contain tens of thousands of stitch points.
Understanding stitch points matters because they determine design accuracy, machine wear, and stitching speed. Poorly sequenced stitch points increase thread breaks and slow production.
Legal Note About the Term ‘DST’
DST can refer to multiple things depending on context: Delta Sigma Theta Sorority (a historic organization), Daylight Saving Time, or the DST embroidery file format. This page covers only the embroidery file format.
If you plan to embroider third-party logos or brand marks, ensure you have proper licensing or written permission before commercial use. EZ Stitch Digitizing creates files based on client-provided artwork — licensing is the responsibility of the client.
Why Choose EZ Stitch Digitizing?
| Feature | Detail |
| Manual Digitizing | Every file hand-digitized, not auto-converted |
| Fabric Optimization | Density adjusted to your specific fabric |
| Machine Testing | Files tested before delivery |
| Format Support | DST, PES, JEF, EXP, and more |
| Fast Delivery | Most orders completed within 24 hours |
| Affordable Pricing | Transparent, competitive rates |
📧 Contact: info@ezstitchdigitizing.com
Frequently Asked Questions
Professional Digitizing Services
If your DST embroidery file shows errors or production risks, we can help with:
Custom embroidery digitizing
DST file repair and optimization
Vector artwork conversion for embroidery
📧 Email: info@ezstitchdigitizing.com
📘 Facebook: https://facebook.com/EZStitchDigitizing1
👉 Quote Form: https://ezstitchdigitizing.com/embriodery-digitizing-quotation-form/