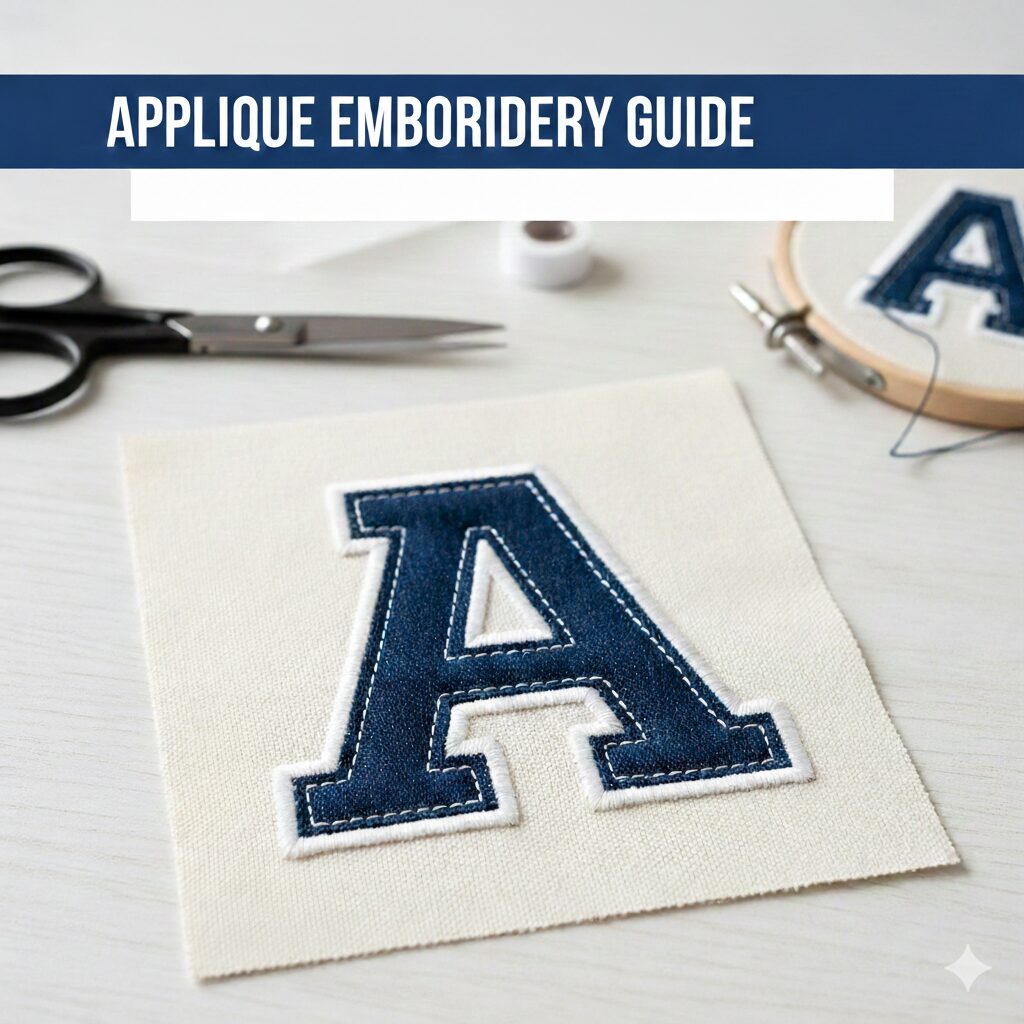
Introduction: Why You Might Want to Remove Embroidery
Embroidery is an art—but sometimes, mistakes happen, logos become outdated, or you simply want to give your fabric a fresh new look. Whether you’re fixing a customer order, updating old merchandise, or recycling a garment, knowing how to safely remove embroidery is essential.
Done incorrectly, embroidery removal can cause holes, snags, and stretching. But done right, you can salvage the material and prepare it for a clean new design—or restore its original look with minimal trace of past stitches.
In this guide, we’ll walk you through everything you need to know to remove embroidery like a professional—from tool selection to expert techniques—so you save time, money, and your material.
Why Fabric Type Matters When Removing Embroidery
Different fabrics react differently to embroidery—and to removal.
| Fabric Type | Removal Difficulty | Tips |
|---|---|---|
| Cotton | Easy | Sturdy, forgiving—great for beginners |
| Denim | Moderate | Use stitch eraser and hoop for best results |
| Polyester | Caution | Prone to burn and stretching—low heat only |
| Silk/Chiffon | Difficult | Delicate—avoid aggressive tools |
| Fleece or Stretch Fabrics | Tricky | Threads may hide in nap—use tweezers and a lint roller |
Pro Tip: If you’re not sure about the fabric, test on a small inconspicuous area before starting full removal.
3 Most Effective Ways to Remove Embroidery (Step-by-Step)
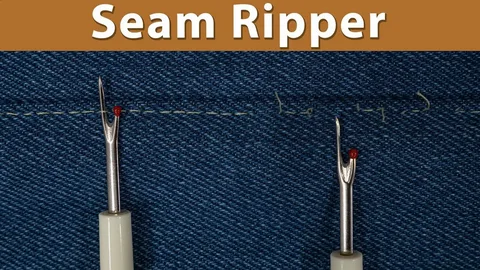
Method 1: Seam Ripper Technique
Best for: Small to medium designs, delicate fabrics
What You’ll Need:
Seam ripper
Tweezers
Lint roller
Steps:
Turn the garment inside out to expose the embroidery’s back.
Gently insert the seam ripper under the bobbin thread and snip every 2–3 stitches.
Flip the garment right side out and use tweezers to pull the top threads.
Roll a lint roller over the surface to pick up leftover fuzz.
Lightly steam-press the fabric to relax fibers and reduce holes.
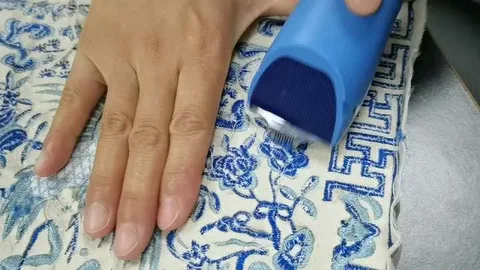
Method 2: Stitch Eraser Method
Best for: Large, dense embroidery designs (like logos)
What You’ll Need:
Stitch eraser or electric trimmer
Embroidery hoop
Tweezers
Steps:
Hoop the garment with the embroidery facing up and taut.
Slowly run the stitch eraser over the back of the embroidery—avoid pushing too hard.
Pull loose threads with tweezers from the front side.
Repeat until the design is fully gone, and clean up excess thread fuzz.
Note: Stitch erasers are especially effective on satin stitches and fill stitch designs.
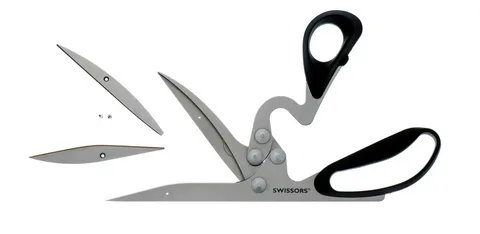
Method 3: Precision Scissor Method
Best for: Spot edits, monograms, or minimal embroidery
What You’ll Need:
Embroidery scissors (curved)
Magnifier (optional)
Tweezers
Steps:
Use sharp curved scissors to cut threads on the back.
Pull threads gently from the front using tweezers.
This method requires steady hands and patience—but it’s very safe on thin fabrics.
How to Remove Embroidered Patches (Without Tearing the Fabric)
If Sewn-On:
Snip the thread loops from the back using a seam ripper or scissors.
Once the stitching is loose, gently peel off the patch.
If Heat-Bonded:
Place a damp cloth over the patch.
Use a warm iron to soften adhesive (low setting).
Slowly peel the patch off while warm.
Use adhesive remover or rubbing alcohol to get rid of any sticky residue.
Aftercare: Fixing Fabric After Embroidery Removal
Once the embroidery is gone, here’s how to restore the fabric:
1. Steam Out Holes
Lightly steam the area (don’t press too hard) and gently rub the fabric in circles with your fingers to relax thread holes.
2. Wash and Press
A light wash can fluff up fabric fibers and reduce visible marks. Air dry, then iron gently.
3. Cover-Up Option
Still seeing marks? Cover the area with:
A new embroidery design
A fabric patch or badge
A custom label
When to Leave It to the Pros
Embroidery removal can be time-consuming—and risky on expensive or delicate items. If you’re unsure or want to ensure a professional finish, consider hiring a removal expert or sending the garment to us for cleanup and re-digitizing.
We specialize in helping hobbyists and businesses clean up embroidery jobs and prepare fabric for re-use or resale.
Conclusion: Don’t Fear the Stitch—Remove It Right
Removing embroidery doesn’t have to be intimidating. With the right tools, methods, and a little patience, you can give your garments and fabric a fresh start—ready for a new design or repurposing. Whether it’s a logo you no longer need or a name you want to update, this guide has you covered.
Need Help Removing or Redesigning Embroidery?
We’re experts in embroidery digitizing, vectorizing, and fabric restoration. If you’ve got a design to remove, revise, or revamp—we’ve got you.
📧 Email: info@ezstitchdigitizing.com
👍 Facebook Page: EZ Stitch Digitizing
You think, we digitize. Let’s make your next embroidery project shine.