Embroidered patches are a great way to showcase creativity, personalize garments, and bring any artwork to life on fabric. Whether you’re customizing jackets, backpacks, uniforms, or accessories, knowing how to make embroidered patches puts you in full control of your design and style. In this DIY guide, we’ll walk you through each step of making high-quality embroidered patches at home or in your studio.
Why Make Your Own Embroidered Patches?
Learning how to make embroidered patches allows you to turn artwork, logos, or initials into wearable art. They’re trendy, versatile, and perfect for personal use or branding. Whether you want to create patches for your clothing line, gifts, or your crafting business—making them yourself gives you flexibility in size, color, and finishing.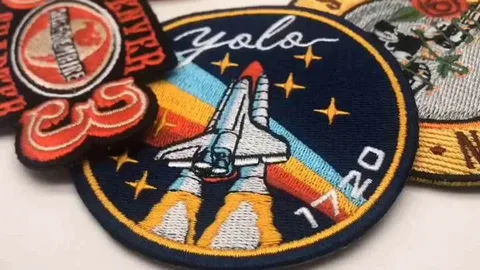
Step-by-Step: How to Make Embroidered Patches
Step 1: Gather the Essentials
Before you begin, make sure you have the right supplies. Here’s what you’ll need:
Embroidery machine (Brother SE400 and similar models work great)
Patch fabric (poly twill, felt, or cotton)
Embroidery threads in your desired colors
Backing stabilizer (tear-away, cut-away, or fusible)
Heat-n-Bond UltraHold (for optional iron-on backing)
Fray Check (to seal the edges)
Scissors or a precision cutter
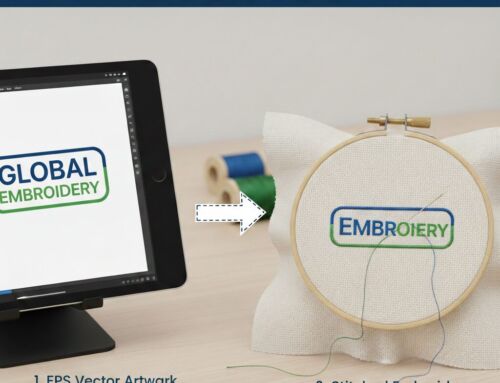
Step 2: Design Your Patch
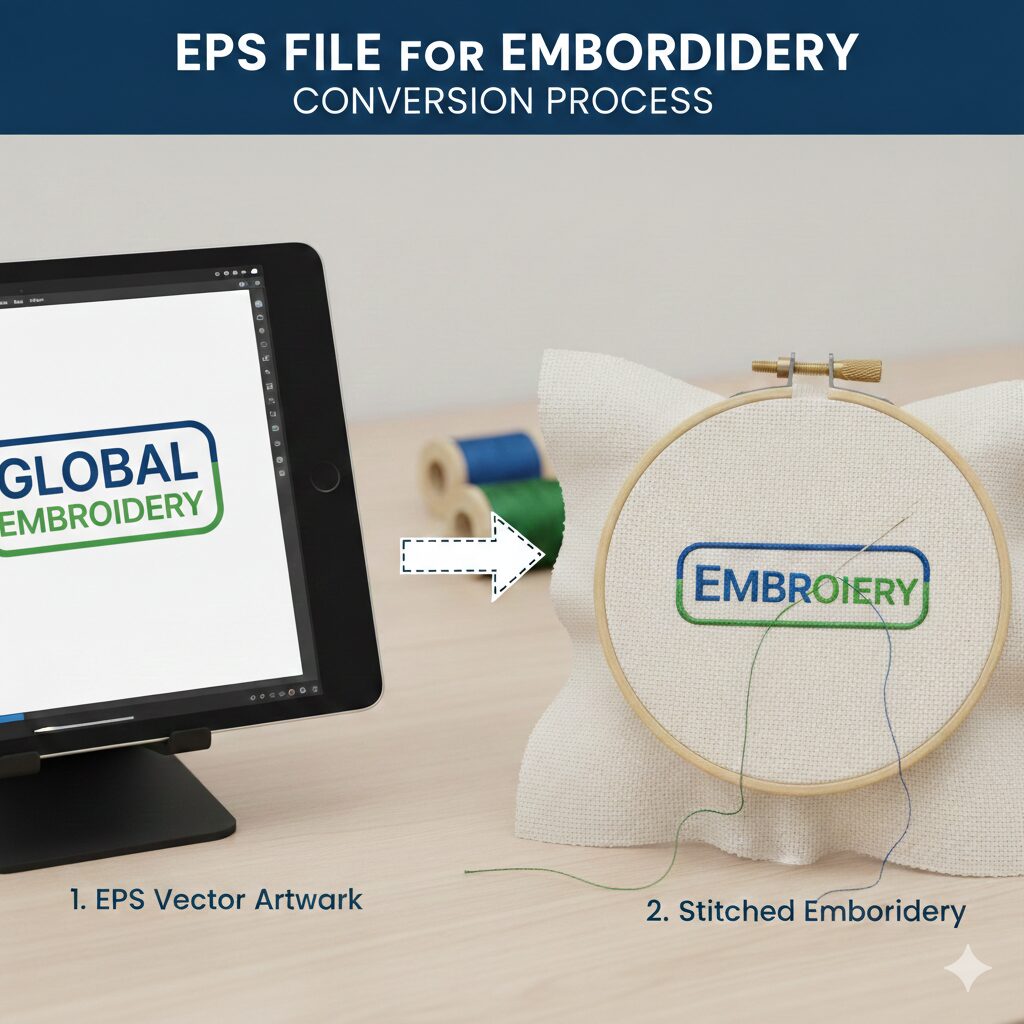
Use embroidery software like Wilcom, Brother PE-Design, or Click-n-Stitch to create your patch layout. You can also import artwork from Illustrator or Photoshop and convert it into an embroidery-ready file.
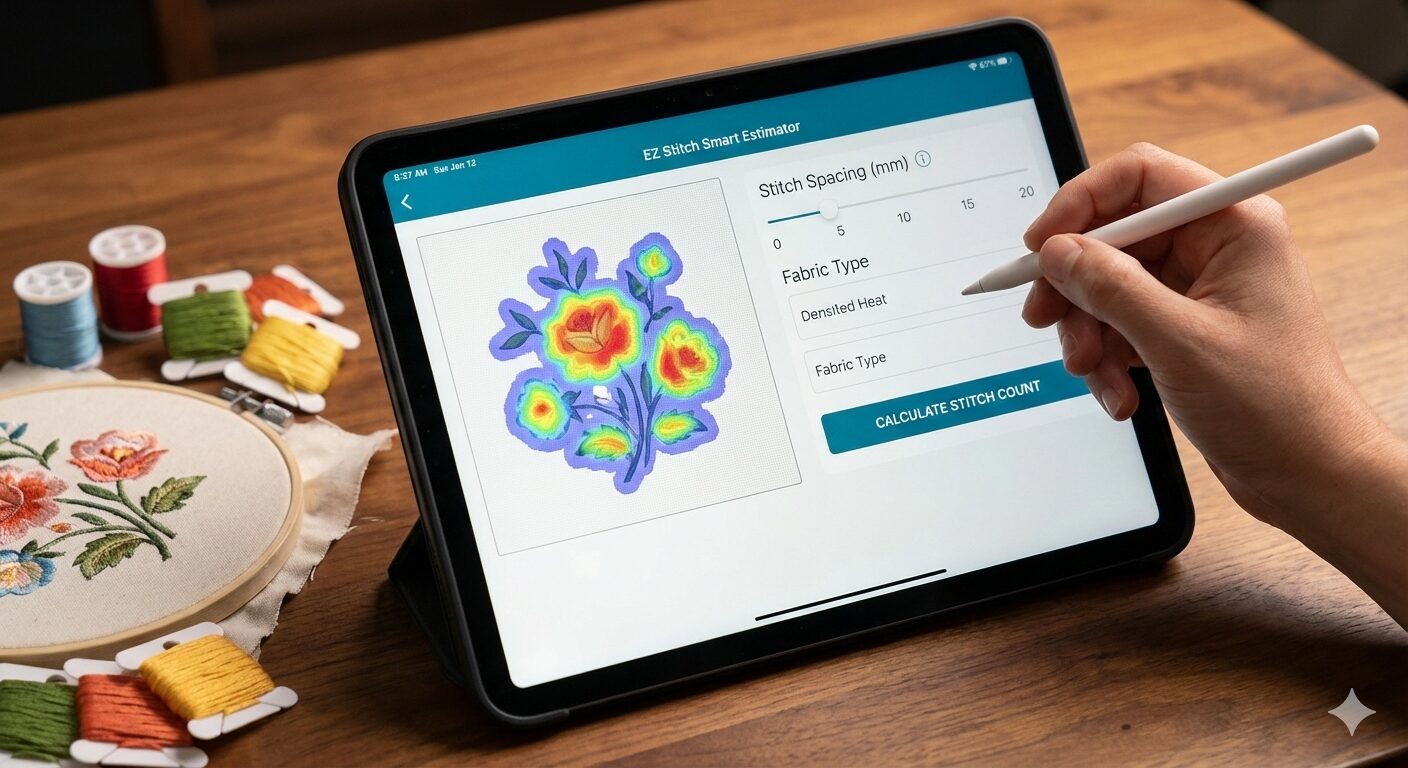
🧵 Digitizing Tip: Not sure how to digitize your design? Let EZ Stitch Digitizing handle it professionally for clean, detailed stitching. We transform your design into a perfect stitch file in no time.
Step 3: Prep the Fabric & Stabilizer
Choose a durable base fabric—poly twill is ideal for patch making. Apply the stabilizer to the back of your fabric. Fusible stabilizers give a stronger bond, but tear-away works well for lightweight designs. Make sure the fabric is hooped tightly and smoothly before stitching.
Step 4: Start Stitching
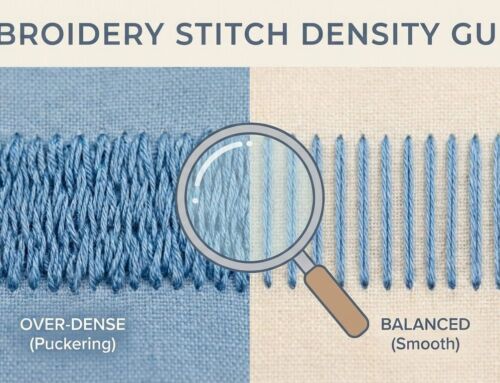
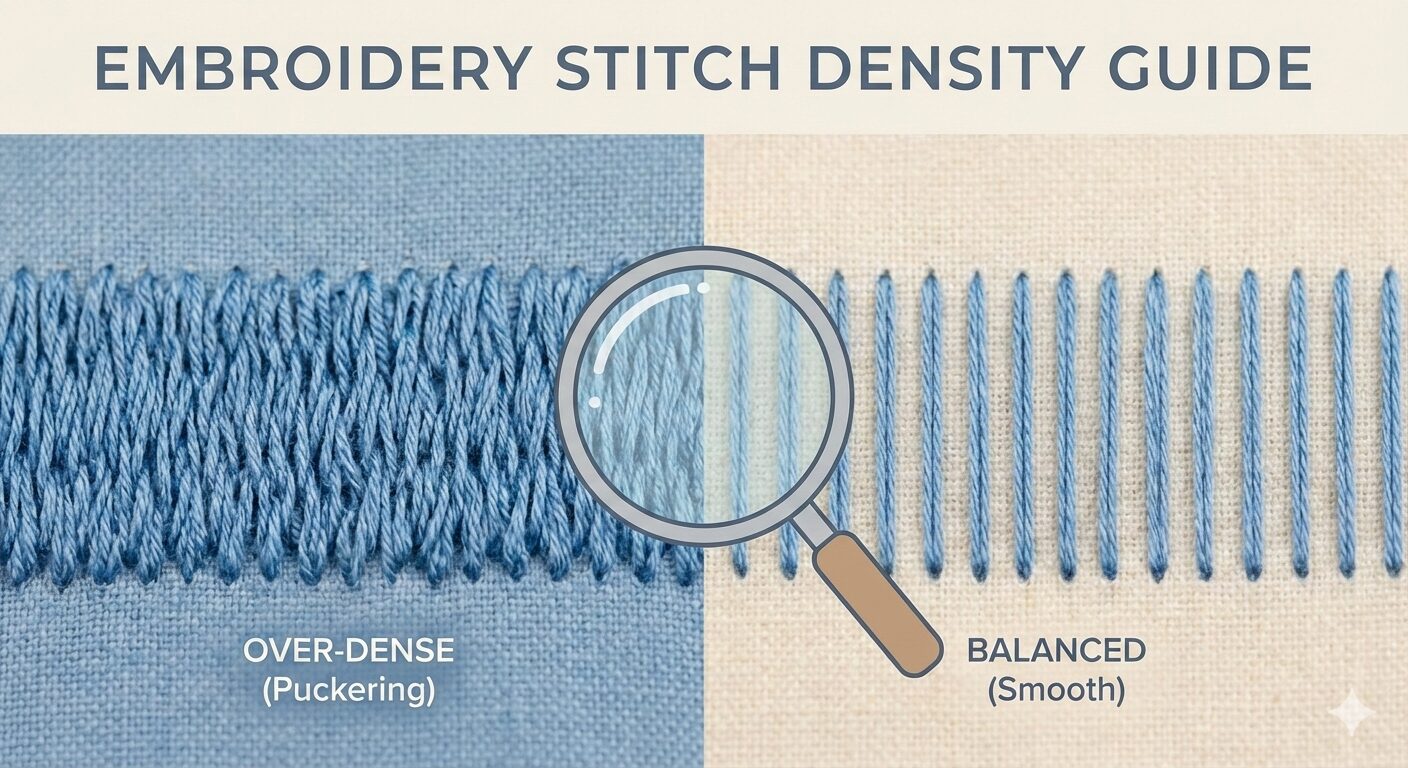
Load your digitized file onto the embroidery machine. Hoop your fabric with stabilizer, align it properly, and begin the embroidery process. Monitor the stitching to ensure color changes, density, and stitch type are rendering well. Adjust speed if your design includes small text or fine details.
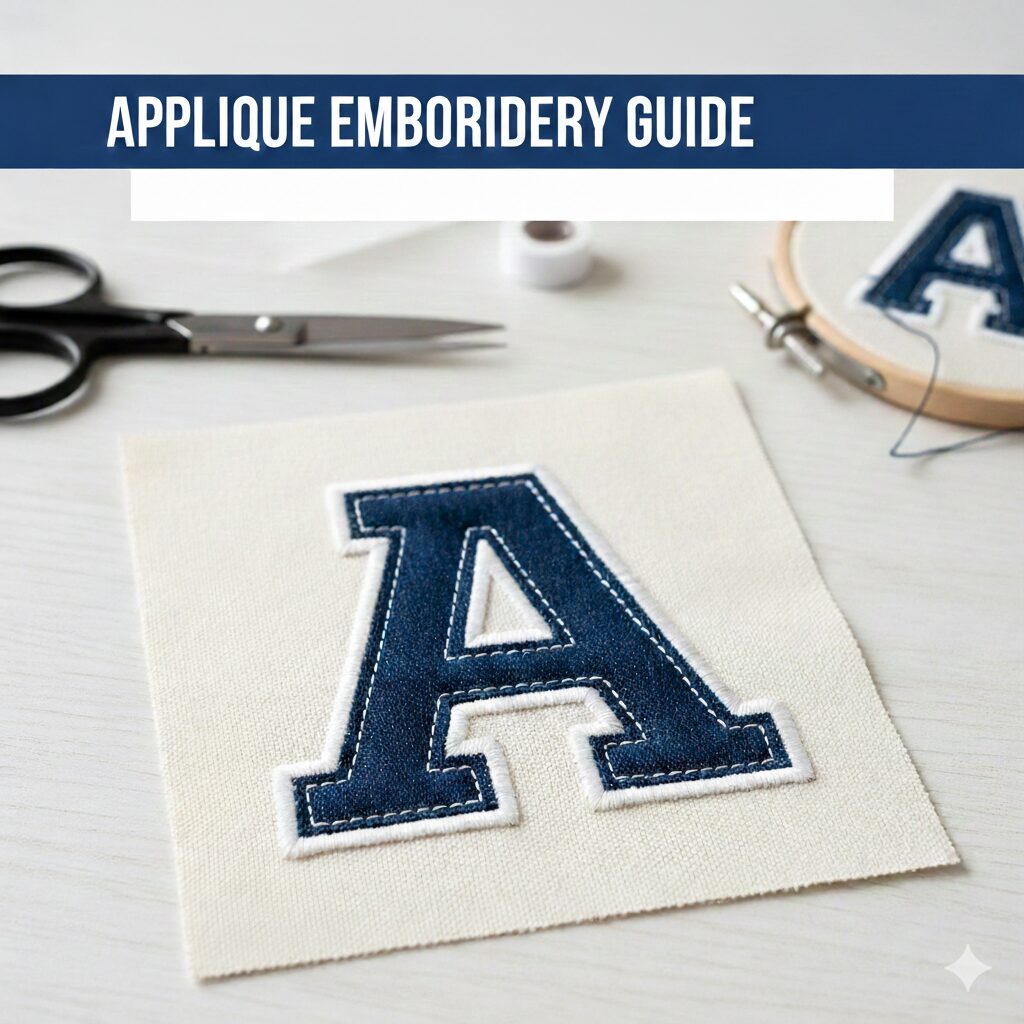
Step 5: Trim the Patch
Once stitching is complete, carefully cut around the patch. Use sharp scissors or a cutting machine for precision. Stay close to the edge stitches but avoid cutting into them. A soldering tool or hot knife can also help melt off extra stabilizer and give a clean edge.
Step 6: Apply a Backing (Optional)
If you want your patch to be iron-on, apply Heat-n-Bond UltraHold to the back. Simply cut to size, iron it on, and you’re done. For sew-on patches, you can skip this step and leave the patch as-is.
Step 7: Seal the Edges
To prevent fraying over time, apply Fray Check around the edges. This creates a clean, durable seal that holds up to washing and wear.
Step 8: Final Inspection & Touches
Give your patch a final look—trim loose threads, touch up the edges, and test the backing if applicable. Your embroidered patch is now ready to be applied!
💡 Pro Tip: Not Sure How to Digitize Your Patch Design?
Digitizing can make or break the quality of your embroidered patch. That’s why many creators and businesses trust EZ Stitch Digitizing. We specialize in professional embroidery digitizing and vector art conversion, helping you get high-quality results—fast.
✅ Let’s Bring Your Patch Ideas to Life!
We’re here to help turn your artwork into perfect embroidery files and stunning patches.
📧 Email us at: info@ezstitchdigitizing.com
📱 Message us on Facebook: EZ Stitch Digitizing Facebook
Fast turnaround – Affordable pricing – Preview before pay – Guaranteed satisfaction