Introduction: Why Embroidered Patches Never Go Out of Style
Embroidered patches have been a timeless way to showcase identity, style, and branding. From scout badges and sports team logos to fashion accessories and business uniforms, custom patches add a personal or professional touch to any garment. Whether you’re an embroidery enthusiast, a crafter looking for your next DIY project, or a business aiming to boost your brand, learning how to create an embroidered patch is both fun and rewarding.
Let’s break down the process so you can confidently turn your idea into a wearable reality.
Step 1: Start with a Strong Design
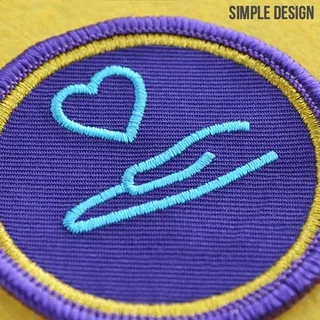
Your patch begins with your idea. Whether it’s a business logo, a fun icon, or a personal monogram, the design should be:
Simple yet bold – Clean lines and solid fills are ideal.
Sized appropriately – Common patch sizes range from 2” to 4”.
Color-coordinated – Choose contrasting thread colors that stand out.
If you’re unsure how to convert your artwork into an embroidery-friendly file, we can help digitize your image for optimal stitching quality.
🧵 Need help turning your idea into a stitchable design? Contact us at info@ezstitchdigitizing.com or message us on Facebook.
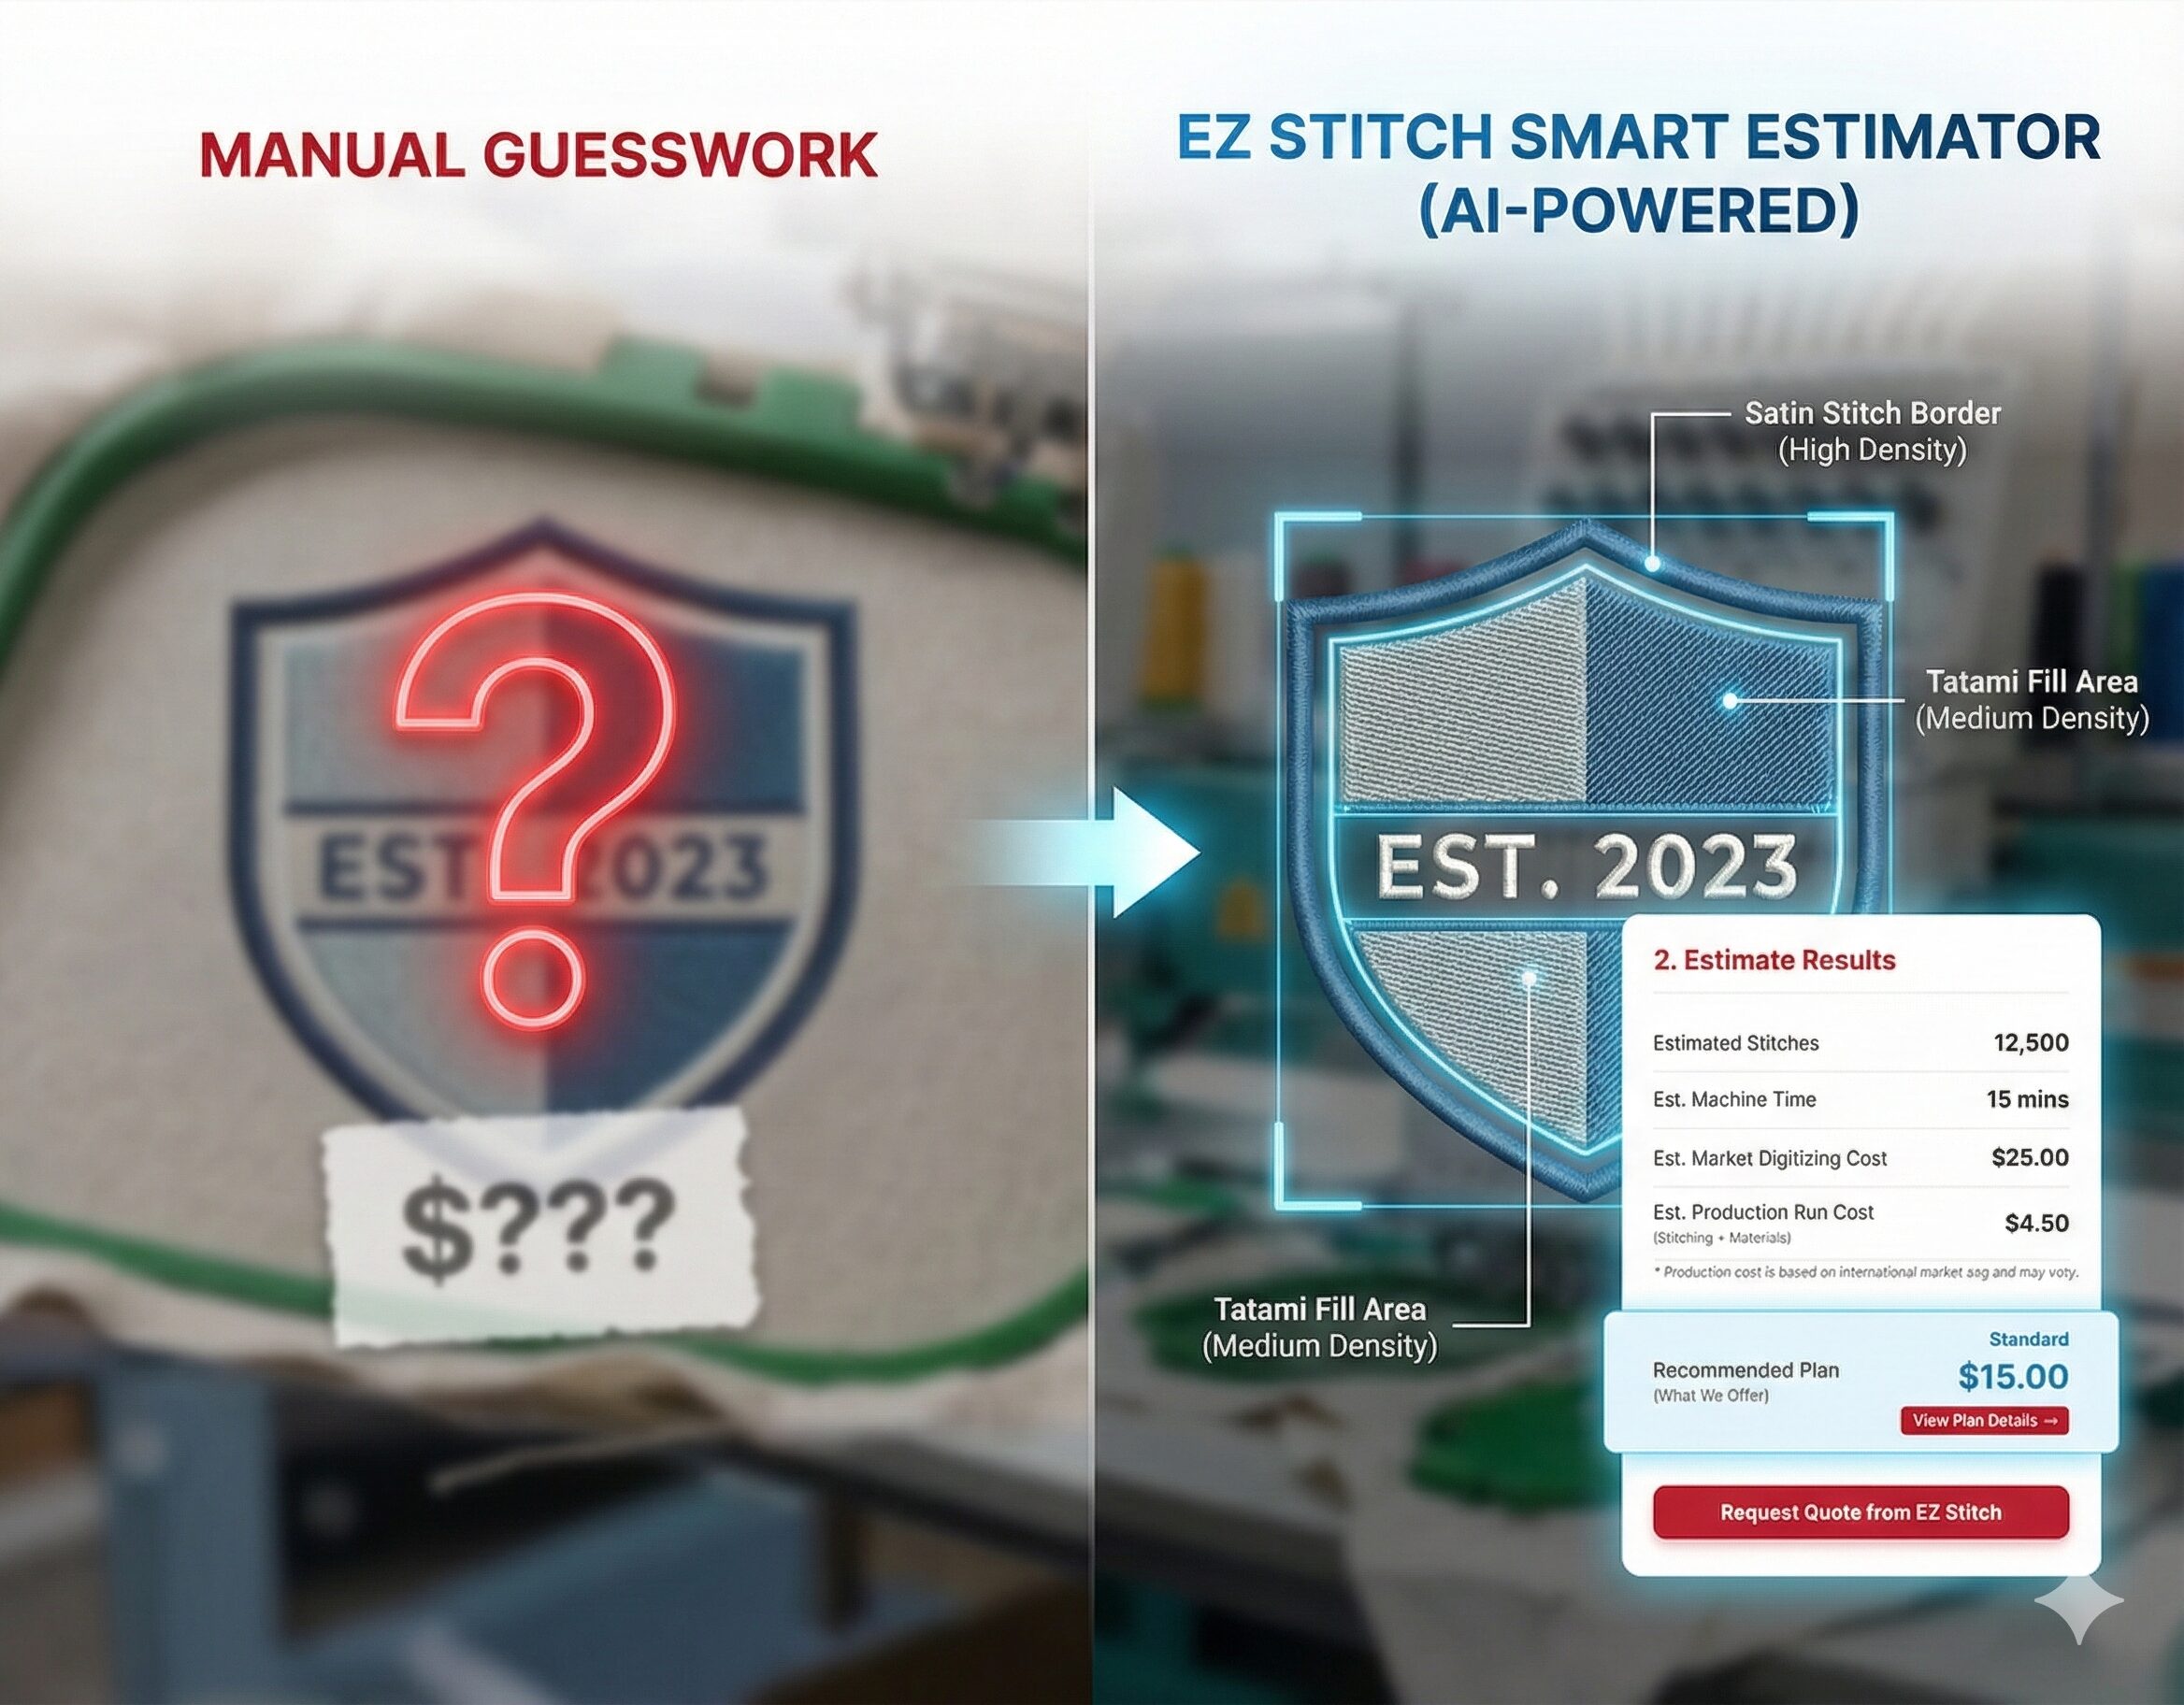
Step 2: Digitize the Artwork
Digitizing is the process of converting your image into an embroidery file (e.g., DST, PES) that an embroidery machine can read. This step is crucial—it determines the quality, accuracy, and stitch type for your patch.
💡 Pro Tip: Don’t use automatic apps for digitizing. Professional digitizing ensures your patch won’t have thread breaks, loose edges, or missing fills.
We offer same-day embroidery digitizing at affordable rates—message us for a free quote!
Step 3: Choose Patch Materials & Backing
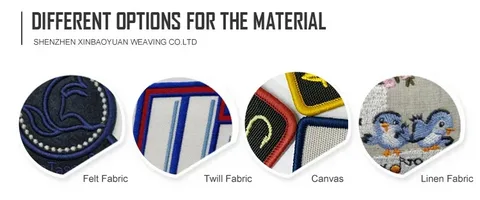
Once your file is ready, select the fabric and backing:
Fabric base: Twill, felt, or canvas are great options.
Backing options:
Iron-on: Great for DIY clothing patches.
Sew-on: Perfect for permanent, washable applications.
Velcro: Ideal for tactical, military, or removable use.
Adhesive: For temporary use on smooth surfaces.
Each backing suits different needs, so pick based on your final application.
Step 4: Embroider the Patch
Use a commercial or home embroidery machine to stitch out your patch. Hoop the fabric tightly, align the design, and use the correct thread colors.
✔ Make sure to:
Use a sharp needle for thick fabric.
Test run your design on scrap material.
Monitor thread tension and machine speed.
Step 5: Cut & Finish the Patch
After stitching:
Trim the patch – Use scissors or a hot knife to cut around the patch shape.
Apply backing – Iron, sew, or press Velcro depending on the chosen style.
Seal edges – Use a satin stitch border or heat seal to prevent fraying.
Now your patch is ready to wear, sell, or gift!
Why Use EZ Stitch Digitizing?
Creating high-quality patches starts with professional digitizing. At EZ Stitch Digitizing, we specialize in:
✅ Precise DST file creation
✅ Vector conversions for screen printing
✅ Fast turnaround (often same-day)
✅ Affordable pricing with top-rated customer support
🔗 Let us help you create the perfect embroidered patch – just email info@ezstitchdigitizing.com or message us on Facebook.
Final Thoughts: Custom Patches That Make a Statement
Whether you’re adding flair to denim jackets, branding uniforms, or creating merch for your club or brand, embroidered patches are a standout accessory. With the right design, digitizing, and finishing, your custom patches will be eye-catching and durable.

