If you have a beautiful logo, illustration, or graphic saved on your computer, you might be wondering how to turn it into custom embroidered apparel. The first hurdle most people face is realizing that embroidery machines cannot read standard picture formats. To stitch your design, you must convert your PNG to a DST file.
While standard images are made of flat pixels, embroidery machines require specialized files that dictate thread colors, stitch paths, and physical machine movements. In this comprehensive guide, we will explore the complete png to dst conversion process, review the best software, answer common questions, and explain why human digitizing often beats an automatic png to dst converter.
Understanding the Basics: PNG vs. DST Formats
Before we dive into how to convert a png to an embroidery file, you first need to understand the fundamental difference between the two formats:
PNG (Portable Network Graphics): A standard, 2D image file known for lossless compression and transparent backgrounds. A PNG image is made of pixels. Your computer screen and web browsers read pixels perfectly, but a needle and thread cannot.
DST (Data Stitch Tajima): A highly specialized set of mechanical instructions used universally by commercial embroidery machines. A DST file contains exact mapping for X/Y coordinates, jumps, trims, and needle penetrations.
Because you are moving from a visual digital medium (pixels) to a physical medium (thread), you aren’t simply changing a file extension—you are digitizing a PNG for embroidery.
Why You Can’t Just “Save As” a DST File
A common misconception is that you can open Adobe Photoshop or Illustrator, click “Save As,” and magically export a stitch file. If you are searching for how to convert png to dst photoshop, you will be disappointed. Photoshop is an image editor, not an embroidery digitizer. It does not have the native programming to calculate stitch density or underlay.

From Google | Image by iconfinder
To convert an image to a dst file, you need specialized software that acts as a bridge between graphic design and machine mechanics.
Can You Use a PNG to DST Converter Online for Free?
Many beginners immediately search for a “convert png to dst file online free” tool, hoping for an instant fix. While there are automated image-to-dst converters available on the web, they often yield mixed results.
Auto-digitizing software attempts to guess where stitches should go based strictly on color blocks. For incredibly simple, flat, high-contrast shapes, a free png to dst converter might give you a passable starting point.
However, for complex logos with gradients, fine text, or intricate details, an automated png to dst online converter often creates chaotic stitch paths. This results in heavy thread breaks, ruined garments, and a poor-quality final product.
Expert Tip: Whether you use a free online tool or receive a file from a freelance designer, you should always audit the file before sending it to your machine. You can use our free Online DST Viewer to open, zoom, and inspect the stitch sequence right in your browser—no downloads needed!
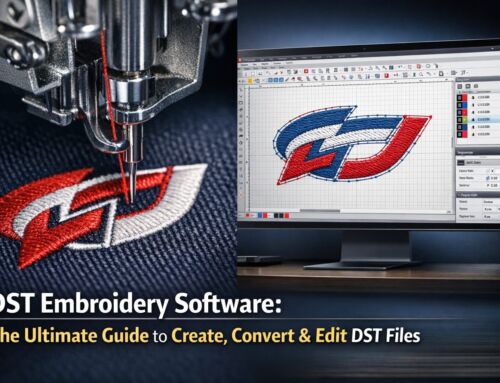
Top Software to Convert PNG to Embroidery Files
If you want to handle the png to dst conversion yourself, you will need dedicated embroidery digitizing software. Here are the top programs ranging from beginner-friendly to professional-grade:
1. Ink/Stitch (Free & Open Source)
If you are looking for a completely free png to dst converter, Ink/Stitch is a powerful extension for the vector graphics editor Inkscape. It allows you to convert images to embroidery files at no cost. It has a steep learning curve, but it is excellent for hobbyists on a budget. (Note: Inkscape and Ink/Stitch are also fantastic tools if you are looking to convert a vector SVG to DST).
2. Embrilliance StitchArtist
Embrilliance is incredibly popular among home embroiderers and small business owners. While their basic tier focuses on editing, upgrading to the StitchArtist module allows you to import a PNG graphic and trace it into a stitchable design. It offers a user-friendly interface and acts as a fantastic program to convert a png file to a dst file for both Mac and PC users.
3. Brother PE-Design
Brother PE-Design is a robust, professional software suite. It includes advanced auto-digitizing features that attempt to convert a PNG, or even DST images (like JPEGs), into stitch data with much better accuracy than free online tools. Because it is a Brother product, it is also the perfect tool if you need a png to pes converter.
Free DST Embroidery Files – Download Section
Download professionally digitized DST files for free — no signup required. Each file is machine-tested, properly trimmed, and balanced for standard commercial machines.
Every free DST file includes:
- Optimized stitch path — no overlapping or missed areas
- Correct trims and jump commands
- Balanced stitch density for most fabric types
- Machine-ready DST format (compatible with Tajima, Brother, Barudan, Ricoma)
How to Convert a PNG to DST File: Step-by-Step
Whether you use paid software or a free program, the fundamental process to convert a picture to dst remains the same:
Step 1: Simplify and Clean Your PNG Image Ensure your PNG is high-resolution (at least 300 DPI). Remove unnecessary background clutter, complex drop shadows, or tiny details that are too small to be accurately stitched with a needle.
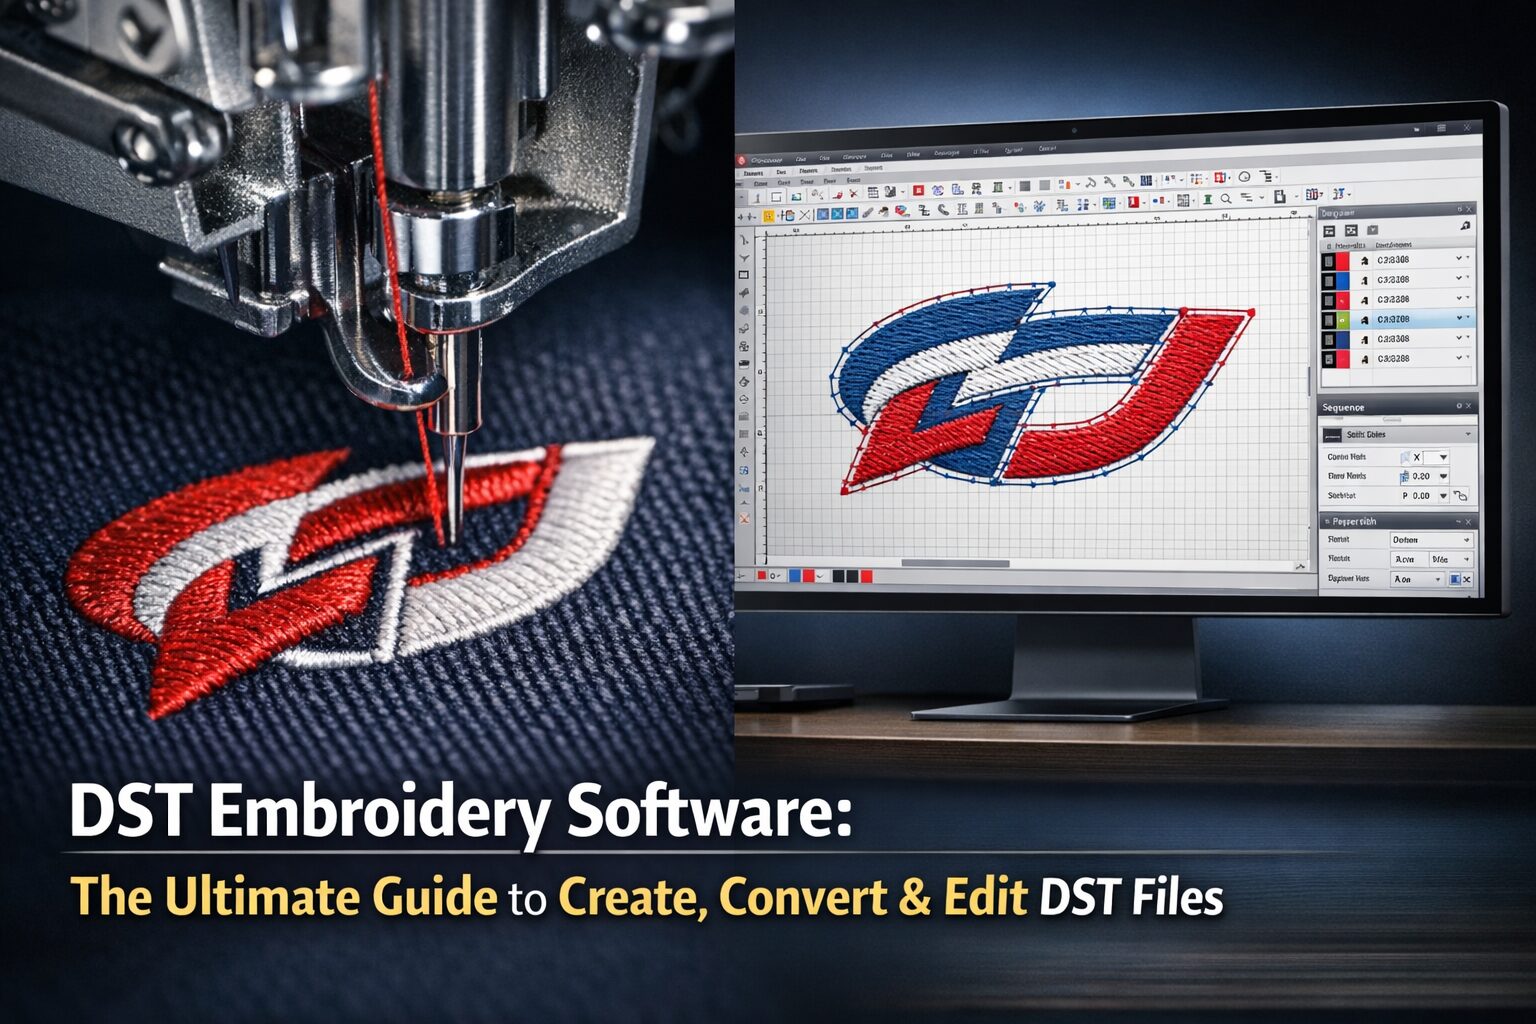
Step 2: Import the Image into Your Digitizing Software Open your chosen software and import the PNG file to use as a background tracing template.
Step 3: Map the Stitches (Digitizing) This is the most critical step in the png file to dst embroidery file process. You will manually trace the image and assign stitch types (satin stitch for borders, fill stitch for large areas, running stitch for details). You must also account for “pull compensation”—calculating how much the fabric will stretch while being hooped and embroidered.
Step 4: Set the Thread Colors Assign the correct color stops. It is highly recommended that you understand how your machine reads DST file colors, as the DST format does not store visual color data the exact same way a digital image file does.
Step 5: Export and Run a Test Stitch Save or export the finalized design as a .dst format. Never stitch a newly converted file directly onto your final, expensive garment. Always run a test stitch on a piece of scrap fabric of similar weight. Adjust the density and tension in your software as needed.
Frequently Asked Questions (FAQs)
Why Professional Digitizing Beats Auto-Conversion Every Time
While learning how to convert a png to an embroidery file is a fun, rewarding skill for hobbyists, business owners and professional apparel decorators rarely rely on automatic converters or DIY software.
Why? Because human digitizers understand real-world fabric mechanics. A professional digitizer knows that a logo stitched on a stretchy, thin performance polo shirt requires entirely different underlay stitching than the exact same logo stitched on a thick, stiff structured baseball cap. A software program cannot make these physical world calculations.
If you want crisp lettering, smooth curves, and a design that runs smoothly on your commercial machine without breaking needles or wasting garments, skipping the software and hiring a professional is your most cost-effective solution.
Need Your PNG Converted Flawlessly?
Converting a png image to a dst file shouldn’t be a headache that holds up your production line. Whether you need a simple chest logo or a massive, complex jacket-back design digitized, the team at EZ Stitch Digitizing guarantees stitch-perfect results, incredibly fast turnarounds, and designs optimized for your specific fabric type.
Professional Digitizing Services
If your DST embroidery file shows errors, or you just want to skip the software and get straight to stitching, we can help with:
Custom embroidery digitizing
DST file repair and optimization
Vector artwork conversion for embroidery
📧 Email: info@ezstitchdigitizing.com
📘 Facebook: EZ Stitch Digitizing on Facebook
👉 Get a Free Quote: Embroidery Digitizing Quotation Form