Embroidery designers, digitizers, and apparel decorators often ask: How do colors work in a DST file — and how can I change them? Whether you’re a beginner stitching your first logo or a professional running a production line, this guide gives you the complete answer.
🔗 Also see our full guide on DST files — “DST File for Embroidery – Meaning, Format, Creation & Free DST Designs” — for foundational knowledge about DST and embroidery formats.
🧵 What “DST File Colors” Really Means
A DST file contains stitch commands — instructions that an embroidery machine reads to place needles, change threads, and execute trims and jumps. But contrary to what many people assume, DST files do not store actual color information such as RGB or thread brand shades. They only store color-change stop codes (points where the needle needs a new thread) and how many stops occur.
When you open a DST file in software or upload it to your machine, what you see as colors is usually a default color palette applied by the software — not actual embedded color data.
This is why DST colors can look inconsistent between different tools and machines.
🎨 Why DST Colors Often Look “Wrong”
A common problem embroiderers encounter is that the colors displayed on the screen are different from what they expected from a proof or branding guideline.
From Google | Image by iconfinder
Why This Happens:
DST files are stitch instructions, not designed for visual accuracy.
Most embroidery software and machines use default color palettes to display DST files, which may not match thread brand shades.
Different machines (Brother, Tajima, Barudan, etc.) have different internal palettes, so the same DST may look different depending on where it’s opened.
PDF proofs (RGB/CMYK) show accurate thread brand colors; DST previews do not.
📌 The key insight: what you see on screen is an approximation — it’s not how the design will stitch unless you adjust thread assignments manually.
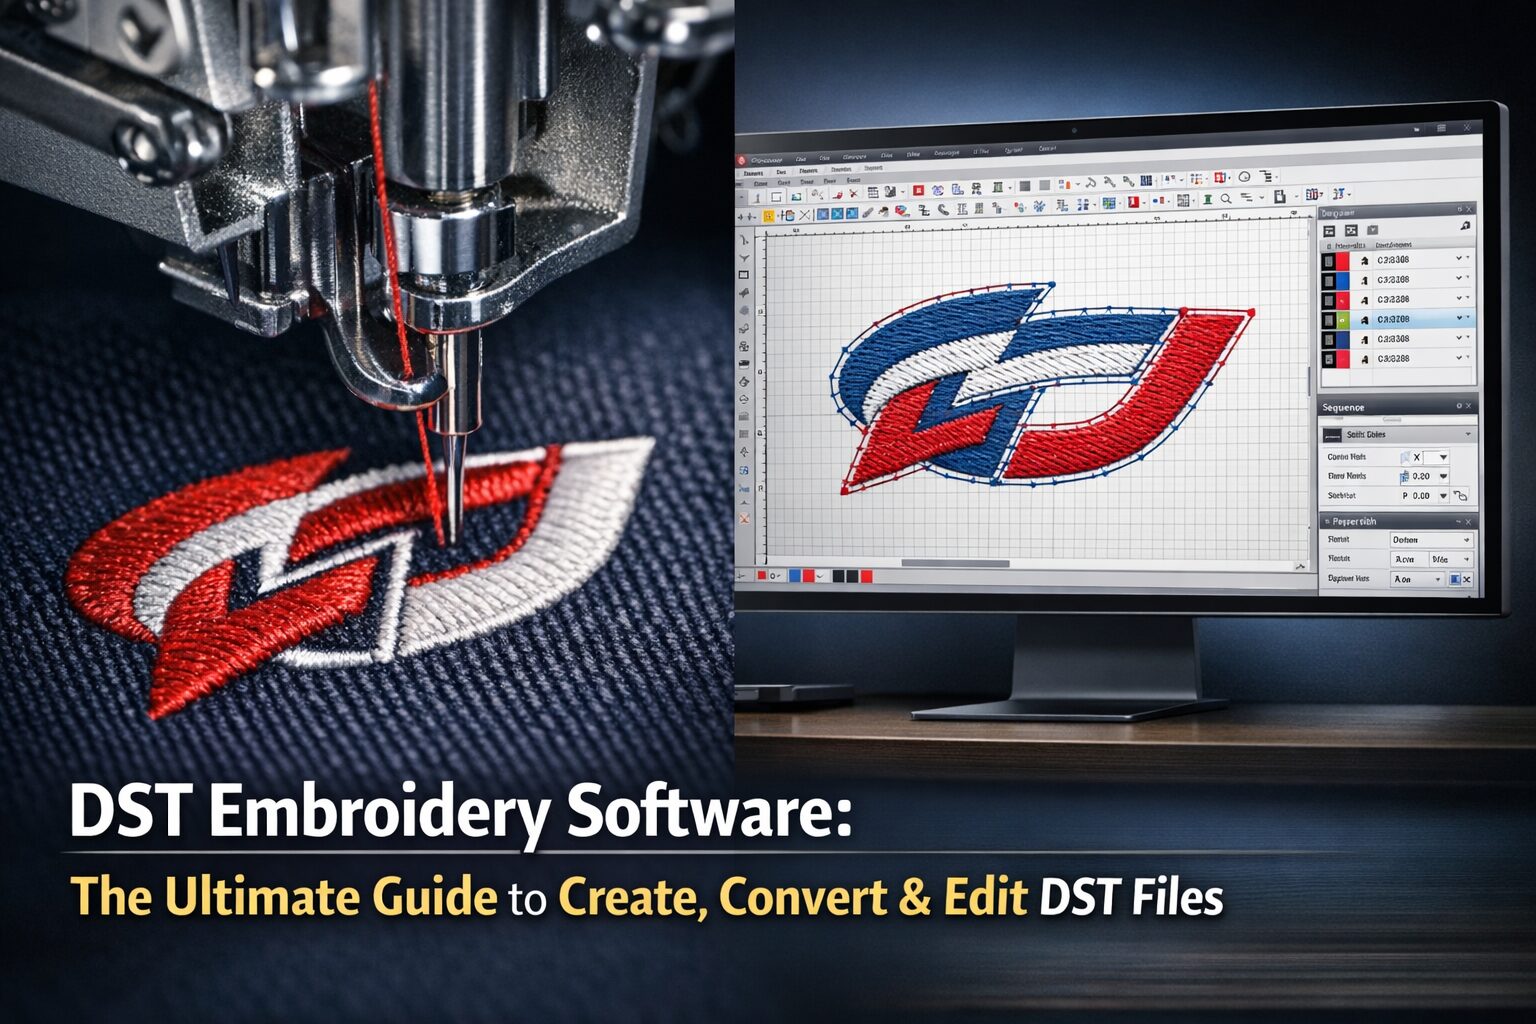
🛠 How Color Preview Works in DST Viewers & Embroidery Software
Because DST files lack real color data, embroidery tools use default palettes when rendering previews.
Example:
Wilcom’s default palette has around 15 preset colors that are cycled through when displaying DST files.
Free online viewers, such as the one on our site, let you override color blocks to make previews more readable — but this override is visual only and not embedded into the DST file itself.
👉 Use our Free Online DST Viewer to preview files and adjust displayed colors before production:
https://ezstitchdigitizing.com/free-online-dst-viewer/
🧠 Step-by-Step Tutorial: How to Edit or Assign Colors in DST Files
Even though DST files don’t embed color metadata, you can still control how colors are displayed and assigned for stitching. Here’s how — covering both free and paid software workflows:
🧩 Step 1: Open Your DST File in Editing Software
Choose a tool that supports DST editing:
Embird – lets you assign and save external color palettes.
Wilcom / Hatch – professional suites with precise color assignment tools.
Ink/Stitch (free) – an Inkscape plugin with embroidery export (tutorials via their site).
Launch your software and open the DST design.
🧩 Step 2: Identify Color Blocks
Most software shows separate blocks or stops for color changes:
Each color block corresponds to a STOP command in DST.
You can click or highlight these to view their sequence and location.
This helps you see how many colors are involved and where each appears in the design.
🧩 Step 3: Assign or Change Display Colors
Although DST doesn’t carry true color data, you can assign visual color blocks in software:
In Embird, double-click a color block in the palette to assign a new shade.
Save a .EDR color file with your assignments; next time you open the DST and the .EDR file together, your software will show the assigned colors.
In Wilcom/Hatch, use the thread palette window to map each stop to a specific thread brand shade.
💡 Professional tip: Always match colors to actual thread charts (Madeira, Isacord, Robison-Anton, etc.) for accurate stitch-out results.
🧩 Step 4: Export or Save the Design
Once you’ve assigned display colors to your satisfaction:
Save your work in the software’s native format (e.g., .EMB, .EXP) if available.
Export to DST again if needed for machine use.
Remember, the DST file will still carry the same stitch stops — but software + machine can now interpret your color sequence more predictably.
🧩 Step 5: Test & Stitch
Before mass production:
✔ Load the DST onto the embroidery machine
✔ Set up threads in the same order as the software palette
✔ Run a test stitch-out to confirm that threads match expectation
Testing prevents wasted materials and ensures you get true color results.
🧰 Best Tools for Handling DST Colors
Here’s a breakdown of software options for previewing, editing, or managing color assignments:
🎨 Free & Online Tools
Online DST viewers (like ours and TeddyPatches viewers) — quick preview + override.
Embird Color Palette (.EDR) support — save color assignments externally.
Ink/Stitch (Inkscape plugin) — free tool for converting and previewing embroidery files.
💼 Paid / Professional Software
Wilcom Embroidery Studio – industry standard with full control.
Hatch Embroidery – professional workflow and color controls.
SewArt – lightweight converter and editor (good for beginners).
BuzzXplore – file manager + previewer for embroidery collections.
Using professional software gives you more predictable results when assigning threads.
❗ Common Problems and How to Avoid Them
❌ DST Displays “Random” Colors
Because DST doesn’t store color info, your machine or software may assign arbitrary colors to stops.
Fix: Always set and verify thread order in your software or machine menu.
❌ Colors Don’t Match Brand Standards
Software previews may not reflect real thread brands.
Fix: Use thread charts from your supplier and assign colors manually.
❌ Stitch Sequence Doesn’t Match
Sometimes colors sew in the “wrong” order. This is typically a sequencing issue in digitizing, not color storage.
Fix: Reorder objects or add explicit STOP commands in professional software.
💡 Expert Tips for Better DST Color Accuracy
✔ Always create a PDF proof for clients — it shows true colors before stitching.
✔ Use thread brand palettes (Madeira/Isacord) when assigning colors to stops.
✔ Save color assignments externally when possible (.EDR files).
✔ Test stitch before large runs.
✔ If color accuracy is critical, keep an editable native backup (e.g., .EMB) and re-export to DST after adjustments.
❓ Frequently Asked Questions
Professional Digitizing Services
If your DST embroidery file shows errors or production risks, we can help with:
Custom embroidery digitizing
DST file repair and optimization
Vector artwork conversion for embroidery
📧 Email: info@ezstitchdigitizing.com
📘 Facebook: https://facebook.com/EZStitchDigitizing1
👉 Quote Form: https://ezstitchdigitizing.com/embriodery-digitizing-quotation-form/
