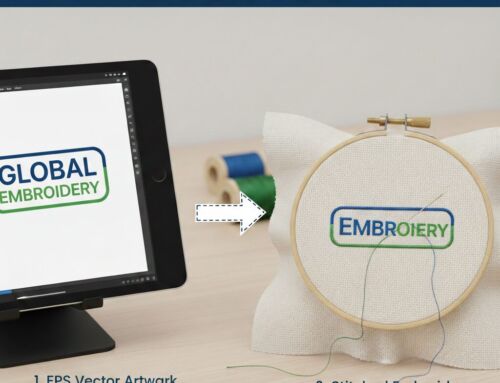
Embroidery digitizing transforms your artwork into a stitch-ready design, allowing embroidery machines to create intricate, high-quality embroidery pieces. Whether you’re a hobbyist, small business owner, or part of an apparel brand, learning how to digitize for embroidery is a vital skill.
In this step-by-step guide, we’ll cover the basics of embroidery digitizing, including the best software, tools, techniques, and tips. By the end, you’ll be equipped to create beautiful, professional-quality embroidered designs with ease!
What is Embroidery Digitizing?
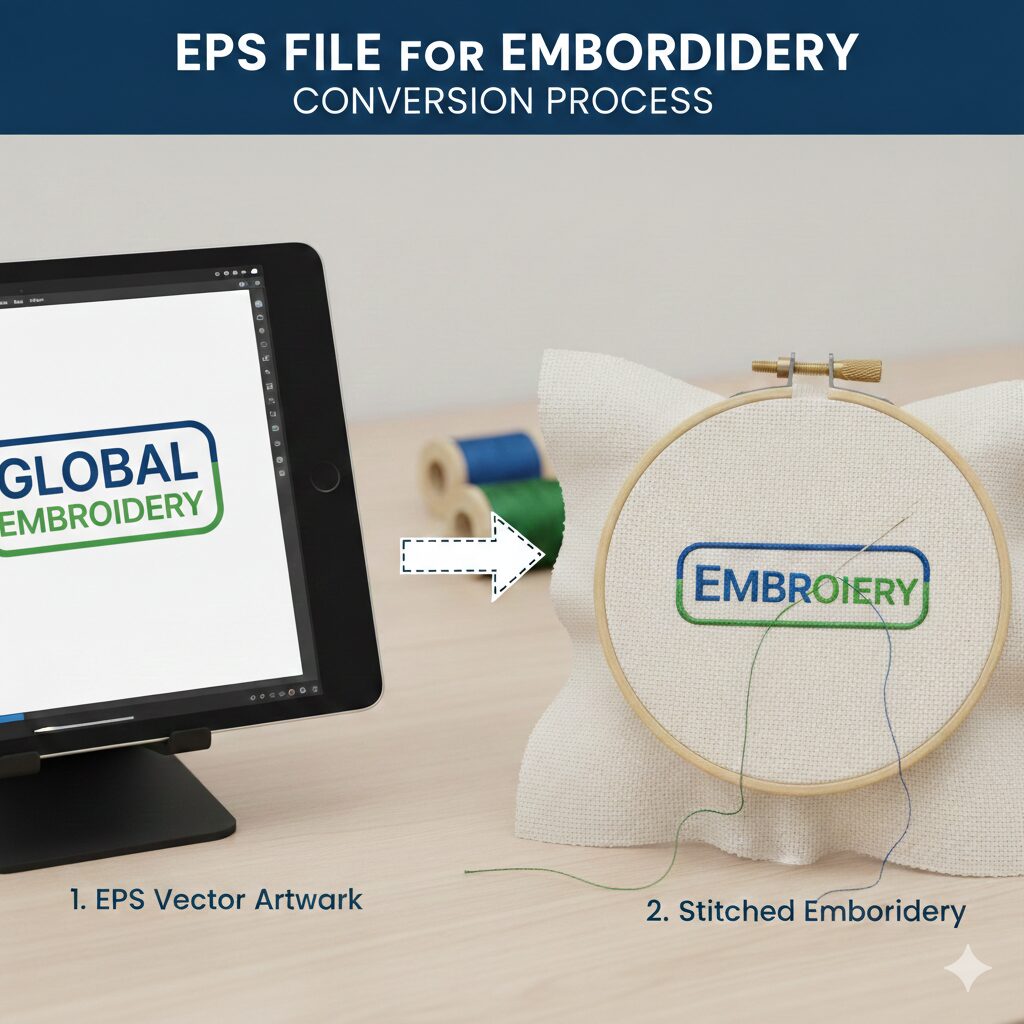
Embroidery digitizing is the process of converting artwork or logos into a digital format that an embroidery machine can understand. This process essentially “translates” your design into a series of instructions that dictate how the embroidery machine should place stitches on fabric. It’s an essential skill for anyone looking to produce professional embroidery work.
Why is Embroidery Digitizing Important?
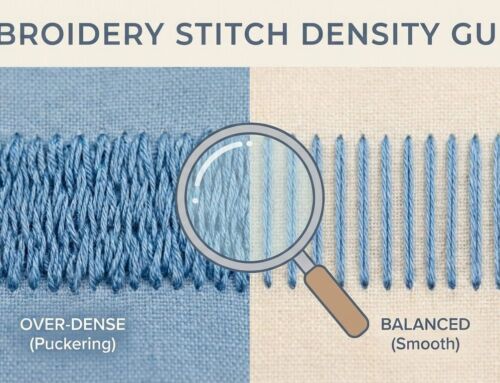
Digitizing for embroidery ensures that your designs come out clean, crisp, and exactly as you envisioned. Proper digitizing controls stitch density, direction, and type—critical factors that affect the appearance and durability of your embroidery. Without correct digitizing, designs may look distorted or messy, ruining the final product.
Step 1: Choose Your Embroidery Digitizing Software

To begin digitizing, you’ll need specialized software that converts your designs into stitch-ready files. There are numerous software options, depending on your experience level and needs.
Popular Embroidery Digitizing Software:
Wilcom (great for professionals)
Tajima DG/ML (user-friendly for all levels)
Embird (affordable with great features)
Bernina ArtLink (ideal for beginners)
Look for software that allows you to customize stitch types, directions, and densities, as these are crucia
l for precise embroidery.
Step 2: Prepare Your Artwork for Digitizing
Before you start digitizing, ensure your artwork is in a format compatible with the digitizing software. Common file types include JPG, PNG, and SVG. Avoid overly detailed or intricate designs; simpler, clear images with distinct shapes are easier to convert into stitches.
Tip: Keep the image size in mind. Large designs may need to be resized to fit the intended embroider
y area on your fabric.
Step 3: Import and Set Up the Design
Once your artwork is ready, import it into your embroidery software. You’ll need to set the dimensions of your design based on the size of the area you plan to embroider on. Many software programs allow you to adjust the layout and make initial tweaks before proceeding to the stitching phase.
Step 4: Select the Stitch Types
Different stitch types achieve different effects. Here are a few common ones to consider:
Straight Stitch: Ideal for outlining or adding detail to your design.
Satin Stitch: Perfect for lettering and borders, giving a smooth, shiny look.
Fill Stitch: Used for filling larger areas with thread, creating a textured, woven effect.
Choosing the right stitch type for each part of your design is crucial to achieving a professional look.
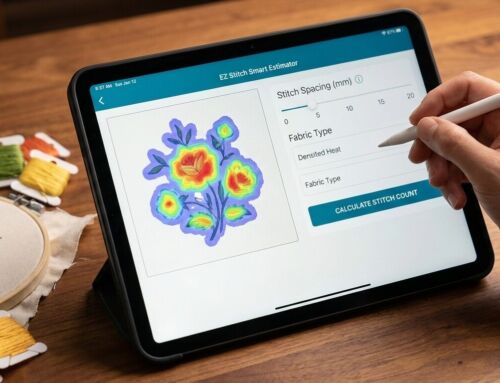
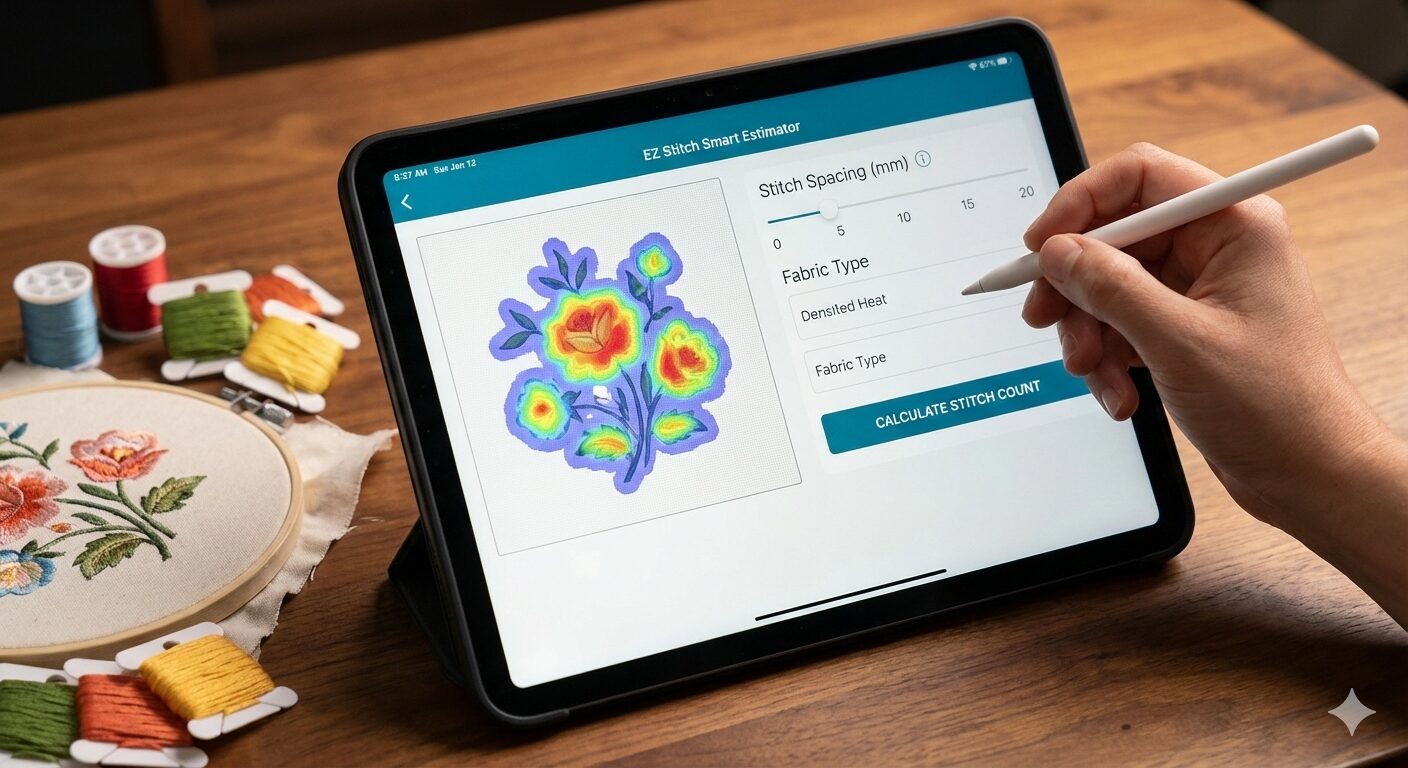
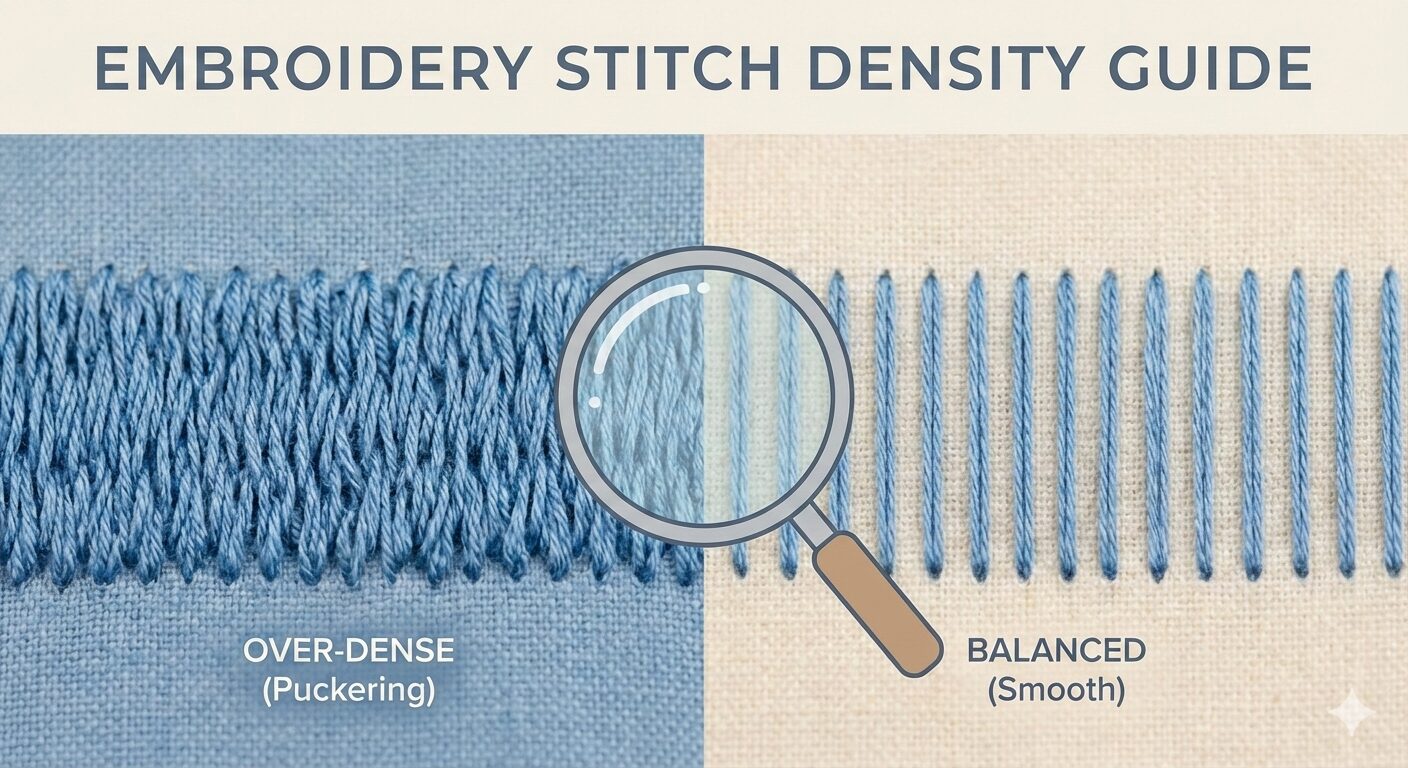
Step 5: Set Stitch Direction and Density
Next, define the direction in which the stitches will travel. This step helps guide the machine and ensur
es a smooth stitch flow. Also, adjust the stitch density to control how closely the stitches are placed. For example, high-density areas create a thicker, more detailed design, while low-density areas are lighter and more open.
Step 6: Choose Thread Colors and Final Touches
Select the colors of thread you’ll use for your design. Match them to your logo’s Pantone colors for brand c
onsistency. Most software programs let you customize thread colors and assign them to specific parts of the design.
Step 7: Test Your Digitized Design
Before you start on your final piece, always test the design on a scrap piece of fabric. This will allow you to catch any errors and make adjustments, such as modifying stitch density or correcting alignment issues. Testing ensures your design looks flawless before it goes on your product.
Step 8: Transfer the File to Your Embroidery Machine
Once you’ve fine-tuned your design, transfer the digitized file (commonly in .DST, .EXP, or .JEF form
ats) to your embroidery machine. Make sure to use the proper method—USB, flash drive, or directly from the computer, depending on your machine.
Step 9: Embroider and Inspect
Finally, run the design on your fabric and inspect the results. Check the quality of stitching, color consistency, and overall appearance. If necessary, make further adjustments to your digitizing settings and retest.
Tips for Successful Embroidery Digitizing
Understand Fabric Types: Different fabrics respond differently to stitching. Choose t
he right approach for each type of material you work with.
Keep it Simple: While intricate designs may look great, they can be tricky to digitize. Stick to clean, bold shapes for the best results.
Consistency is Key: Ensure that your designs are consistent in terms of stitch length and density to maintain a professional finish.
Conclusion: Start Digitizing Your Own Designs Today!
Embroidery digitizing might seem intimidating at first, but with practice, you’ll master the process. By understanding the key steps and using the right tools and techniques, you can create beautiful, professional embroidery designs for your business or personal projects.
Ready to start digitizing? Contact us at info@ezstitchdigitizing.com or visit our Facebook page to get expert help with your embroidery digitizing needs!