Silk-screening (also called screen printing) is a classic technique for transferring designs onto fabric, paper, or other surfaces. Whether you’re a crafter, apparel decorator, or embroidery digitizer looking to expand your skills, learning how to silkscreen helps you create crisp, long-lasting prints with professional flair.
In this guide, we’ll walk through the full process — from preparing your screen to curing the final print — along with tips inspired by real production studios.
What You’ll Need for Silk-Screen Printing
Before you begin, gather these essentials:
A clean silk screen or mesh frame
Photo emulsion and squeegee
Transparency film of your chosen design
Screen printing ink (fabric ink for textiles)
Packing tape or block-out pen
Light source or exposure unit
Water sink for rinsing
💡 Pro Tip: If you already work with embroidery digitizing or vectorizing, your existing design files can easily be adapted for screen printing. Vector files (AI, EPS, SVG) are perfect for clean, high-contrast silkscreen artwork.
Step 1: Coat the Screen with Emulsion
Start by evenly coating your clean screen with photo-sensitive emulsion. Work in a dimly lit space to prevent premature exposure. Once coated, place the screen in a dark area to dry completely before moving on.
Step 2: Expose (Burn) the Screen
Print your design on transparency film, then place it face down on the screen’s outer surface. Use clear tape to secure it in position. Next, expose the screen under bright light or in an exposure unit. The light hardens the emulsion except where your design blocks it, creating a stencil.
Pro Tip: Correct alignment is key — use T-squares or alignment guides for perfect placement, just like positioning embroidery on fabric.
Step 3: Rinse the Screen
Once exposure is complete, gently rinse the screen with water. The emulsion will wash away from the design areas, leaving open spaces where the ink will pass through. Allow the screen to dry thoroughly.
Step 4: Seal and Check for Pinholes
Use clear packing tape to block the edges and any small pinholes where the emulsion didn’t coat properly. This prevents ink leaks during printing. Inspect your screen under light to ensure the stencil is clean and sharp.
Step 5: Set Up the Screen for Printing
Mount the screen onto your printing press or a sturdy surface. Align it properly to ensure your print lands exactly where you want it on the garment. For beginners, T-squares or registration marks can help maintain precision between prints.
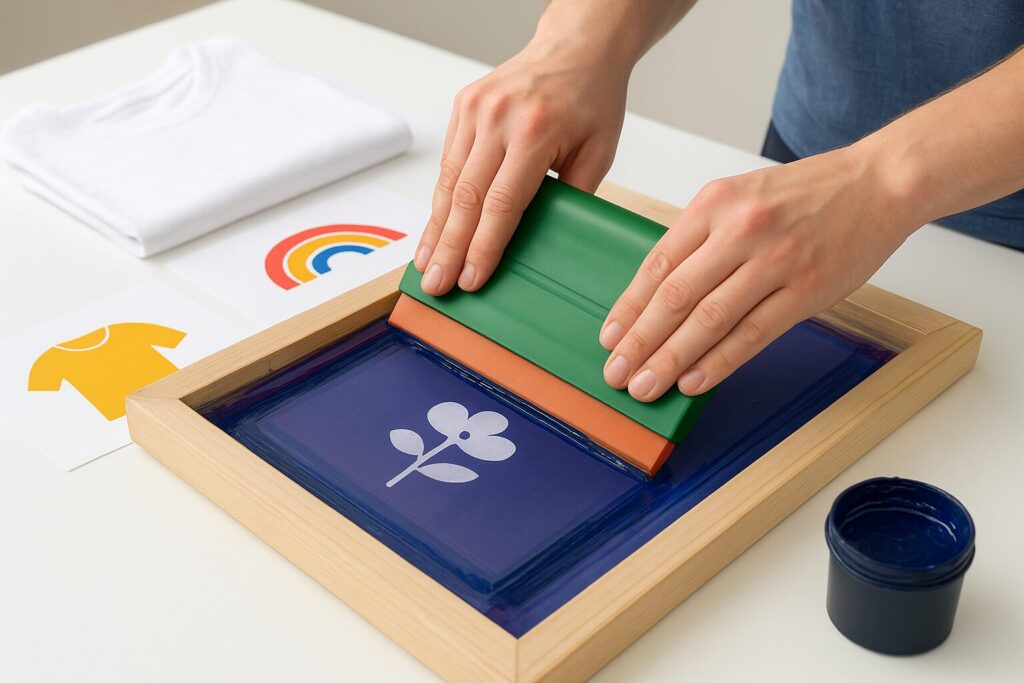
Step 6: Print Your Design
Place your fabric or T-shirt on the platen. Apply a line of ink above your design and use a squeegee to pull it firmly across the screen at a near-vertical angle. Perform a test print first — this ensures even ink coverage and color accuracy.
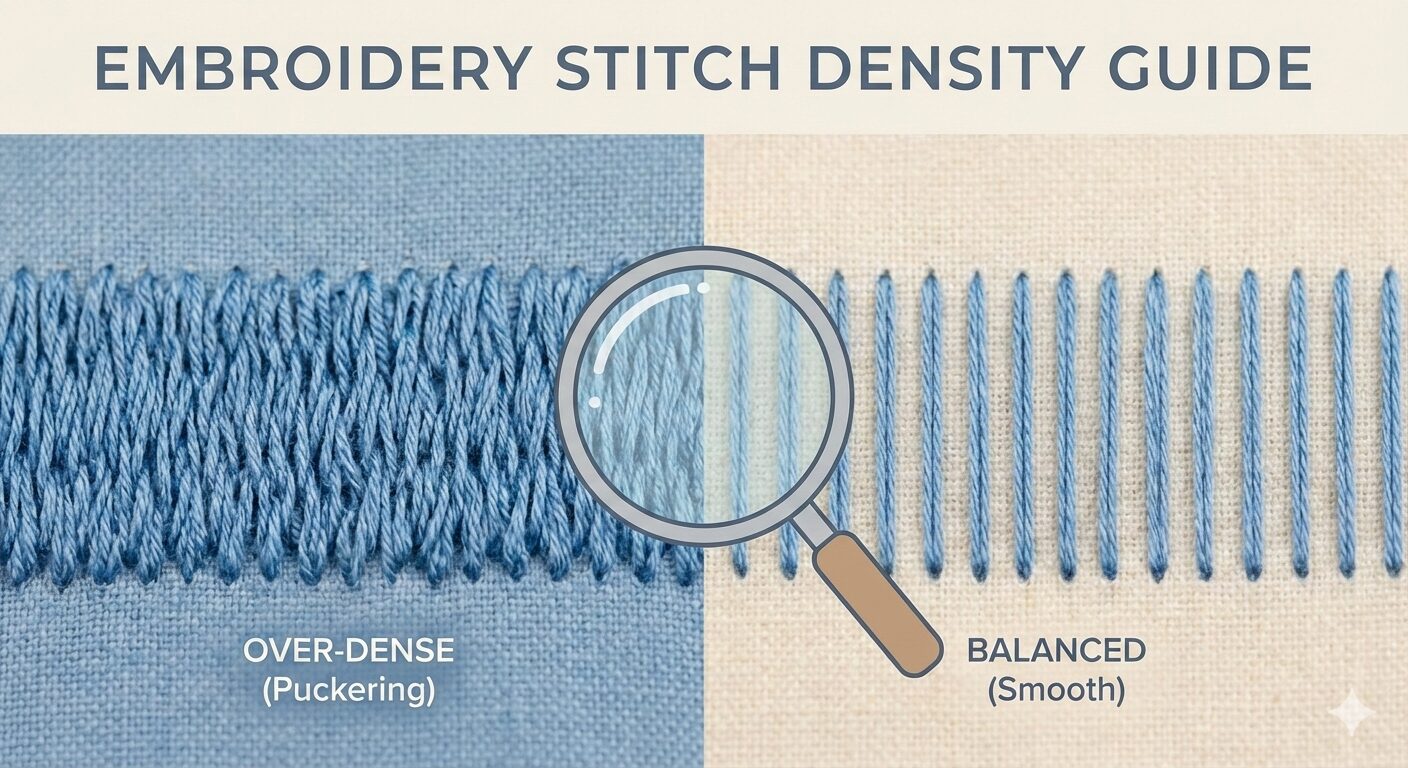
Pro Tip: In embroidery digitizing, small details can get lost in thread. Similarly, in silkscreening, fine lines may not transfer well. Always simplify your design for best results.
Step 7: Cure the Ink
Carefully lift your print from the platen and allow it to dry. Depending on your ink type, you may need to heat cure it. For plastisol ink, heat at about 320°F (160°C) for roughly 30 seconds to ensure durability and wash resistance.
Once cured, your print is ready to wear or sell!
Why Silkscreening and Embroidery Go Hand-in-Hand
Many embroidery and vector design professionals use silk-screening to expand their product range. Both processes rely on clean vector artwork, precise alignment, and color management — skills embroidery digitizers already master.
At EZ Stitch Digitizing, we help creators prepare high-resolution vector files perfect for both embroidery and silkscreen applications.
Frequently Asked Questions (FAQ)
1. What is silk-screen printing used for?
Silk-screen printing is used to transfer designs onto fabric, paper, metal, and more. It’s ideal for T-shirts, tote bags, and promotional products that need long-lasting, vibrant prints.
2. Can I use embroidery designs for silkscreening?
Yes! If your embroidery design is vectorized (SVG, AI, EPS), it can be easily adapted for silkscreen printing by simplifying stitch detail into solid shapes.
3. How long does it take to silkscreen a shirt?
Once your screen is prepared, printing a shirt takes only a few minutes. Preparing the emulsion and exposing the screen usually takes a few hours, including drying time.
4. What kind of ink is best for beginners?
Water-based inks are great for beginners — they’re easy to clean and eco-friendly. Plastisol inks give a professional, durable finish but require heat curing.
5. How do I avoid blurry prints?
Make sure your screen is tight, use proper pressure with the squeegee, and cure the ink correctly. Proper alignment and stencil sharpness are key.
6. What’s the difference between screen printing and embroidery?
Screen printing applies ink on fabric, while embroidery stitches the design with thread. Both can complement each other for premium, customized apparel.