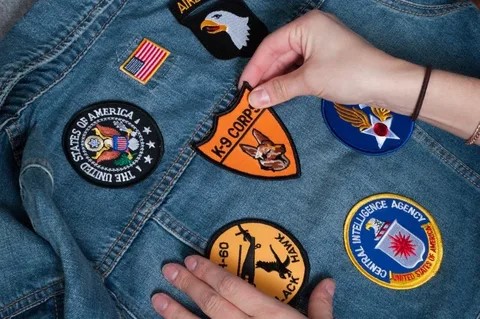
Iron on patches are a fun, creative, and practical way to personalize clothes, bags, hats, and more. Whether you’re a crafter, hobbyist, or small apparel brand, learning how to make an iron on patch at home can save money and give your designs a professional finish.
In this guide, we’ll walk through the tools you need, step-by-step methods (printing, hand embroidery, or sewing machine), plus insider tips to get durable results.
Tools You’ll Need to Make Iron On Patches
Before starting, gather your supplies. These tools cover the three main methods of patch making:
Scissors
Stiff fabric (cotton, twill, or canvas work best)
Peel-and-stick fabric fuse (for the iron-on backing)
Inkjet transfer sheets
Inkjet printer
Phone or digital camera
Photo editing software (like Photoshop, Canva, or free alternatives such as GIMP)
Fabric pencil or chalk
Embroidery floss
Embroidery needle
Embroidery hoop
Sewing machine (optional)
An iron
Step-by-Step: How Do You Make an Iron On Patch?
1. Choose the Right Artwork
When designing a patch:
Avoid overly detailed or intricate designs.
Use strong lines and contrasting colors.
Keep your design under 5 inches for best results.
2. Method 1: Inkjet Printing Patches
This is the simplest way for beginners.
Photograph or scan your artwork.
Upload it to your computer and resize it in photo editing software.
Print the design onto inkjet transfer paper.
Place stiff fabric on an ironing board.
Put the printed image face down on the fabric.
Follow the transfer paper instructions for ironing time and temperature.
Peel off the paper and let it cool.
Cut out your patch neatly with scissors.
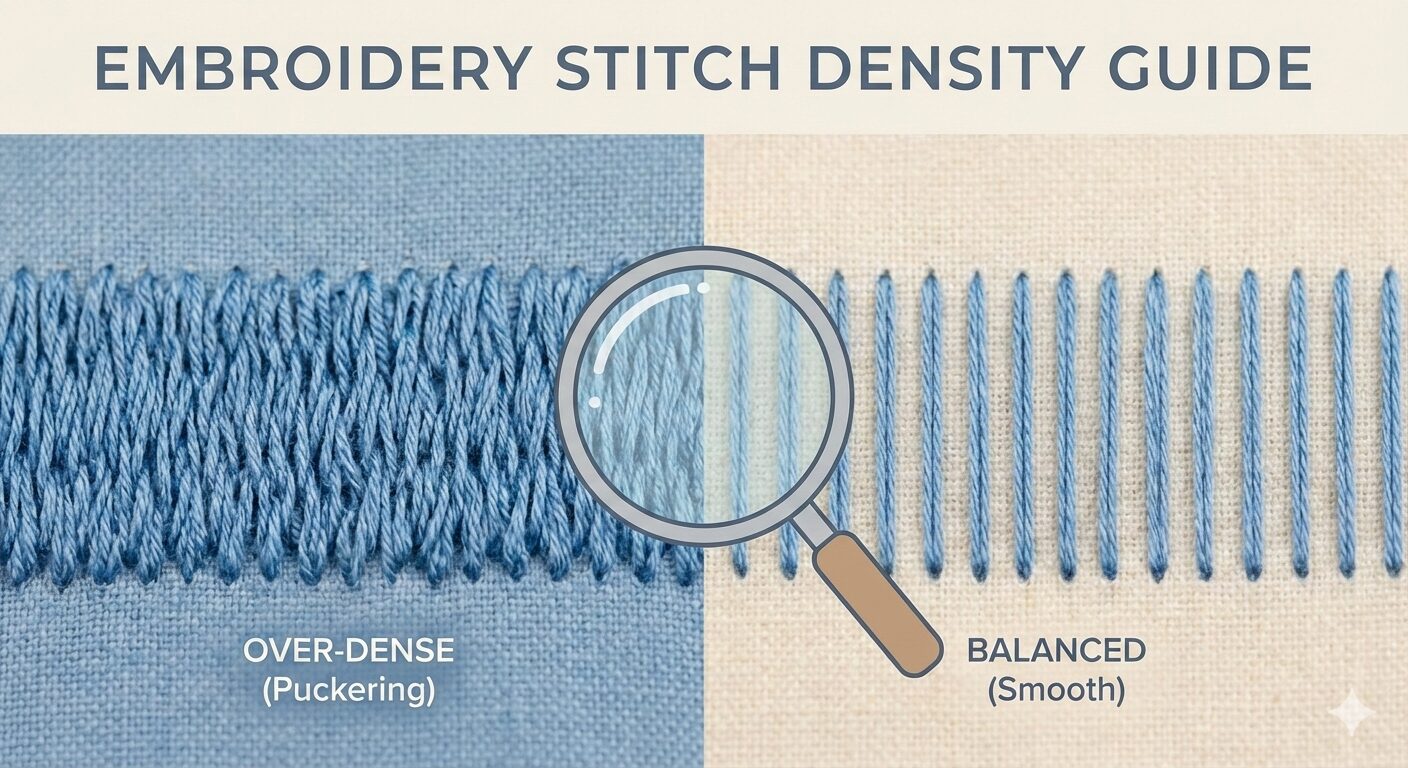
3. Method 2: Hand-Embroidered Patches
Perfect for a handmade, textured look.
Draw your design on paper and tape it to the back of your patch fabric.
Place the fabric in an embroidery hoop and trace the design.
Choose embroidery floss colors.
Stitch carefully, filling in each section of the design.
Knot threads securely at the back.
Cut out your embroidered patch.
4. Method 3: Sewing Machine Patches
Faster and ideal for more durable designs.
Trace your design onto fabric.
Set your sewing machine to a zigzag stitch with a thick thread.
Slowly stitch along your traced lines, filling in the design.
Reverse stitch to secure thread ends.
Trim the patch from the fabric.
5. Adding the Iron-On Backing
To make your handmade patch “iron-on ready”:
Place your finished patch right side up on the sticky side of peel-and-stick fabric fuse.
Press firmly across the entire patch.
Cut out the patch with the fuse backing attached.
Follow package instructions to iron it onto clothing.
Should You Make or Order Patches?
Making your own patches is rewarding, but if you need dozens (or hundreds), DIY can get time-consuming. Many of our clients at EZ Stitch Digitizing save time and guarantee perfect quality by outsourcing embroidery digitizing and vectorizing to professionals. This way, you get patches that last through washes and look sharp on every item.
👉 Contact us today at info@ezstitchdigitizing.com or through our Facebook page for custom embroidery digitizing services tailored to your needs.
Frequently Asked Questions (FAQs)
Q1. How long do iron on patches last?
Iron on patches can last for years if applied correctly and reinforced by stitching. Frequent washing may reduce lifespan, so sewing around the edges is recommended.
Q2. Can I make iron on patches without a sewing machine?
Yes! You can create patches using inkjet printing or hand embroidery, then apply fabric fuse for the iron-on backing. A sewing machine just makes the process faster.
Q3. What fabric works best for patches?
Twill, canvas, and denim are the best choices because they’re durable and provide a stiff base for embroidery or printing. Avoid stretchy fabrics.
Q4. Do iron on patches work on all clothes?
They work best on cotton or denim. Avoid delicate fabrics like silk or polyester blends, as heat from the iron can damage them.
Q5. Can I wash clothes with iron on patches?
Yes, but turn garments inside out, use cold water, and air dry when possible. For extra security, sew around the patch edges after ironing.