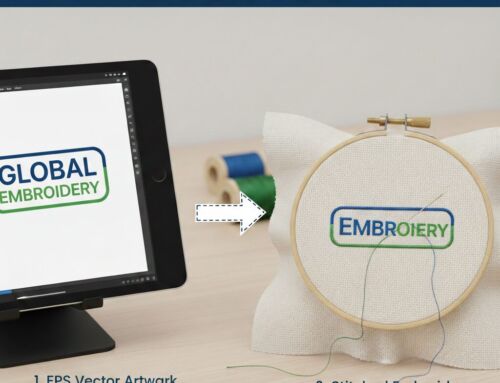
Digitizing a logo for embroidery is more than just uploading an image—it’s a detailed process that transforms a flat graphic into a stitch-ready embroidery file. Whether you’re customizing uniforms, hats, or merch for your brand, understanding this process helps ensure high-quality results that last.
In this guide, we’ll walk you through the entire embroidery digitizing process—from software setup to stitch selection—so you can get your logo production-ready with confidence.
What Is Logo Digitizing in Embroidery?
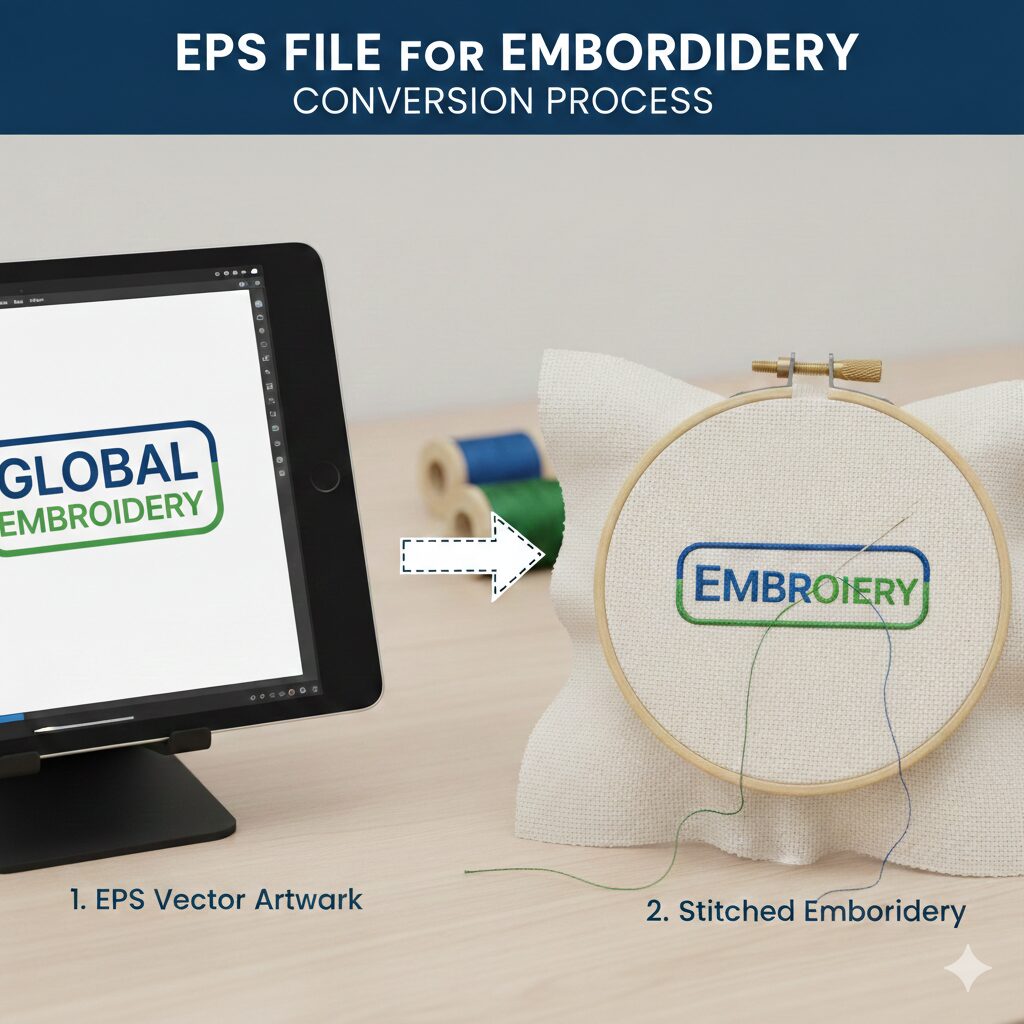
Logo digitizing is the process of converting a graphic (usually a JPG or PNG file) into an embroidery-specific format that machines can interpret. Unlike regular image files, embroidery machines require a special set of instructions to know where, how, and in what order to place each stitch.
For example, converting a logo to a .DST file allows Tajima machines to stitch it precisely as intended. Different machine brands use different file types, so choosing the correct format is essential.
Common Embroidery File Formats by Machine
.DST – Tajima machines
.EXP – Melco machines
.JEF – Janome machines
.KWK – Brother machines
.DSB – Barudan machines
.TAP – Happy machines
How to Digitize a Logo for Embroidery: 8 Essential Steps
Let’s break down the digitizing process using user-friendly tools and expert techniques. Here’s how to get started:
Step 1: Upload Your Logo into Embroidery Digitizing Software
Begin by importing your logo file into your digitizing software. Supported formats like JPG or PNG work best. Crop out unnecessary whitespace and adjust the placement of the image within your workspace.
Recommended tools: Wilcom, Embird, Brother PE Design, or Janome Digitizer.
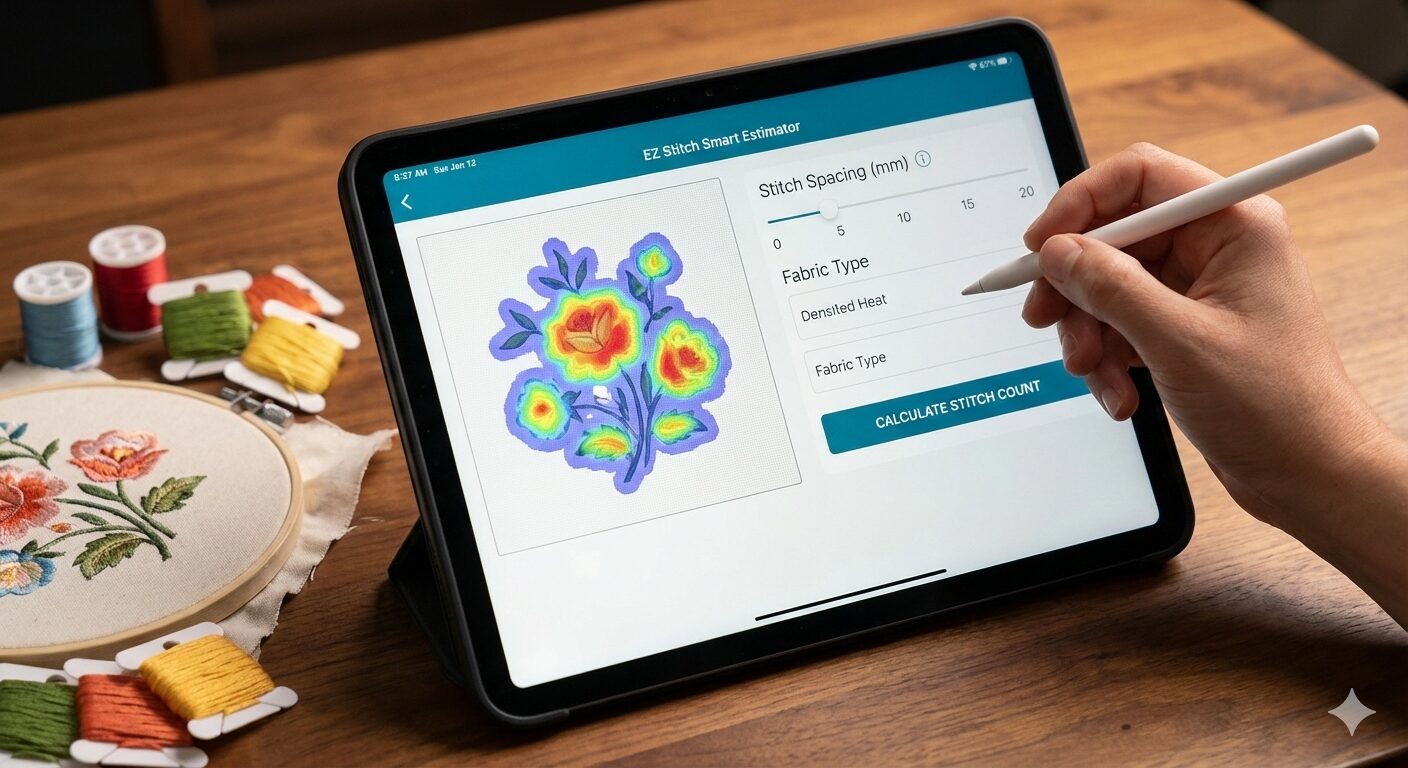
Step 2: Define the Embroidery Size
Measure the available embroidery area on your item and set the exact size within the software. This step ensures your logo is scaled correctly and fits your garment or product.
📏 Pro Tip: Lock the image size to avoid accidental resizing as you continue.
Step 3: Choose the Right Stitch Type
The type of stitch affects the look, texture, and durability of your design. Here are the three most used machine embroidery stitches:
Straight Stitch
Perfect for outlining, shading, or detail work. It’s versatile and great for both straight and curved lines.
Satin Stitch
Ideal for lettering and borders. It has a glossy finish that enhances text clarity.
Fill Stitch (Tatami Stitch)
Used for filling larger areas and achieving a textured, woven look. Excellent for bold logos and durable applications.
Step 4: Set the Stitch Direction
This step guides the embroidery machine on how to sew each section. Correct stitch angles enhance the flow, reduce jumps, and create natural contours in the design. Skipping this step can lead to choppy results and unnecessary thread trims.
Step 5: Select Thread Colors
Match your embroidery threads to your brand’s colors. Use Pantone matching or thread charts to get as close as possible. Consistency in color ensures your logo maintains its identity across products.
🎨 You can refer to online thread color guides or request a swatch match from your thread supplier.
Step 6: Transfer the File to Your Embroidery Machine
Once your design is finalized, export the embroidery file in the correct format (.DST, .JEF, etc.) and load it into your machine. Most machines accept USB drives, direct computer connections, or SD cards.
Step 7: Prepare Your Machine and Hoop the Fabric
Set up your machine with the correct needle, thread, orientation, and hoop size. Make sure your fabric or garment is securely hooped to avoid puckering or misalignment during stitching.
Step 8: Run a Test Stitch
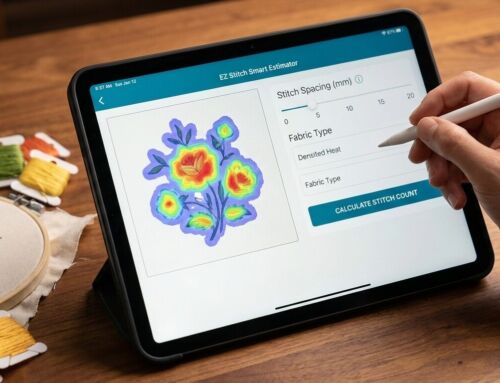
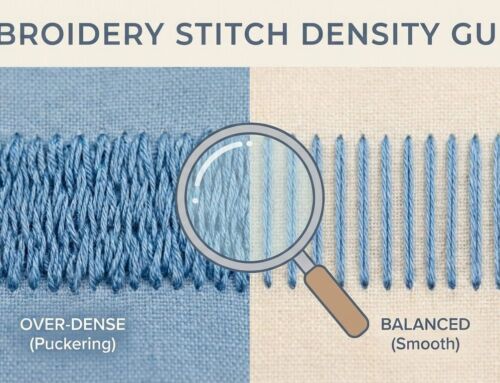
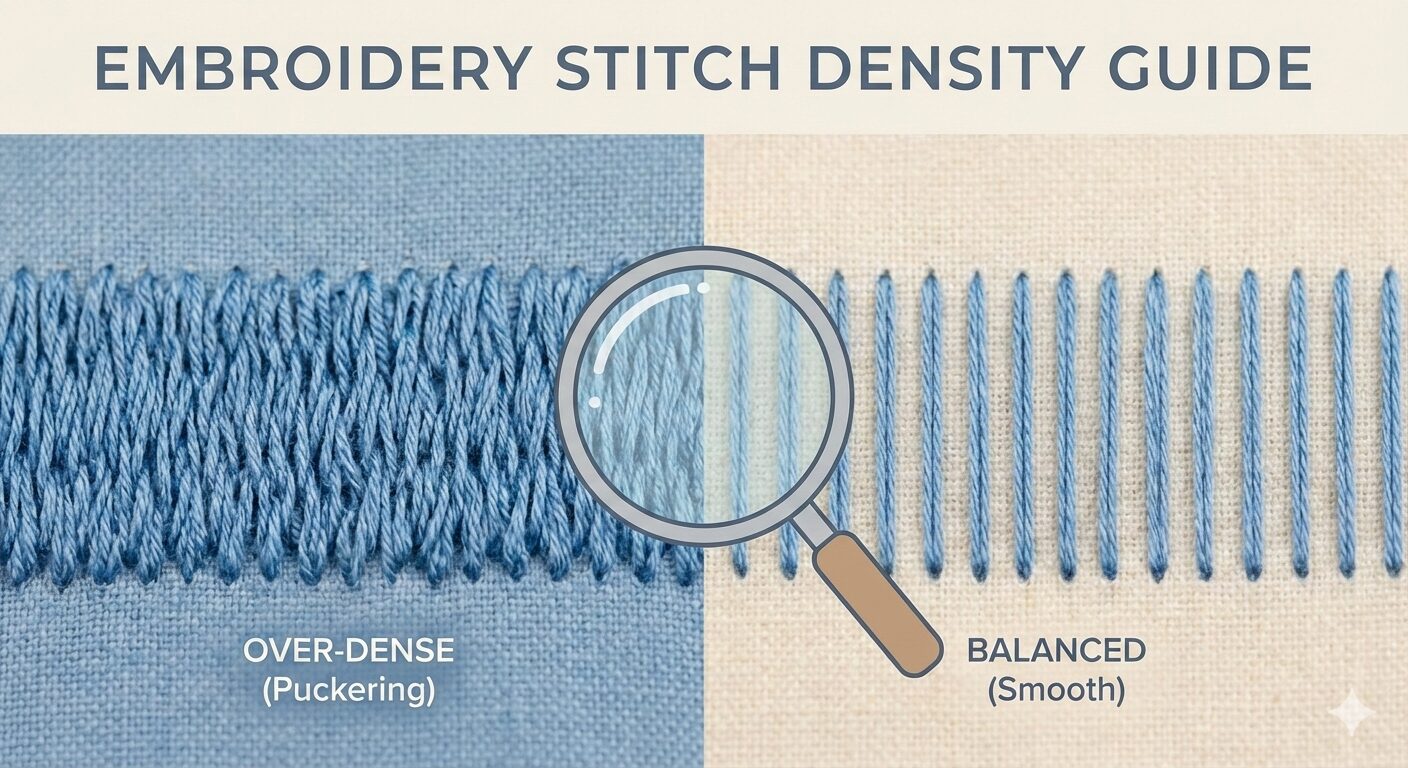
Always test your digitized logo on a sample fabric before running a full batch. This allows you to catch errors, tweak stitch density or direction, and make sure the final output is clean and professional.
Popular Types of Embroidered Logos
Depending on your style and purpose, here are four embroidery techniques to consider:
1. Standard Embroidery
Clean and professional—perfect for polos, hats, bags, and uniforms.
2. 3D Puff Embroidery
Adds raised dimension to logos using foam. Great for caps and bold branding.
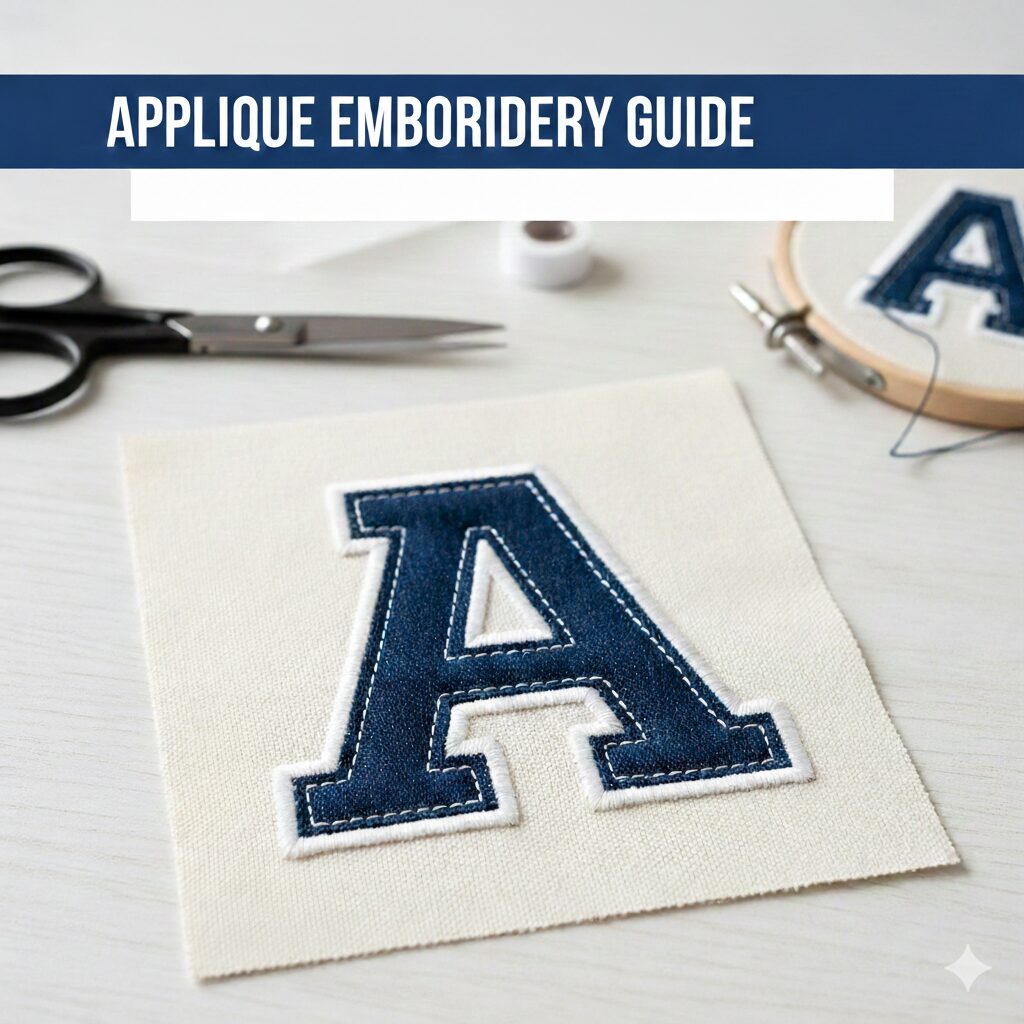
3. Laser Appliqué
Reduces stitch count while maintaining impact. Ideal for large logos on jackets or hoodies.
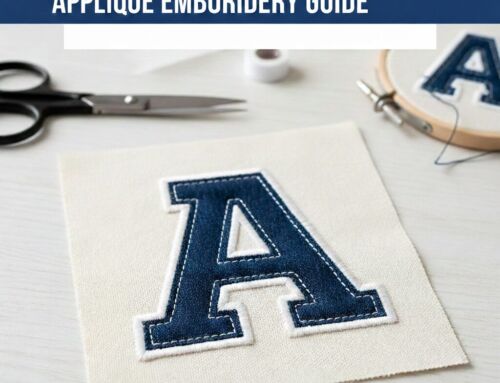
4. Patch Embroidery
Create detachable, reusable patches with your logo—great for hats, bags, and accessories.
Final Thoughts
Logo digitizing is a skillful blend of creativity and technical precision. Whether you’re creating merch for your brand or crafting personalized gifts, knowing how to digitize a logo for embroidery gives you control over your design outcome.
If you’re not ready to handle it yourself, we’re here to help! At EZ Stitch Digitizing, we turn your logo into a polished embroidery file that’s ready for production—fast, affordable, and accurate.
Need Professional Help with Logo Digitizing?
Let us handle the heavy lifting. Get your logo digitized today with precision and care.
📧 Email us at: info@ezstitchdigitizing.com
🔗 Or connect on Facebook: EZ Stitch Digitizing