How Do You Remove Embroidery? | Beginner-Friendly Guide
Has a design ever been stitched onto your fabric… only for you to regret it later? Whether you’re fixing a mistake, rebranding apparel, or just changing styles, removing embroidery might seem tricky—but it’s totally doable with the right tools and tips.
In this guide, we’ll walk you through safe, easy, and fabric-friendly methods to remove embroidery and even patches—without leaving behind ugly holes or damage.
Can Embroidery Actually Be Removed?
Yes, machine embroidery can be removed, but it requires time, care, and the proper tools. Designs with dense stitching, small fonts, or fine threads will take longer. Some delicate fabrics (like silk, chiffon, or leather) may retain small punctures after thread removal.
But don’t worry! We’ve got smart techniques to help you get it right—and we’re always here to help if you need a custom solution.
Must-Have Tools to Remove Embroidery
Here are the essential tools you’ll want on hand before you start:
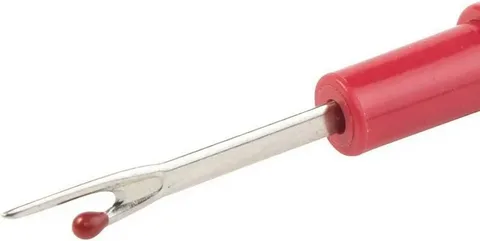
✅ Seam Ripper – For snipping individual threads precisely
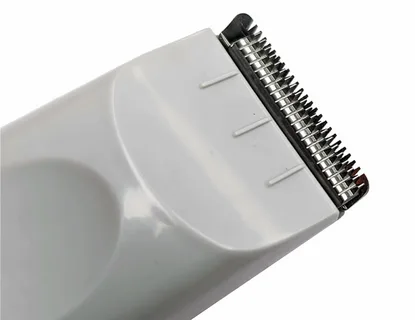
✅ Embroidery Eraser (Stitch Eraser) – Electric tool ideal for large designs
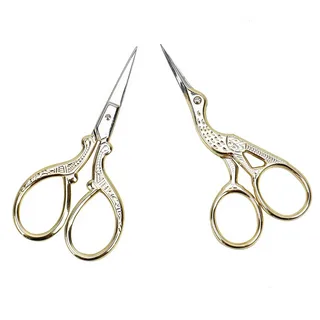
✅ Small Sharp Scissors – For detail work and tight areas
✅ Tweezers – To pluck out loose or fraying threads
✅ Magnifying Glass / Headlamp – Helps with visibility in tight stitch zones
✅ Lint Roller / Lint Brush – To clean fuzz and leftover threads
3 Best Ways to Remove Machine Embroidery (Without Ruining Fabric)
1. Use a Seam Ripper
This classic tool is your first line of defense, especially for smaller areas.
Steps:
Turn the garment inside out to see the bobbin threads clearly.
Gently slide the seam ripper under several stitches and pull up to cut.
Flip the garment right side out, then use tweezers to pull loose threads.
Repeat until embroidery is gone, then clean the area with a lint roller.
🔍 Tip: Work in small sections to avoid fabric damage, especially on light or delicate materials.
2. Use an (a.k.a. Stitch Eraser)
This electric tool resembles a beard trimmer and is great for removing large stitched areas fast.
Steps:
Turn the fabric inside out and secure it in an embroidery hoop for stability.
Glide the eraser gently over stitches using back-and-forth motions.
Turn the fabric right side up and use tweezers or a needle to pull out the loosened threads.
⚠️ Note: This method is not ideal for hand embroidery or fragile fabrics.
3. Use
Perfect for targeted removal on tight or tiny embroidery details.
Steps:
Start from the fabric’s back to safely access threads.
Insert the sharp tip of your scissors under each thread and cut.
Flip to the front and pull loose threads with tweezers.
Finish by brushing or rolling away fuzz.
🧼 Reminder: Avoid using large scissors—they can easily damage your fabric.
How to Remove Embroidered Patches
Got a stitched-on logo or name patch you need gone? Here’s how to do it safely:
Method 1 – Cutting Stitches
Flip your garment and cut the stitching holding the patch in place using a seam ripper or small scissors. Pull out the threads to lift the patch off.
Method 2 – Removing Adhesive
If the patch was ironed on or glued, you’ll need heat.
Place a press cloth over the patch, then apply a steam iron for 10–15 seconds.
Slowly peel off the patch.
Use adhesive remover for stubborn residue (always test on scrap first!).
Alternative Embroidery Removal Methods
Depending on fabric type, here are two additional tricks to try:
Steam & Heat
Steam softens thread and adhesives. Cover embroidery with a damp cloth and iron it gently on low heat. It makes thread removal smoother.
Freezing
Place the fabric in a zip-lock bag and freeze overnight. Cold makes threads brittle and easier to flake or pick off—great for delicates.
Will Removing Embroidery Leave Holes?
Sometimes—especially on thin or synthetic fabrics—small holes may remain. These are typically from the original needle punctures. You can:
Re-embroider over the area
Use patchwork or appliqué to cover the damage
Contact us for a custom digitized design to strategically fix or rework the fabric!
Final Thoughts – Is Embroidery Removal Hard?
Not at all! With the right tools, a little time, and a patient hand, you can successfully remove embroidery from almost any garment. Whether you’re correcting a mistake or transforming an old design, embroidery removal is a skill worth learning.
If you ever need expert digitizing to re-stitch a fixed area, we’re here to help.
✅ Need Help With Your Embroidery Project?
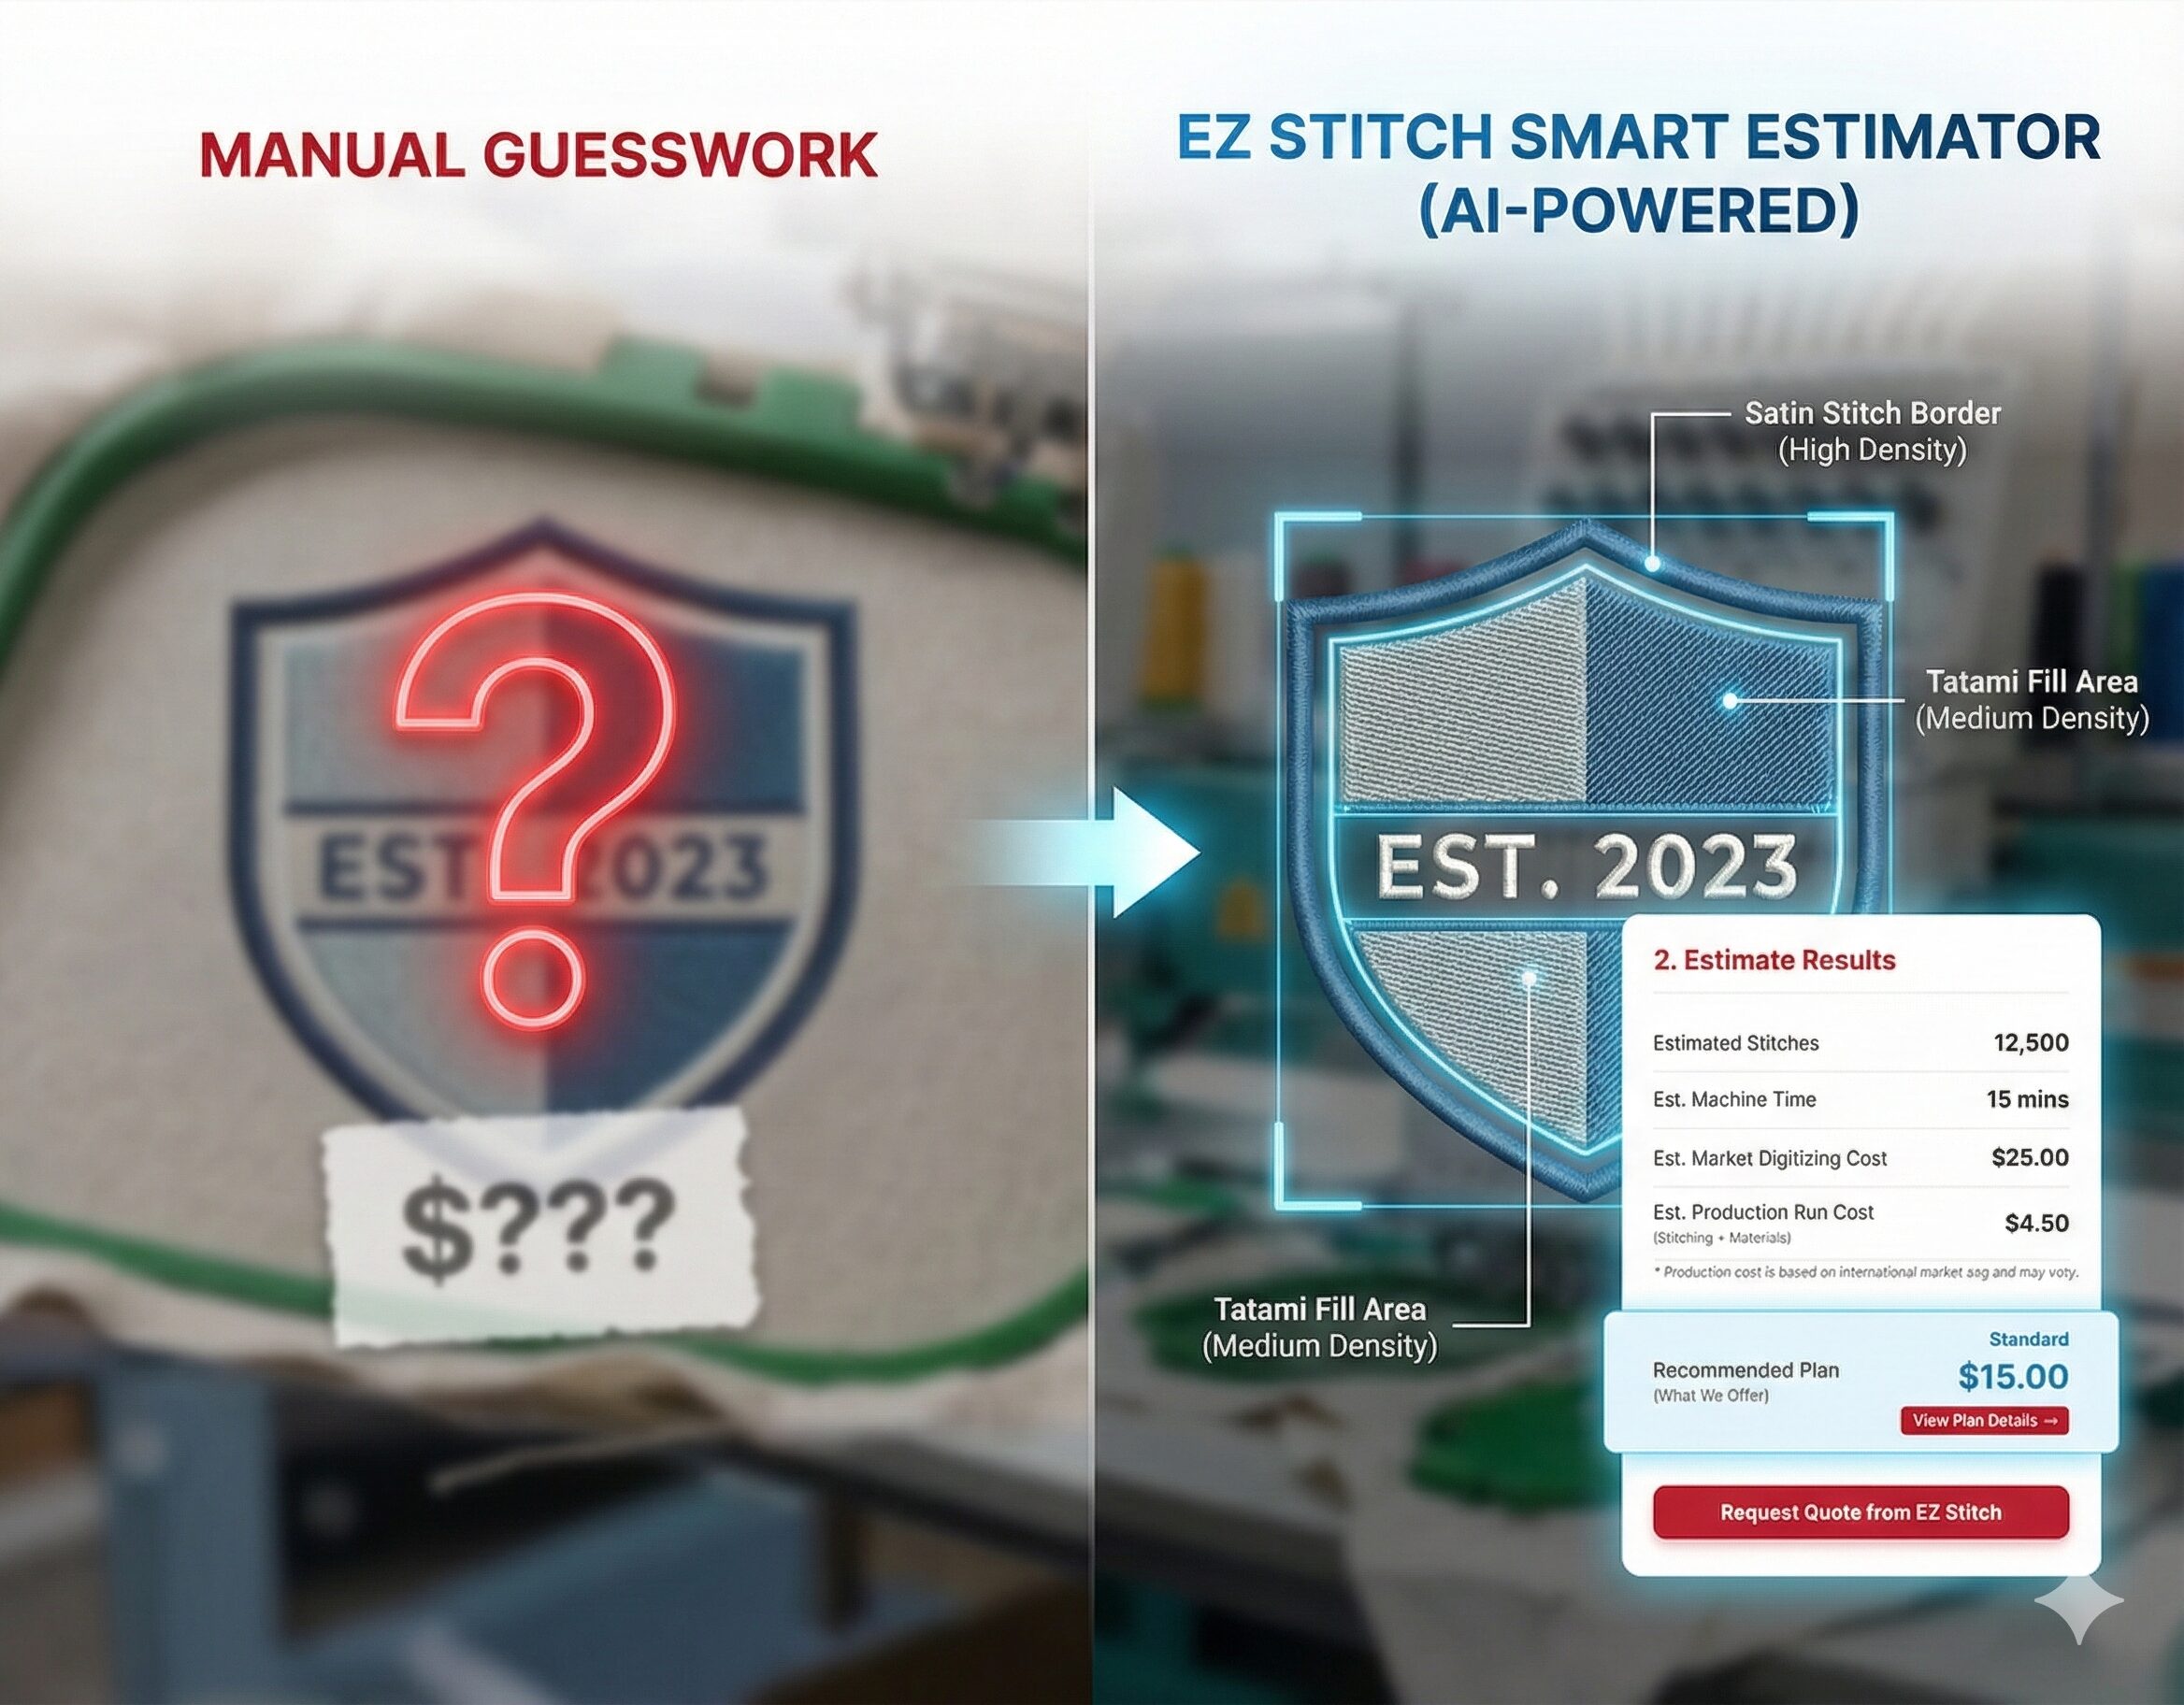
Whether you’re starting fresh or fixing old designs, EZ Stitch Digitizing offers:
🌟 Fast, affordable embroidery digitizing
✅ Vector art services with guaranteed accuracy
🔍 Preview before payment so you’re 100% confident
📨 Get a free quote in under 5 minutes at
📧 info@ezstitchdigitizing.com
🔗 Message us on Facebook

